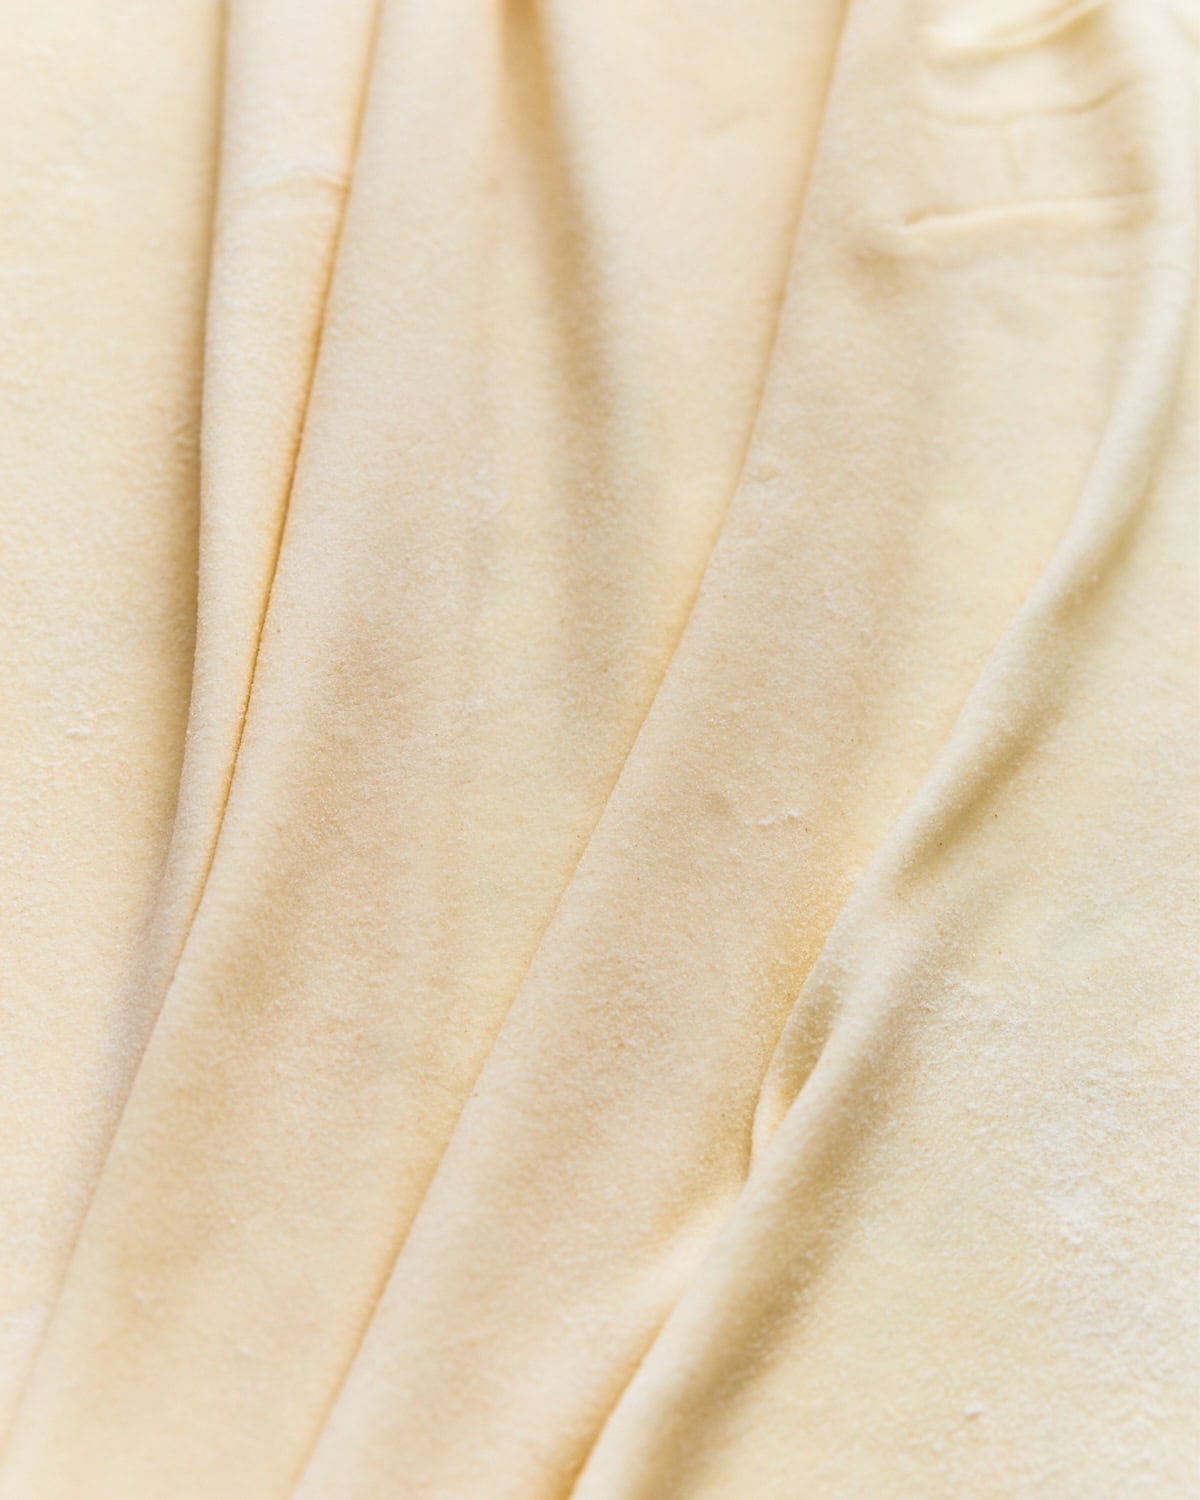
It’s easier to make homemade gluten-free phyllo dough than you think! I’ve tested this recipe many times now, and it always creates a perfectly flaky, delicious filo pastry that can be used for sweet and savory dishes. I use xanthan gum to replace the missing gluten, which forms an elastic dough that can be easily rolled into paper-thin sheets. You don’t even need a stand mixer, pasta machine, or any other fancy equipment to make it!
Easy, Flaky Gluten-Free Phyllo Dough
Phyllo dough, or filo pastry, is a popular ingredient in Balkan, Greek, and Middle Eastern cuisines. It’s a thin pastry dough (traditionally made with wheat flour) that can be layered to create a delicious, flaky texture and is a staple for dishes such as baklava and spanakopita.
I’ve been working hard on recreating my favorite bakery treats without gluten (have you tried our gluten-free croissant recipe yet?), and I knew gluten-free phyllo dough was next on the list. I mix all-purpose gluten-free flour, xanthan gum, melted butter, and cornstarch to create a flexible dough that crisps up nicely in the oven. You’ll need a little time and patience to roll the dough out thin enough, but once you get the hang of it, you’ll never look back!
What I Learned While Testing
- Use the right rolling pin. A thin rolling pin with tapered ends, like a dowel, is best for delicate dough like this. It’s easier to control and needs less pressure, which means less risk of tearing. A regular rolling pin works fine too if that’s what you have.
- Roll from the center out. Start in the middle of the dough and roll outward in each direction rather than back and forth over the whole piece. This keeps the thickness even and puts less stress on any one spot.
- Aim for about 1/8 inch thick. Go slowly as you get close to that thickness. This is the stage where sheets are most likely to tear, so switch to shorter, gentler strokes instead of long, heavy ones.
- Keep everything covered while you work. Phyllo dries out fast once it’s rolled. Cover sheets you’re not actively using with a damp towel or plastic wrap so they stay pliable while you finish the rest.
- Don’t worry about a torn or dried-out sheet. This dough is forgiving because you’re stacking layers anyway. If a sheet tears, cracks, or comes out uneven, use it as a bottom or middle layer where it won’t show, and save your cleanest sheets for the top.
- Get the flour blend right. This dough depends on the right gluten-free flour blend to hold together. I’ve had the best results with Pillsbury gluten-free and Better Batter Cup4Cup. If your dough is coming out crumbly instead of pliable, the blend is usually the first thing to check.
- Don’t skip the xanthan gum. Xanthan gum is what stands in for gluten here and gives the dough its stretch. Without it, the dough tends to crumble apart instead of rolling out into sheets. If your dough won’t come together, double-check it made it into the bowl. If you’ve checked both the blend and the xanthan gum and it’s still crumbly, work in a teaspoon of water at a time until it comes together. It should feel soft and slightly tacky, not dry.
- Sheets get stacked, not rolled one at a time into the final shape. Each sheet gets rolled out on its own, then brushed with butter and stacked on top of the last one. The stack of buttered sheets is what bakes up into distinct, flaky layers. You’re not rolling all the layers together at once.
Is Phyllo Dough the Same as Puff Pastry?
No, phyllo dough and puff pastry aren’t the same. While they both create flaky, layered pastries, the main difference is how they’re made. Phyllo is made by rolling out paper-thin sheets of dough, which are then stacked on top of each other. Puff pastry is made from a ‘laminated’ dough, which involves layering butter between sheets of dough and then folding and rolling it out multiple times to create distinct flaky layers. They can sometimes be used interchangeably, but the result will be slightly different.
What Can I Make with Gluten-Free Phyllo Dough?
Once you’ve got a batch of this dough rolled out, you’ve basically unlocked a whole category of recipes. Phyllo is one of those doughs that pulls double duty for sweet and savory, so here’s where I’d put it to use first.
Baklava
This is the recipe that really shows off what this dough can do. Gluten-free baklava stacks about 28 sheets of this exact dough with spiced chopped nuts, then gets soaked in honey syrup while it’s still hot. If you want to see how far you can push this dough, that’s the recipe to try next.
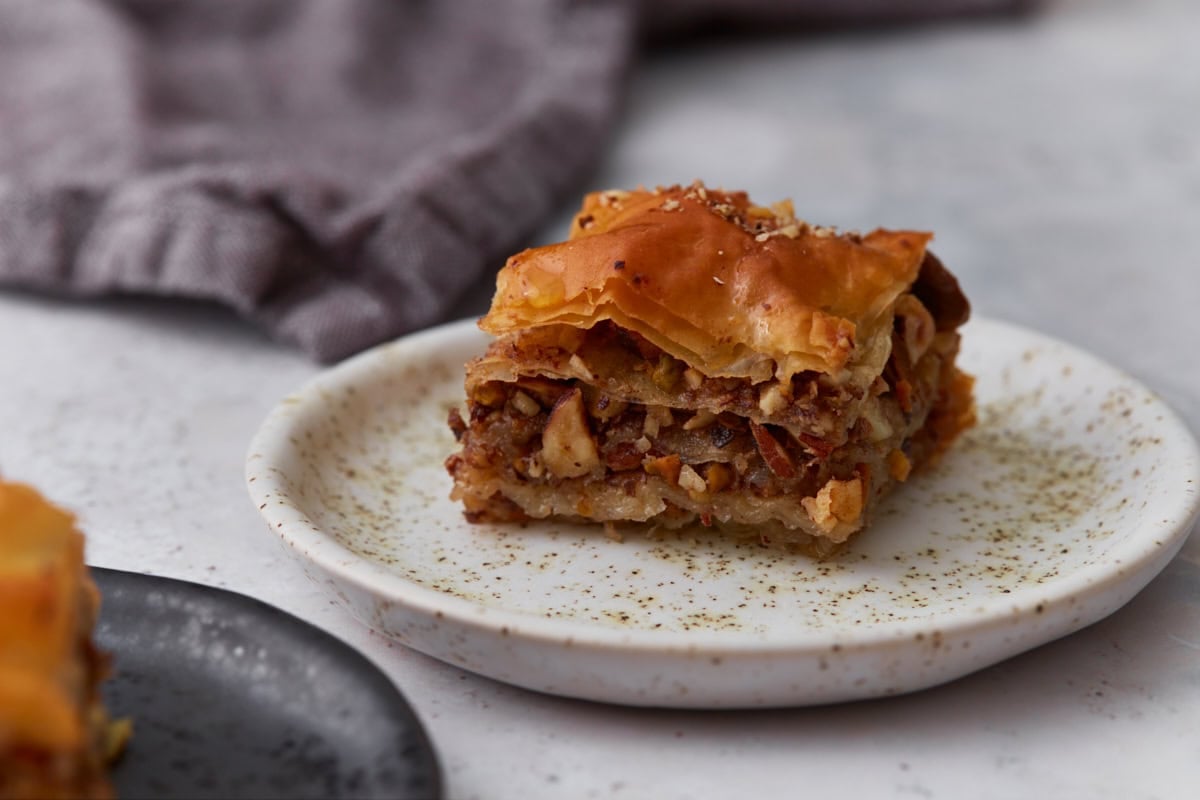
- Spanakopita. This is the classic and the one I’d start with if it’s your first time working with the dough. Layer the sheets with a spinach and feta filling, brush each one with melted butter, and bake until the top is golden and shatteringly crisp.
- Baked brie. Wrap a wheel of brie in a few buttered sheets, tuck the edges under, and bake until the pastry is golden and the cheese is fully melted underneath. It’s one of the fastest ways to turn this dough into an appetizer.
- Vegetable tarts. Press a few layered sheets into a tart pan for a crust that bakes up flaky instead of doughy, then fill with roasted vegetables, eggs, or a quiche-style custard.
- Chicken pot pie topper. Skip the traditional pie crust for a gluten-free chicken pot pie and layer buttered phyllo sheets over your filling instead. It bakes up lighter and crispier than a standard crust, and it’s a good use for dough that’s a little too fragile for delicate folding.
- Apple turnovers. Fill squares of buttered, stacked phyllo with spiced apples, fold into triangles, and bake. The layers puff and crisp in a way that’s close to puff pastry without needing a laminated dough.
- Strudel. Roll a fruit or savory filling up inside several buttered sheets for a strudel that slices into neat, flaky rounds.
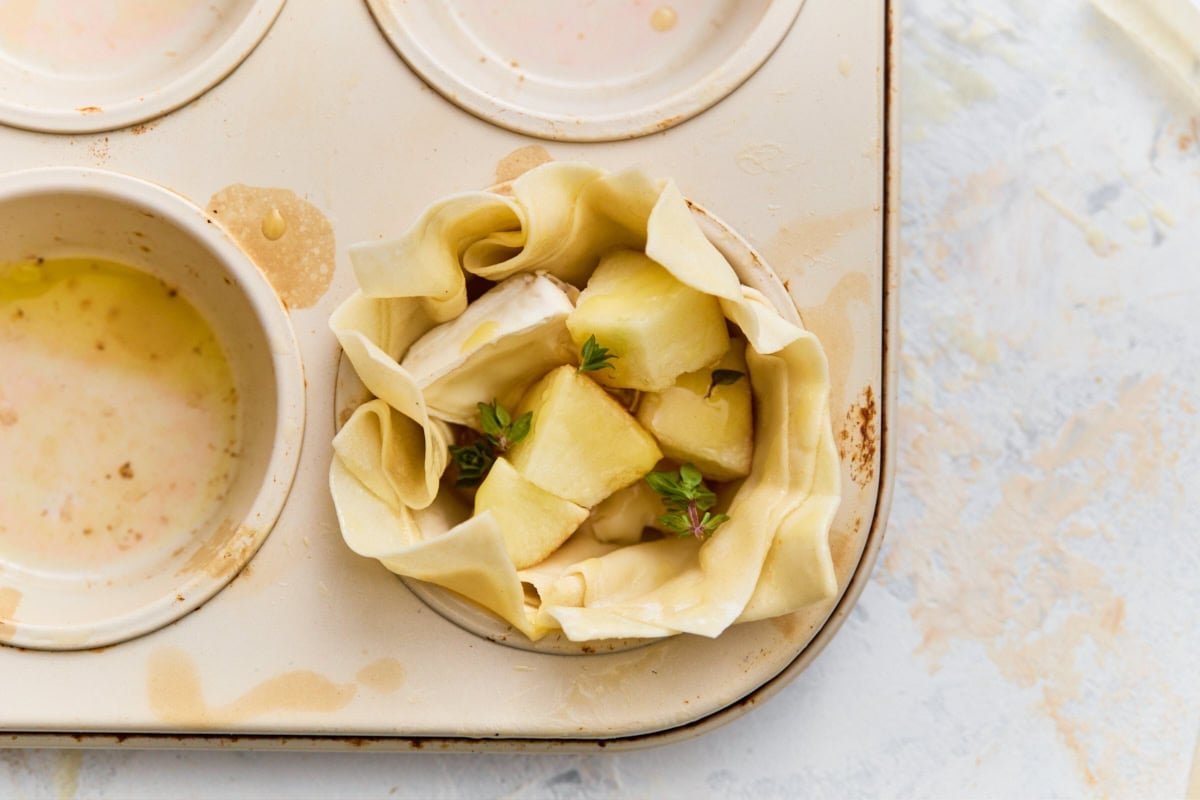
- Mini quiches. Press small squares of phyllo into a muffin tin to make a crisp, buttery shell for individual quiches. It’s a good option when you want something bite-sized for a brunch or a party.
Whatever you make, the same rule applies across all of it. Brush each sheet with melted butter or oil before you stack the next one. That’s what gives you the flaky, separated layers phyllo is known for, gluten-free or not.

Print
Pin
#wprm-recipe-user-rating-0 .wprm-rating-star.wprm-rating-star-full svg * { fill: #d0021b; }#wprm-recipe-user-rating-0 .wprm-rating-star.wprm-rating-star-33 svg * { fill: url(#wprm-recipe-user-rating-0-33); }#wprm-recipe-user-rating-0 .wprm-rating-star.wprm-rating-star-50 svg * { fill: url(#wprm-recipe-user-rating-0-50); }#wprm-recipe-user-rating-0 .wprm-rating-star.wprm-rating-star-66 svg * { fill: url(#wprm-recipe-user-rating-0-66); }linearGradient#wprm-recipe-user-rating-0-33 stop { stop-color: #d0021b; }linearGradient#wprm-recipe-user-rating-0-50 stop { stop-color: #d0021b; }linearGradient#wprm-recipe-user-rating-0-66 stop { stop-color: #d0021b; }#wprm-recipe-user-rating-0.wprm-user-rating-allowed.wprm-user-rating-not-voted:not(.wprm-user-rating-voting) svg * { fill-opacity: 0.3; }
Gluten-Free Phyllo Dough / Filo Pastry
Ingredients
- 2 cups gluten-free all-purpose flour
- 2 tsp xanthan gum reduce to 1 tsp if your blend already contains it
- ¼ cup cornstarch
- 2 tsp sugar
- 1 tsp salt
- ¾ cup lukewarm water
- 2 tbsp unsalted butter melted
Instructions
-
In a large bowl, whisk together the gluten-free flour, xanthan gum, cornstarch, sugar, and salt until well combined.
-
Create a well in the center of the dry ingredients and pour in the lukewarm water and melted butter. Using a sturdy spoon or your hands, gradually incorporate the dry ingredients into the wet ingredients until a shaggy dough forms.
-
Turn the dough onto a lightly floured surface and knead for about 5 minutes until smooth and pliable. If the dough seems too sticky, add a little more gluten-free flour, 1 tablespoon at a time.
-
Cover the dough with plastic wrap or a damp towel and let it rest at room temperature for 30 minutes.
-
After resting, divide the dough into 4 equal portions. On a lightly floured surface or parchment paper, roll out each portion into a rectangular shape, about 1/8″ thick.
-
Using a sharp knife or a pizza cutter, cut the dough into rectangles, approximately 10×8-inch. Cut into smaller rectangles as desired. Cover them with a damp towel or plastic wrap to prevent drying out.
-
Use the gluten-free phyllo dough sheets immediately or store them in an airtight container in the refrigerator for up to 3 days.
Video
Notes
- Use a kitchen scale if you have one, since it keeps every portion consistent, which matters more with this dough than most.
- Your flour blend makes a real difference. I’ve had the best luck with Pillsbury gluten-free and Better Batter Cup4Cup. Crumbly dough usually means the blend or the xanthan gum, so check both before adding extra water.
- A thin, tapered rolling pin works best for this dough. Roll gently from the center out for even sheets and less risk of tearing.
- Keep every sheet covered while you work, since phyllo dries out fast. A torn or dried-out sheet still works, just tuck it into the middle of a stack instead of the top.
- For filled pastries, roll until you can see through the dough. That’s the cue it’s thin enough. Layer 2-3 buttered sheets for a flakier, sturdier bite, or 1 for something lighter.
- Bake shaped, filled pastries until golden and the filling is heated through. 375°F (190°C) for 12-18 minutes for smaller pieces, 18-25 for larger ones.
- Store extra dough in the fridge or freezer. A light dusting of gluten-free flour between sheets keeps them from sticking. It keeps 3 days refrigerated, or 2 to 3 months frozen, thawed overnight in the fridge.
Nutrition
How to Make Gluten-Free Phyllo Dough Step-by-Step
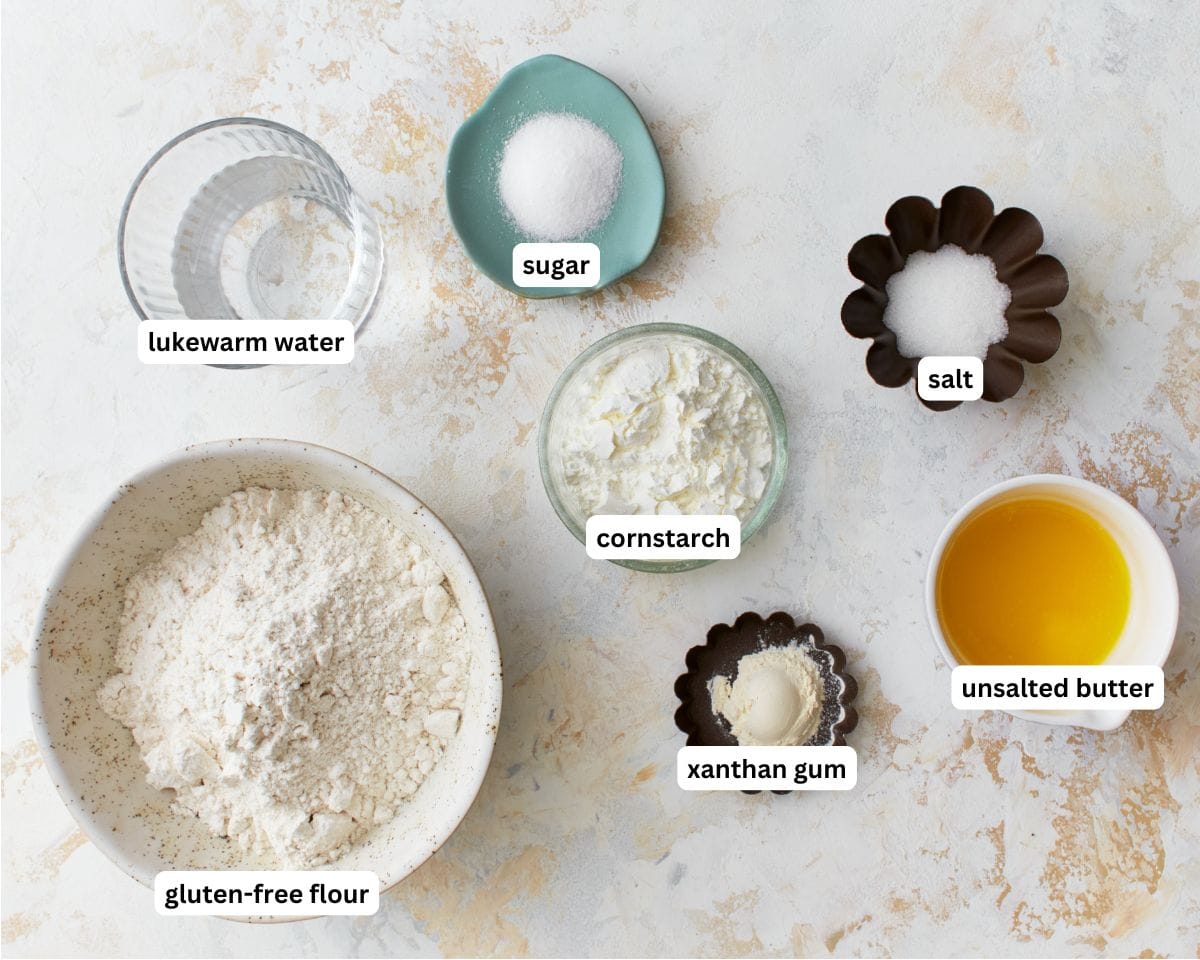
Gather all the ingredients together.
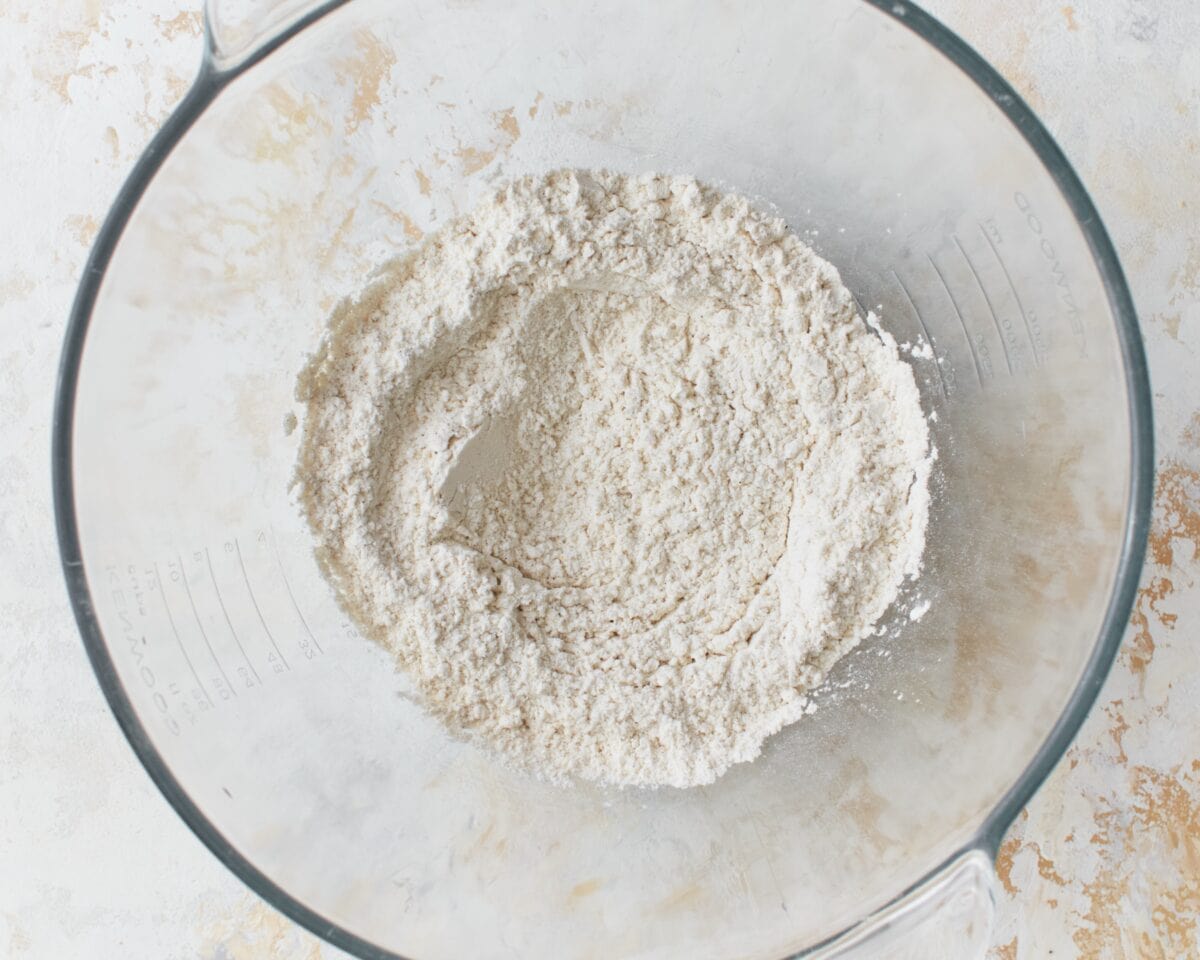
Mix the dry ingredients: In a large bowl, whisk together 2 cups gluten-free all-purpose flour, 2 tsp xanthan gum (reduce to 1 tsp if your blend already contains it), ¼ cup cornstarch, 2 tsp sugar, and 1 tsp salt until well combined.
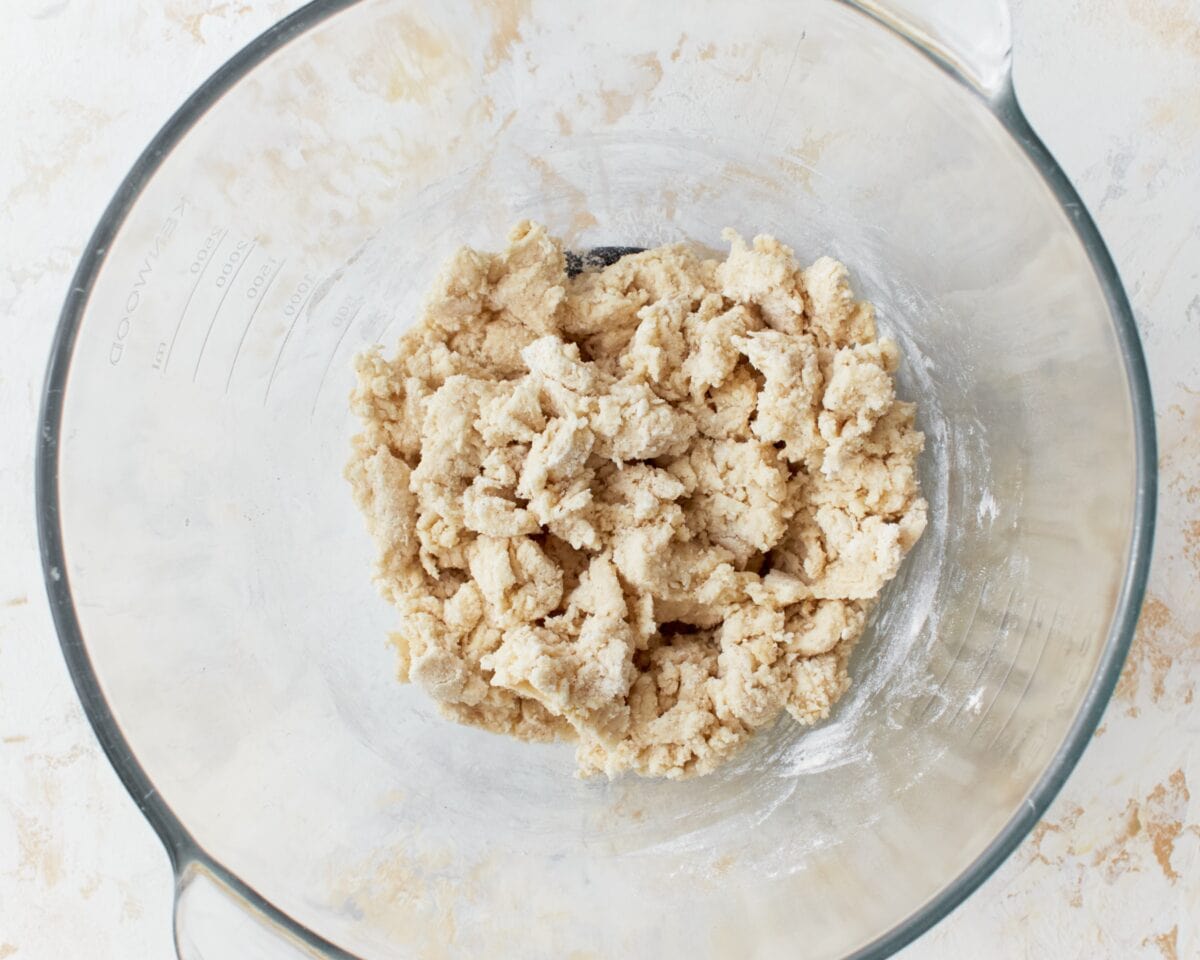
Add the wet ingredients: Create a well in the center of the dry ingredients and pour in ¾ cup lukewarm water and 2 tbsp melted butter. Using a sturdy spoon or your hands, gradually incorporate the dry ingredients into the wet ingredients until a shaggy dough forms.
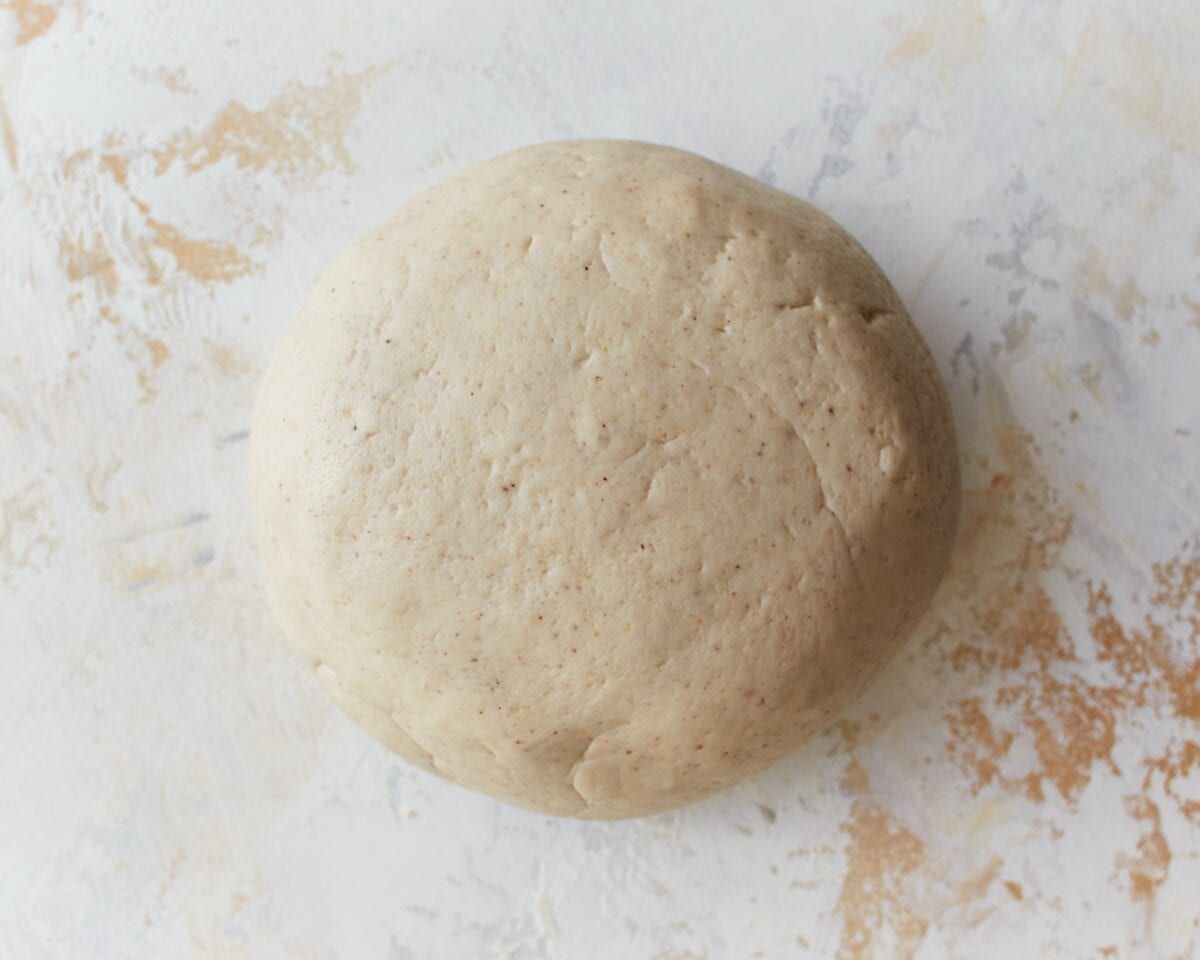
Knead the dough: Turn the dough onto a lightly floured surface and knead for about 5 minutes until smooth and pliable. If the dough seems too sticky, add a little more gluten-free flour, 1 tablespoon at a time.
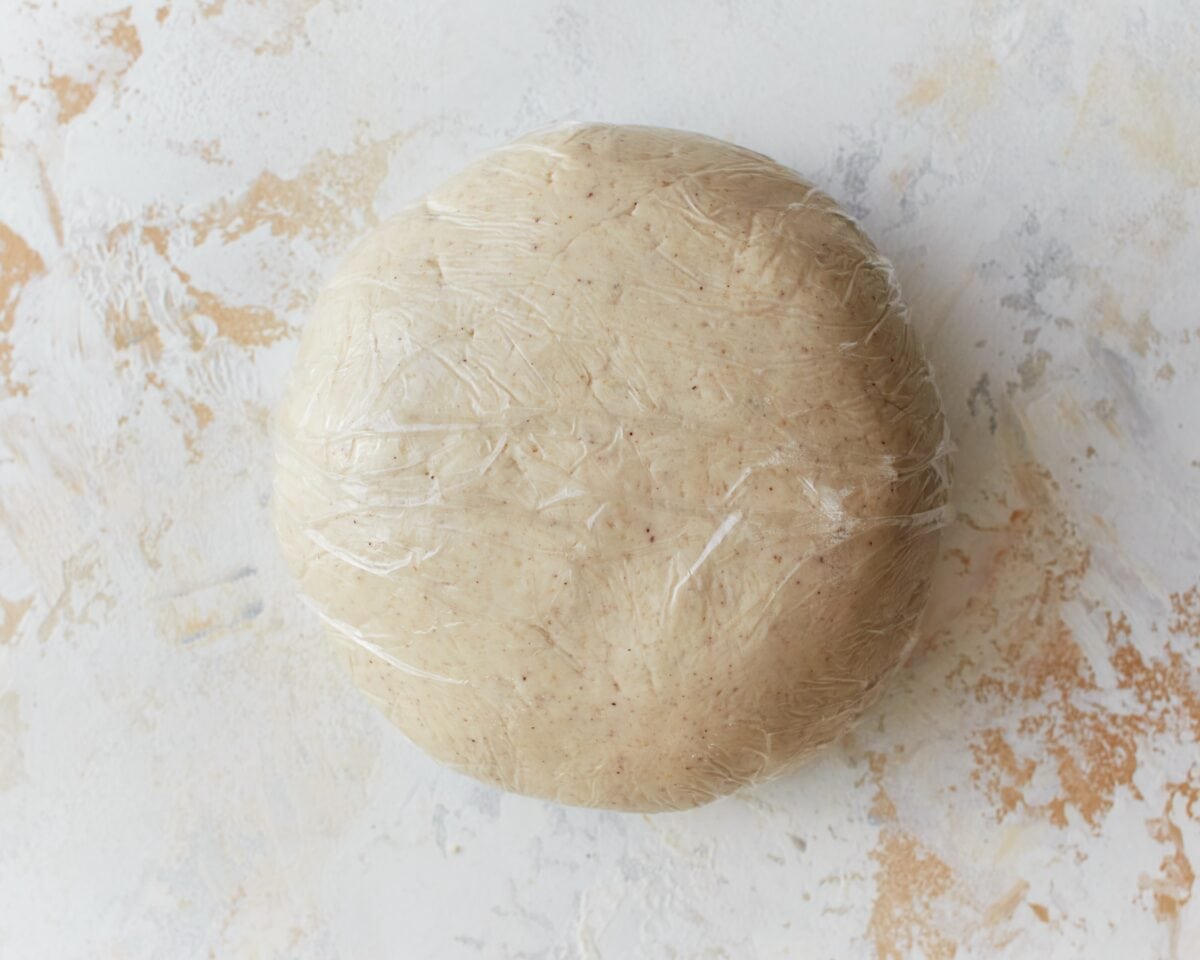
Let the dough rest: Cover the dough with plastic wrap or a damp towel and let it rest at room temperature for 30 minutes.
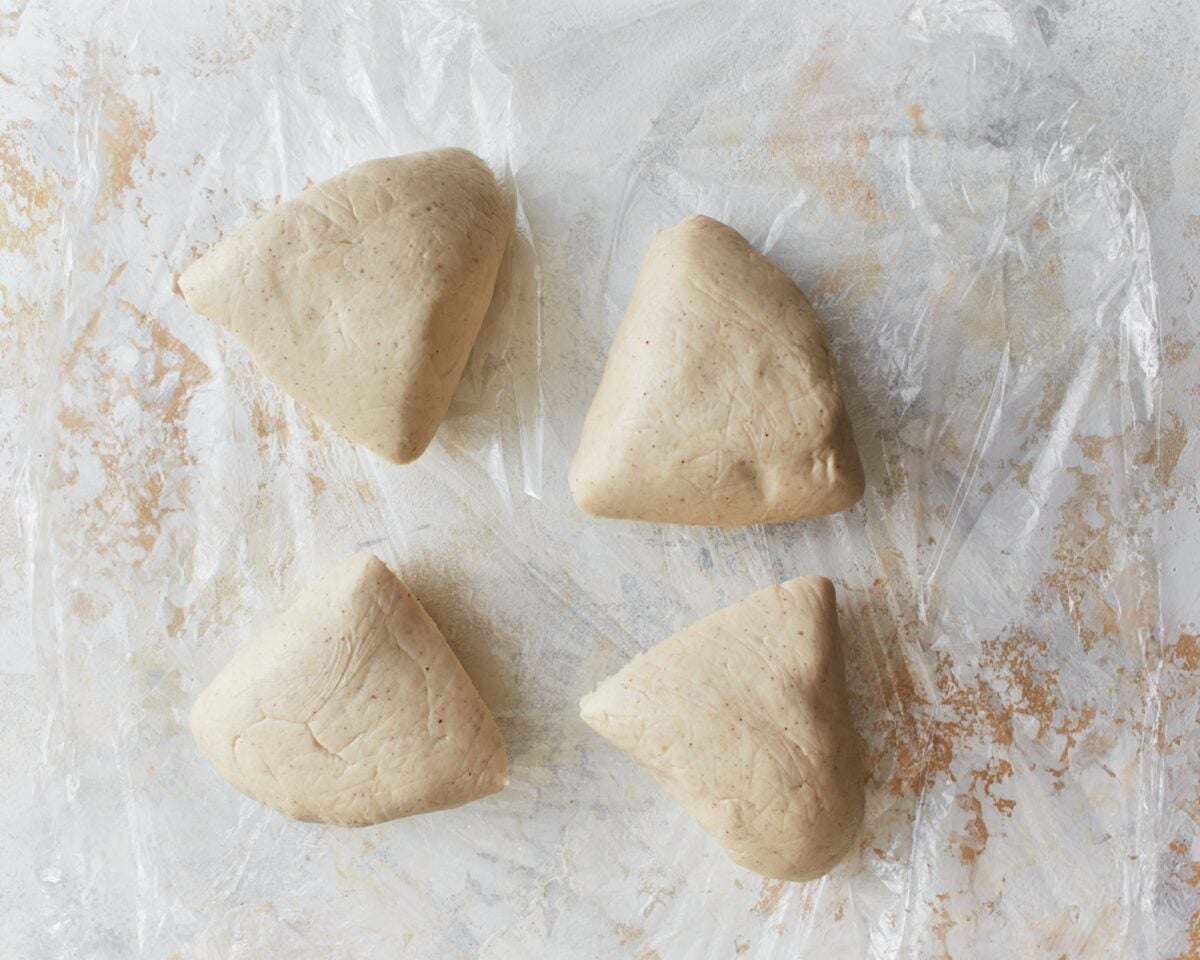
Divide the dough: After resting, divide the dough into 4 equal portions.
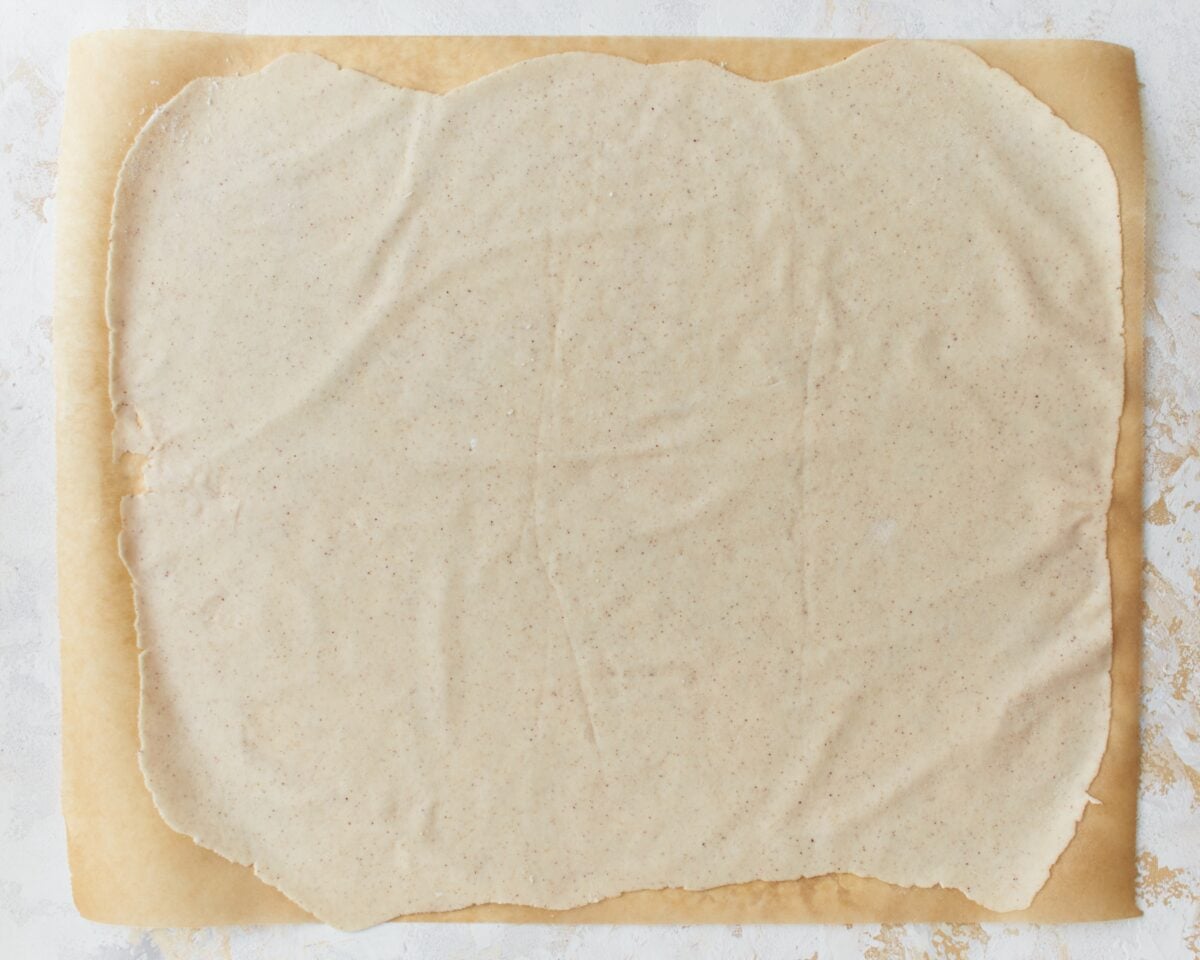
Roll out the dough: On a lightly floured surface or parchment paper, roll out each portion into a rectangular shape, about 1/8″ thick.
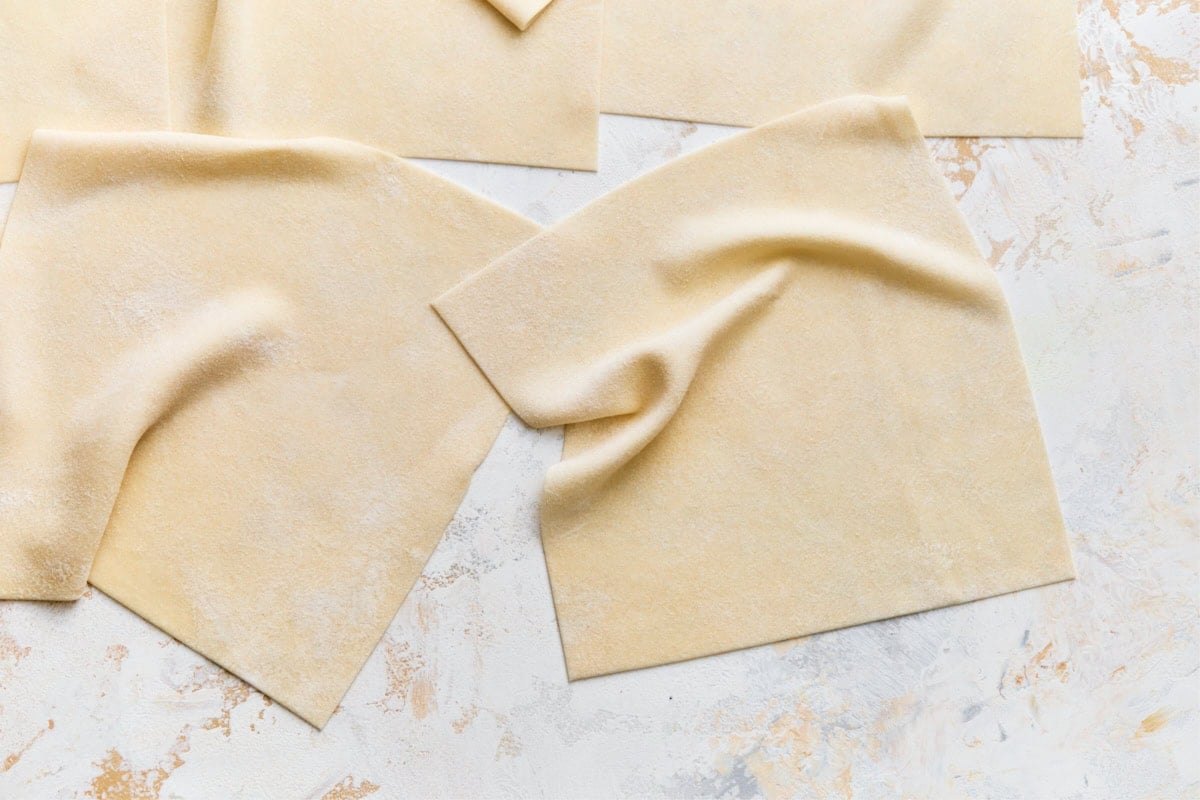
Cut the dough into sheets: Using a sharp knife or a pizza cutter, cut the dough into rectangles, approximately 10×8 inches. Cut into smaller rectangles as desired.
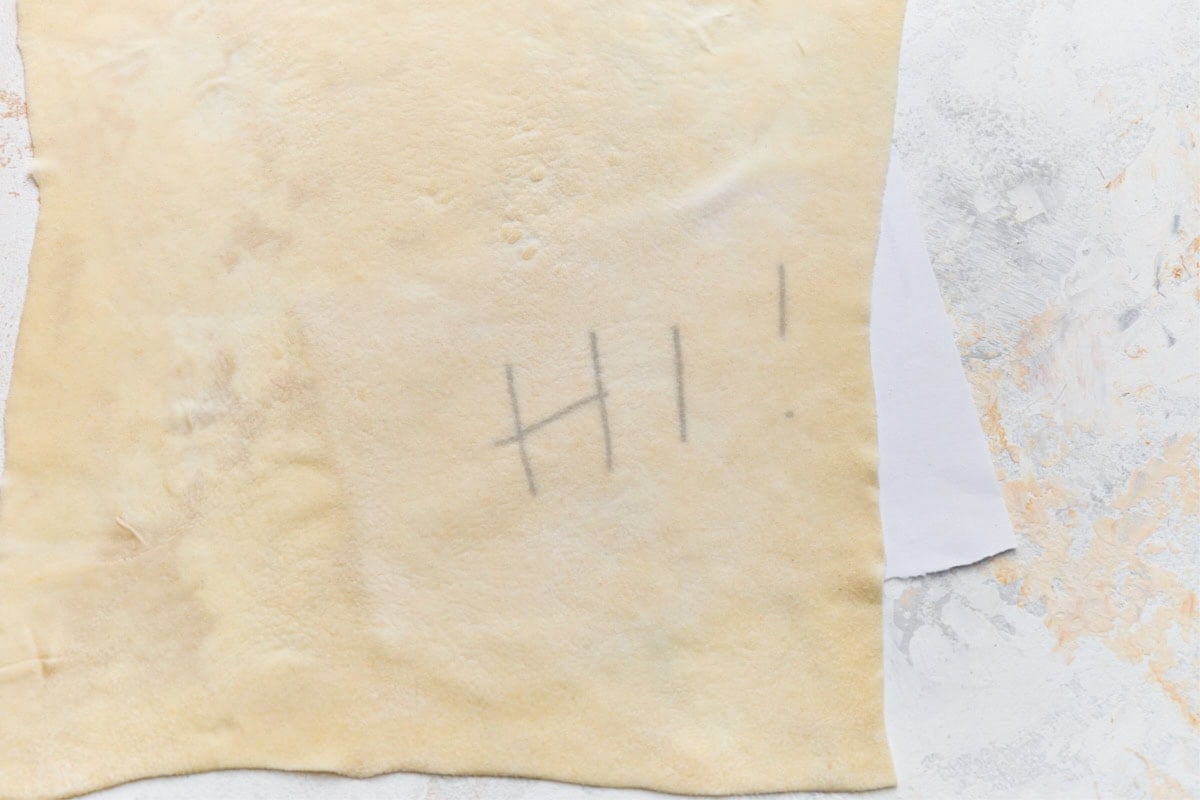
Roll the dough thinner: After cutting, roll each piece out even thinner before filling it. You’re aiming for dough so thin it’s almost see-through. Hold a piece up to the light or set it over a piece of text. If you can faintly make out the words underneath, it’s rolled thin enough.
Once your dough is rolled out, cut it into smaller rectangles or squares depending on what you’re making. Smaller pieces are easier to handle and work well for filled pastries, rolls, triangles, or any small phyllo-style shape.
Use the gluten-free phyllo dough sheets immediately, or store them following the storage instructions below.
How to Fill and Bake the Dough
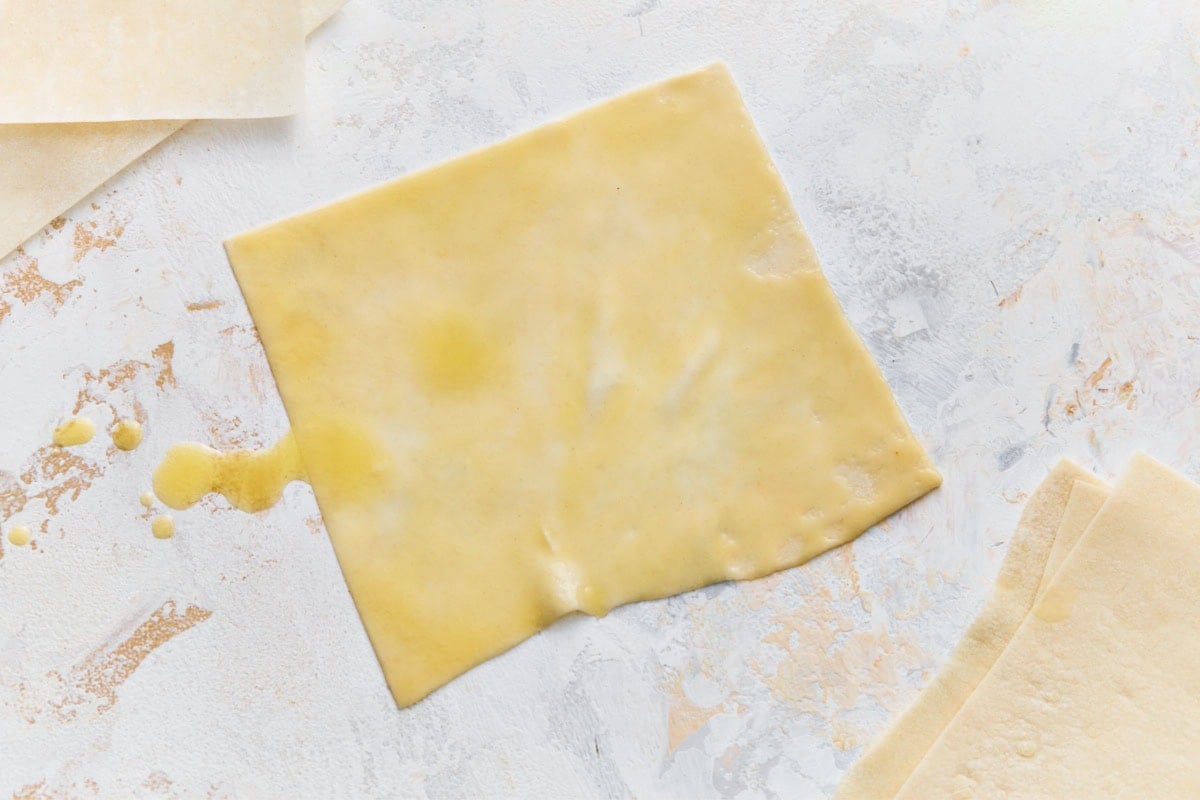
Before filling, brush each thin piece lightly with melted butter. Layer 2-3 sheets together, brushing lightly between each one, for a pastry that’s delicate and flaky but still sturdy enough to hold a filling. If you want something lighter, one layer is enough.
Once your sheets are layered, add your filling and fold or shape the dough however your recipe calls for. The filling is entirely up to you and can be adjusted based on the style of pastry you’re making.
For baking, place your shaped pastries on a parchment-lined baking sheet, or in a lightly greased cupcake pan if you’re making cup-shaped pastries. If you’re using a cupcake pan, gently press the dough into the cups before adding your filling. Brush the tops lightly with melted butter, then bake at 375°F (190°C) until golden brown and crisp. Smaller pastries usually take about 12-18 minutes. Larger or more heavily filled ones can take 18-25 minutes. They’re done when the pastry looks golden, and the filling is heated through.
Storage Instructions
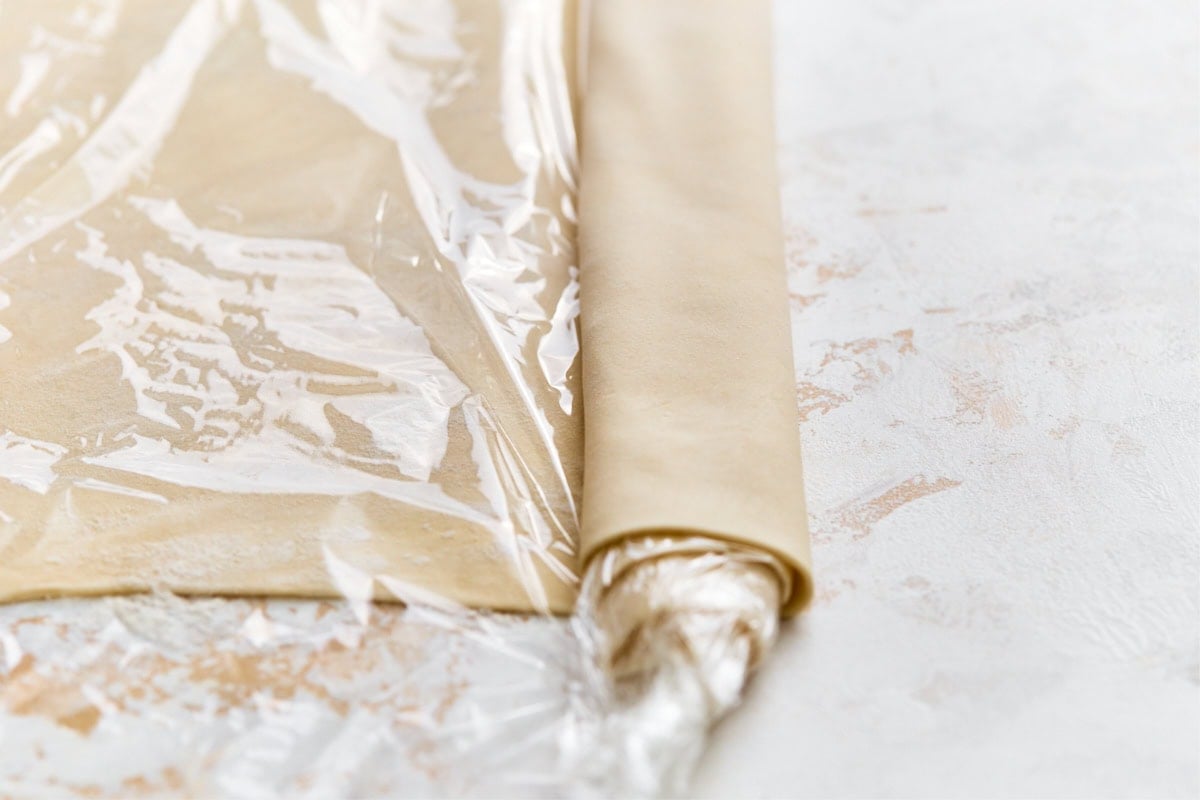
If you’re not using your dough right away, lightly dust the sheets with gluten-free flour first. This keeps them from sticking together. If you’re stacking more than one sheet, add a light dusting of flour between each layer too. Roll the stack up gently, wrap it tightly in plastic wrap, and tuck it into an airtight container or a zip-top bag. It’ll keep in the refrigerator for up to 3 days. When you’re ready to use it, let it sit at room temperature for about 15-20 minutes so it’s easier to roll without tearing.
Freezer
This dough freezes well for up to 2-3 months, which makes it worth doubling a batch if you know you’ll use it again. Stack the sheets with a layer of parchment paper or plastic wrap between each one so they don’t stick together, then either roll the stack up tightly or lay it flat in a sealed container or freezer bag.
When you’re ready to use it, move the dough to the refrigerator and let it thaw slowly overnight rather than thawing it at room temperature or in the microwave. A slow thaw keeps the texture intact. Once it’s thawed, treat it the same as fresh dough, though it may feel slightly more delicate, so handle it gently and keep it covered while you work.
More From Scratch Gluten-Free Recipes to Try
- Gluten-Free Egg Noodles: If you liked working with this dough, these follow the same roll-and-cut approach and turn into the base for chicken noodle soup or beef stroganoff.
- Gluten-Free Pie Crust: Another rolled dough worth having in your back pocket, since it works as a base for both sweet pies and savory dishes like quiche, much like phyllo does.
- Homemade Gluten-Free Pasta: This follows the same knead, rest, and roll process as phyllo, so it’s a natural next recipe if you enjoyed making dough from scratch.
- Gluten-Free Tempura Batter: A completely different technique, but another way to get a satisfying crisp texture, this time on fried vegetables, shrimp, or chicken.
Our Gluten-Free Phyllo Dough recipe was originally published 10/4/24. It was retested, reworked, and republished to be better than ever 9/23/26.
The post Gluten-Free Phyllo Dough / Filo Pastry appeared first on Mama Knows Gluten Free.