Evaluating Sand Types in Landscape and Building Materials
When planning a paver project, selecting the right sand from quality landscape and building materials is as critical as choosing the pavers themselves. The material grading and aggregate standards of the sand directly impact the hardscape’s durability and overall longevity. We need to understand the distinct roles different types of sand play in achieving base stability and joint integrity.
Bedding Sand vs Jointing Sand in Landscape and Building Materials
It’s common for homeowners and even some contractors to confuse bedding sand with jointing sand, but they serve fundamentally different purposes in paver installation. Understanding this distinction is paramount for a successful project.
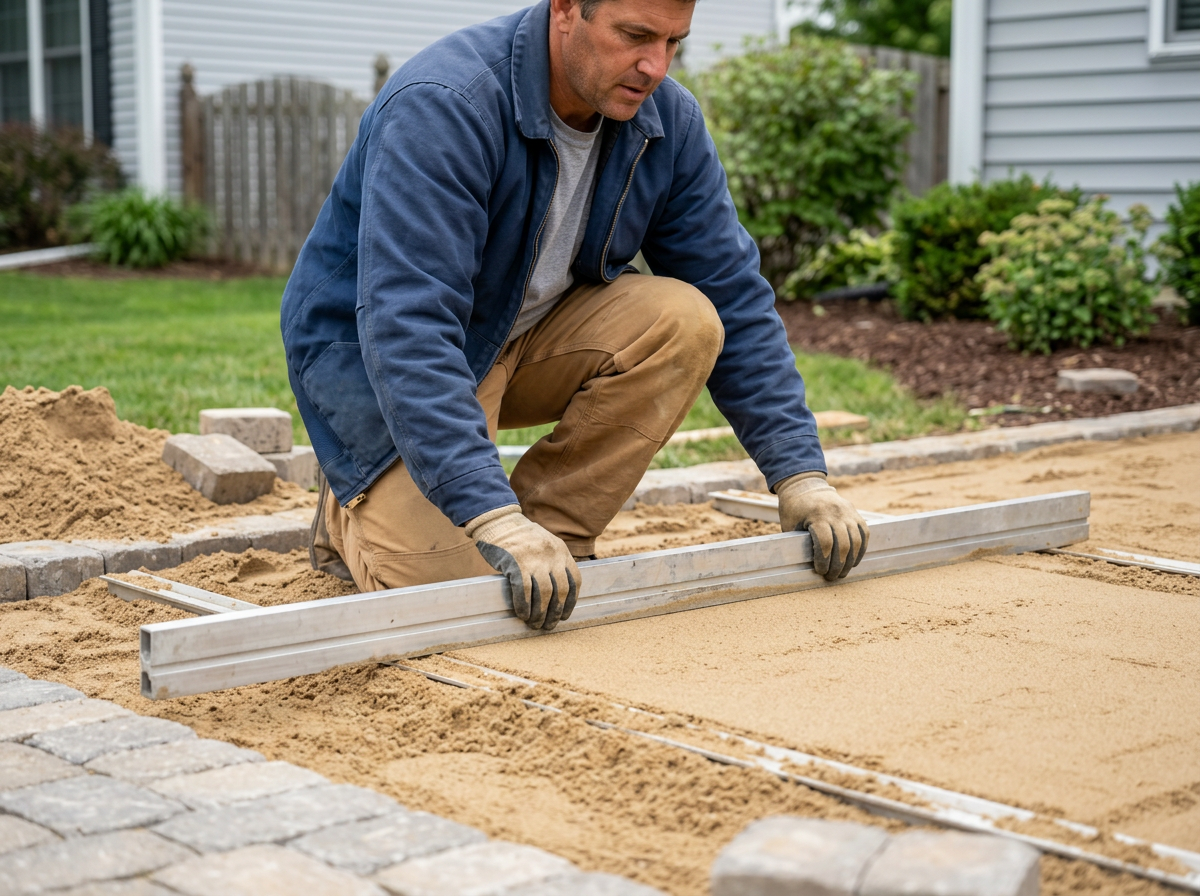
Bedding sand, also known as concrete sand or sharp sand, forms the crucial leveling layer directly beneath the pavers. Its primary function is to provide a uniform, stable, and drainable surface upon which the pavers rest. This sand is characterized by its angular, coarse grains, which interlock to create a firm, non-shifting base. We typically aim for a 1-inch depth for this layer. This precise thickness is an industry standard; too thick, and the pavers can settle unevenly, leading to dips and humps; too thin, and they might rock.
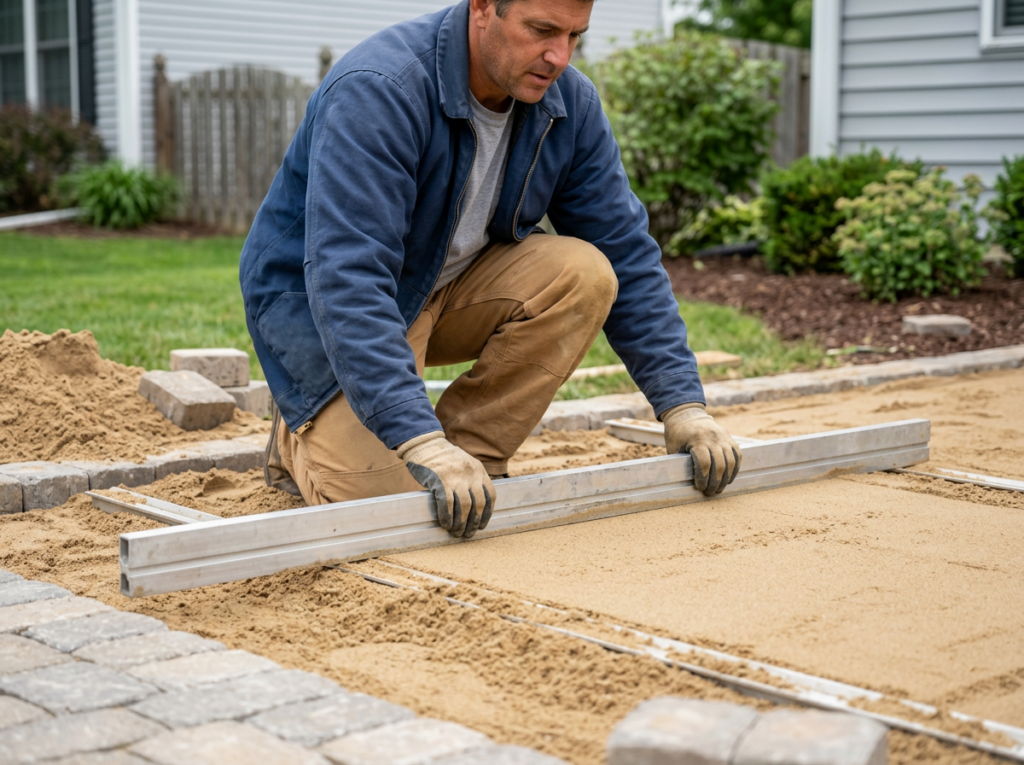
When installing bedding sand, we spread it evenly over the compacted base and then “screed” it to a consistent 1-inch depth using screed rails. This ensures a perfectly flat surface for the pavers. The angularity of the sand particles is key here, as rounded grains, like those found in play sand or mason’s sand, would shift under pressure, compromising the stability of the entire paver system.
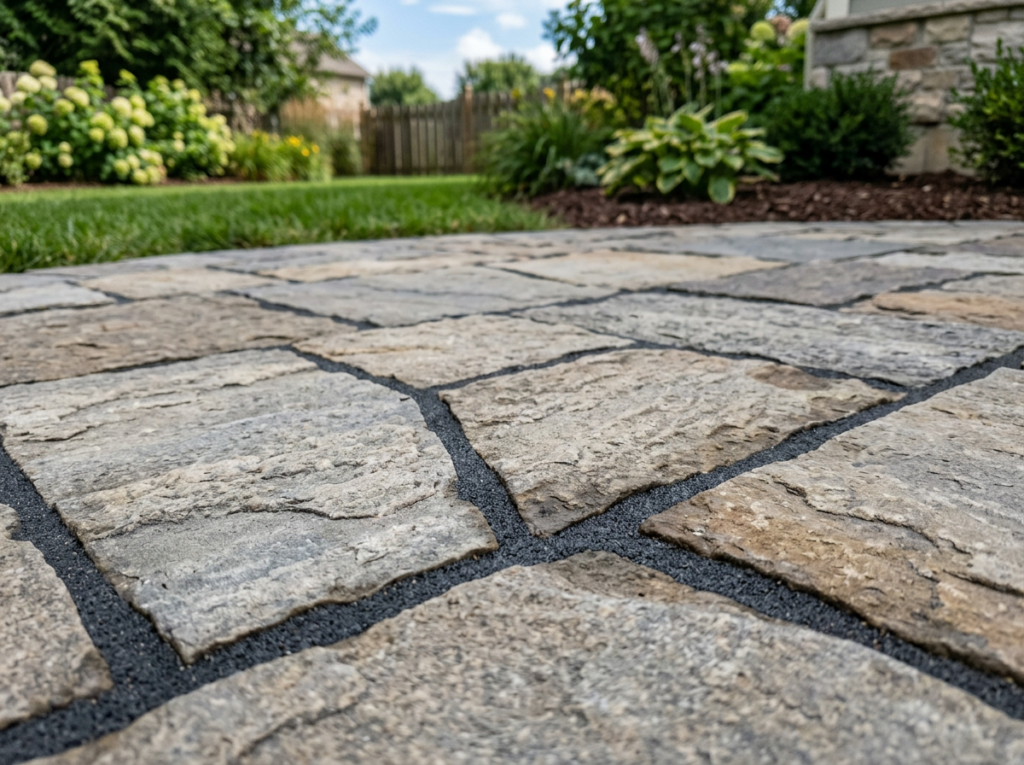
Jointing sand, on the other hand, is applied after the pavers are laid and compacted. Its role is to fill the gaps between the individual pavers, locking them together and preventing lateral movement. This interlocking action is what gives a paver surface its strength and ability to withstand traffic and environmental stressors. Without proper jointing sand, pavers would shift, allowing weeds to grow and insects to burrow.
Comparing Loose Sand, Polymeric Sand, and Resin Binders
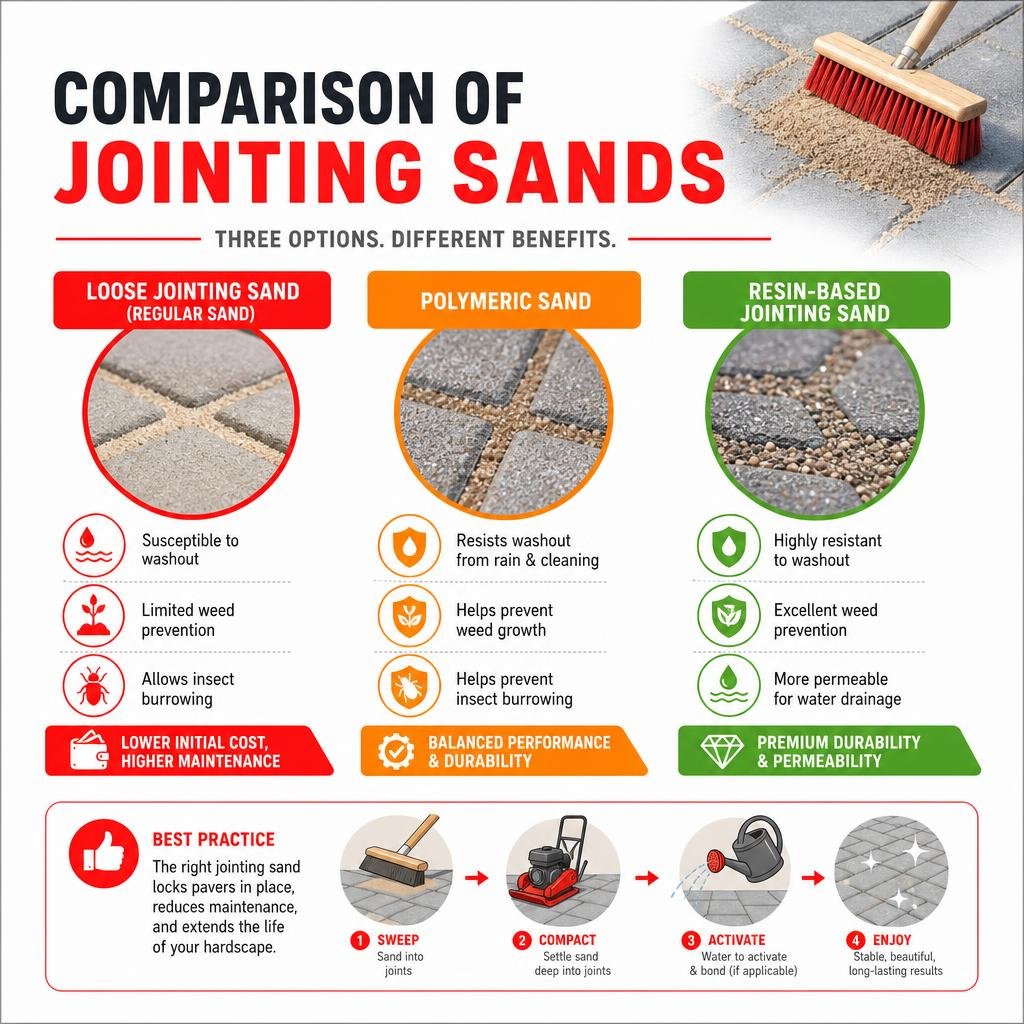
The choice of jointing sand significantly impacts the long-term performance and maintenance requirements of our paver project. While traditional loose sand has been used for centuries, modern alternatives like polymeric sand and resin-based jointing sand offer enhanced benefits.
- Loose Jointing Sand (Regular Sand): This is typically a fine, washed sand swept into paver joints.
- Pros: Inexpensive, easy to apply, readily available.
- Cons: Highly susceptible to washout from rain and pressure washing, offers minimal weed prevention, and provides little resistance to insect burrowing. It requires frequent replenishment, leading to higher annual maintenance costs. This type of sand is not recommended for most modern paver applications due to its limitations.
- Polymeric Sand: A blend of finely graded sand and special polymer additives that, when activated with water, form a flexible yet firm bond.
- Pros: Significantly reduces weed growth (by up to 90% compared to traditional loose sand), prevents insect burrowing, and resists washout from rain and pressure washing (can withstand up to 2000 psi without eroding). It remains flexible, making it suitable for freeze-thaw climates. It drastically reduces annual maintenance costs for paver patios by up to 70%.
- Cons: More expensive than loose sand, requires specific installation conditions (dry pavers, specific watering technique), and can stain pavers if not applied correctly. It may require reapplication after 5-10+ years.
- Resin-Based Jointing Sand (Resin Mortar/Resin Paving Joint Compound): This product consists of aggregates pre-mixed with a resin binder, often supplied in a ready-to-use, permeable form.
- Pros: Offers superior durability and weed prevention, highly resistant to washout, and generally more permeable than polymeric sand, allowing water to drain through the joints. It’s often easier to apply than polymeric sand in certain conditions, as it can sometimes be applied in damp weather.
- Cons: Typically the most expensive option, can be difficult to remove if mistakes are made, and some products can have an oily residue that may temporarily mark pavers. Curing times can be longer, and it might not be suitable for all joint widths or paver types.
Choosing between these options depends on our budget, desired level of maintenance, and specific project requirements. For most residential projects, polymeric sand strikes an excellent balance of cost, performance, and durability.
Specialty Paver Substrates and Landscape and Building Materials Alternatives
While polymeric sand is a versatile solution for many paver projects, certain situations call for alternative jointing materials or specific considerations.
For very narrow joints (less than 1/8 inch), polymeric sand can be challenging to install effectively, as the fine polymers may not properly penetrate and bind. In such cases, or for aesthetic reasons, some prefer to leave them as tight-fitting dry joints or use a very fine, non-polymeric sand if washout is not a major concern.
When working with red clay bricks, extreme caution is advised with polymeric sand. The fine polymer dust can permanently stain porous red clay bricks, creating a milky or hazy residue that is very difficult to remove. Many experts recommend avoiding polymeric sand altogether for red clay bricks. A traditional alternative is to use Type N mortar, applied joint-by-joint, which is a more labor-intensive but safer option for these materials.
For specialty paver materials like travertine tiles, polymeric sand is generally not recommended as a bedding material or for leveling, as it’s not designed to support heavy loads or provide structural leveling. For leveling travertine, a proper bedding mix like sand mix or a specialized setting bed is required. However, some polymeric sands are formulated for use in travertine joints, so always check the manufacturer’s recommendations.
False joints, which are decorative grooves on the paver surface that don’t extend through the full depth, can be successfully filled with polymeric sand. The key is to ensure the sand fills the groove completely and is properly activated.
For permeable pavers, specialized permeable jointing aggregates are typically used, often a coarse, angular aggregate rather than fine sand, to maintain the system’s drainage capacity. Polymeric sands designed for permeable systems exist but must be specifically chosen for that application to ensure proper water flow.
Installation, Maintenance, and Calculations for Long-Term Durability
Proper installation and ongoing maintenance are crucial for maximizing the lifespan of our paver investment. Even the best materials will underperform if not handled correctly.
Step-by-Step Joint Sand Preparation, Compaction, and Activation
Installing polymeric sand correctly is a multi-step process that requires attention to detail. This guide focuses on applying polymeric sand to existing paver joints, but many steps are similar for new installations.
- Preparation is Key: First, we must ensure the pavers are completely dry. Any moisture can prematurely activate the polymers and lead to staining. Remove all existing sand, weeds, and debris from the joints down to the bottom of the paver. A powerful pressure washer or a shop vac can be effective for this. If weeds are present, consider applying a non-selective herbicide several days prior.
- Spreading the Sand: Pour the polymeric sand onto the dry paver surface. Using a hard-bristle broom, sweep the sand into all the joints, ensuring they are completely filled.
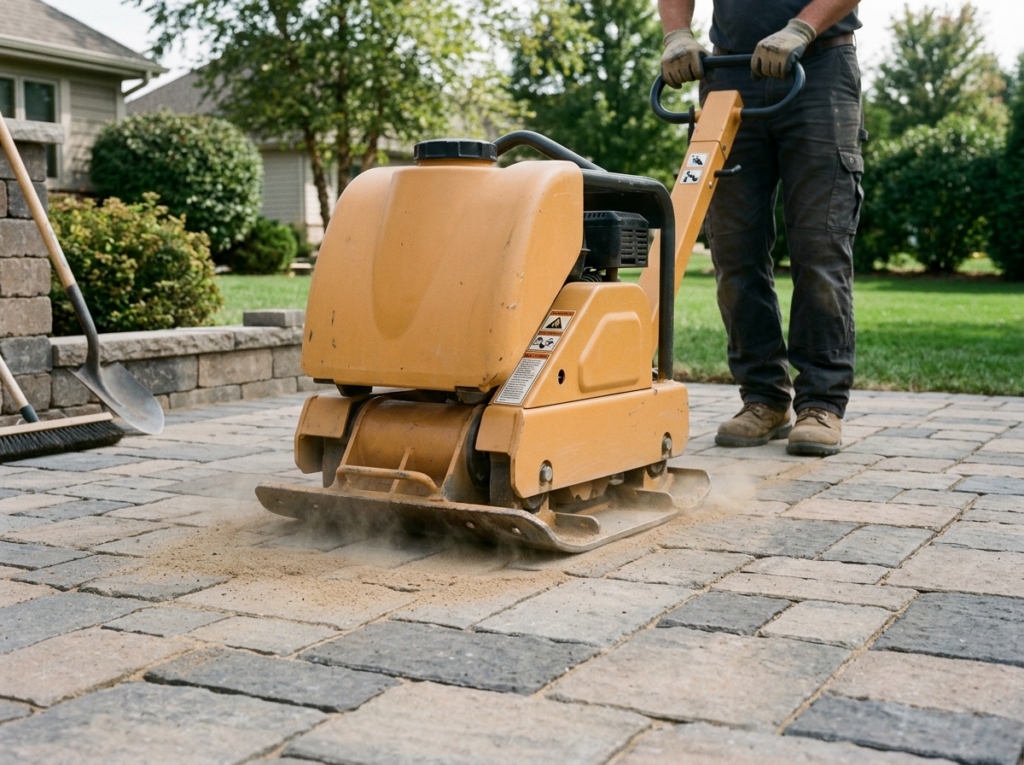
- Compaction: This is a critical step. For optimal results, use a vibratory plate compactor to settle the sand deep into the joints. This compaction helps to eliminate voids and ensures the sand fills the entire joint depth. If a compactor isn’t feasible for a small area, tapping the pavers with a rubber mallet can help, but a compactor is best practice.
- Remove Excess Sand: After compaction, sweep more polymeric sand into any low spots and re-compact. Then, and this is vital for preventing staining, use a leaf blower on a low setting, held at a 30-degree angle, to thoroughly remove all excess sand and dust from the paver surfaces and bevels. Any residual dust left on the paver face will harden and create a milky haze when watered. We can also use fine brushes or even tweezers for stubborn debris in small gaps.
- Water Activation: Working in sections no larger than 10×10 feet, gently mist the joints with water using a shower setting on a hose nozzle. The goal is to saturate the sand without washing it out or creating puddles. We should see the water begin to soak in and the sand darken. Continue watering until the joints will not accept any more water and a slight film appears on the surface, indicating the polymers are activating. Do not overwater, as this can cause polymers to float out and stain the pavers.
- Final Sweep/Rinse: After the initial watering, a quick, light rinse over the entire area can help wash away any remaining polymer residue from the paver surface before it sets. This is a delicate step; ensure it’s a light rinse, not a heavy spray.
- Protection: Restrict pedestrian traffic for at least 24 hours and vehicular traffic for 72 hours. If heavy rain is expected within the first 24-48 hours, cover the area with a tarp to prevent washout before the sand fully cures.
Essential Hardscaping Tools for Joint Sand Installation:
- Hard-bristle broom
- Leaf blower
- Vibratory plate compactor (rentable)
- Garden hose with shower nozzle
- Shop vacuum or pressure washer (for old sand removal)
- Safety glasses, gloves, and dust mask
Joint Sizing, Weather Resistance, and Staining Prevention
The success of polymeric sand also hinges on appropriate joint sizing and careful application to prevent common issues.
Joint Widths: Polymeric sand performs best in joints between 1/4 inch and 1.5 inches wide. If joints are too narrow (e.g., less than 1/8 inch), the sand may not properly penetrate or bind. If they are excessively wide (over 1.5 inches), the sand may not achieve sufficient strength and could crack or erode. The sand should fill the entire depth of the paver joint, coming within 1/8 inch of the top of the paver or the bottom of any bevel.
Freeze-Thaw Performance: A significant advantage of polymeric sand is its flexibility after curing. This allows it to expand and contract with the freeze-thaw cycles common in colder climates, preventing cracking and joint failure that can occur with rigid mortar. This makes it highly suitable for driveways and high-traffic areas, as it can withstand the movement and stress without compromising integrity.
Staining Prevention: Staining is the most common complaint with polymeric sand. To ensure a clean finish:
- Ensure pavers are bone dry: Any moisture on the paver surface before application can cause polymers to stick and stain.
- Thoroughly remove all dust: Use a leaf blower on a low setting, held at an angle, to meticulously clear all polymeric dust from the paver faces and bevels before watering. This is the single most important step.
- Water correctly: Use a shower setting, misting gently to saturate the sand without creating runoff or puddles. Over-watering can float polymers out of the joints and onto the paver surface, causing a milky haze or white residue (efflorescence-like staining).
- Protect from rain: If rain is forecast within 24-48 hours, cover the newly installed area with a tarp.
Material Estimations, Sealing Guidelines, and Long-Term Care
Accurate material estimation is crucial for efficient project planning. A 40 lb bag of polymeric sand typically covers approximately 40-100 square feet, but this can vary significantly based on joint width, paver depth, and paver size (larger pavers mean fewer joints per square foot, requiring less sand).
To calculate how much polymeric sand you’ll need, consider:
- Total Square Footage: Measure the area of your paver installation.
- Paver Size and Joint Width: These factors determine the volume of sand needed per square foot. Larger pavers with narrower joints require less sand than smaller pavers with wider joints.
- Depth of Joints: Ensure you’re filling the full depth.
- Manufacturer’s Coverage Rates: Always check the specific product’s coverage estimates, as they can vary.
It’s always recommended to add a 10% overage to your calculation to account for sweep-in coverage variations, minor spills, and future touch-ups. This prevents project delays due to running out of material.
Maintenance and Sealing: After installing polymeric sand, wait several days (typically 3-7 days, depending on the product and weather) for it to fully cure before applying a paver sealer. Sealing after the polymeric sand has set will protect both the pavers and the jointing material. A good quality paver sealer will enhance color, protect against stains, and further stabilize the sand.
For ongoing care, regular sweeping and occasional rinsing are usually sufficient. While polymeric sand can withstand pressure washing up to 2000 psi, we should still exercise caution. Use a fan tip nozzle and keep it moving to avoid dislodging the sand. Regular maintenance, such as clearing debris and cleaning spills promptly, will help preserve the beauty and integrity of our paver surface for years to come.