

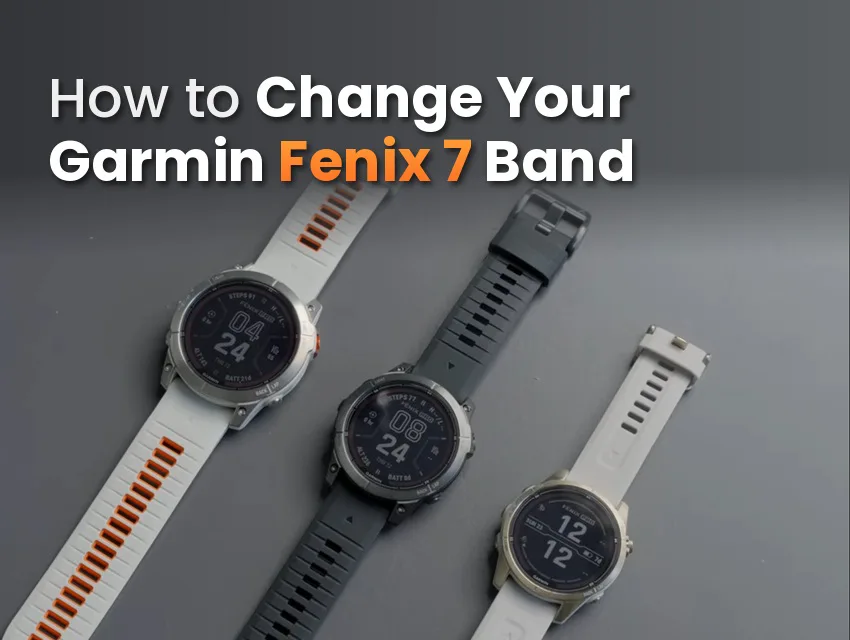
You probably know that your Fenix 7 uses Garmin’s proprietary QuickFit strap connector, but do you know what size you need when it comes time to replace your strap?
The most common mistake when buying a new watch strap is getting the incorrect size. We’ll break it down so you can order your next Garmin band with confidence.
The base Fenix 7 uses QuickFit 22, the smaller 7S uses QuickFit 20, and the bigger 7X uses QuickFit 26. Below we walk you through the size check, removal, installation, and the three snags people hit most.
Key Takeaways
- The Fenix 7 uses Garmin QuickFit, not standard spring bars, so the band clicks on and off with no tool needed.
- The base Fenix 7 takes QuickFit 22, the smaller 7S takes QuickFit 20, and the bigger 7X takes QuickFit 26.
- The top buyer mistake is ordering the wrong QuickFit size, so match the size to your exact model before you buy.
- To remove a band, slide the latch on the QuickFit connector open and lift the band off the watch pin.
- To install, line the connector up with the watch pin and press down until you hear and feel the latch click into place.
Before You Start, Confirm Your QuickFit Size
Garmin’s Fenix 7 comes in three sizes, and each one takes a different QuickFit band, so if you order a 20 or a 26 for a base Fenix 7 watch that needs QuickFit 22, it won’t fit.
The base Fenix 7 takes QuickFit 22, the smaller 7S takes QuickFit 20, and the bigger 7X takes QuickFit 26. The Pro versions match their base size, so a 7 Pro is still 22 and a 7X Pro is still 26.

Not sure which case you have? Our Garmin Fenix 7 lug width and strap size guide confirms it in a second.
| Model | QuickFit size |
|---|---|
| Fenix 7 (and 7 Pro) | QuickFit 22 |
| Fenix 7S (and 7S Pro) | QuickFit 20 |
| Fenix 7X (and 7X Pro) | QuickFit 26 |
| Connector type | QuickFit connector, not spring bar |
Tools Required
Here’s what trips people up: the Fenix 7 doesn’t use spring bars or standard quick-release straps. It uses a QuickFit connector that clicks on.
You don’t need any tools for this swap, because QuickFit is built to be tool-free. Each band ends in a QuickFit connector with a built-in latch, and that latch locks onto a fixed pin between the watch lugs.
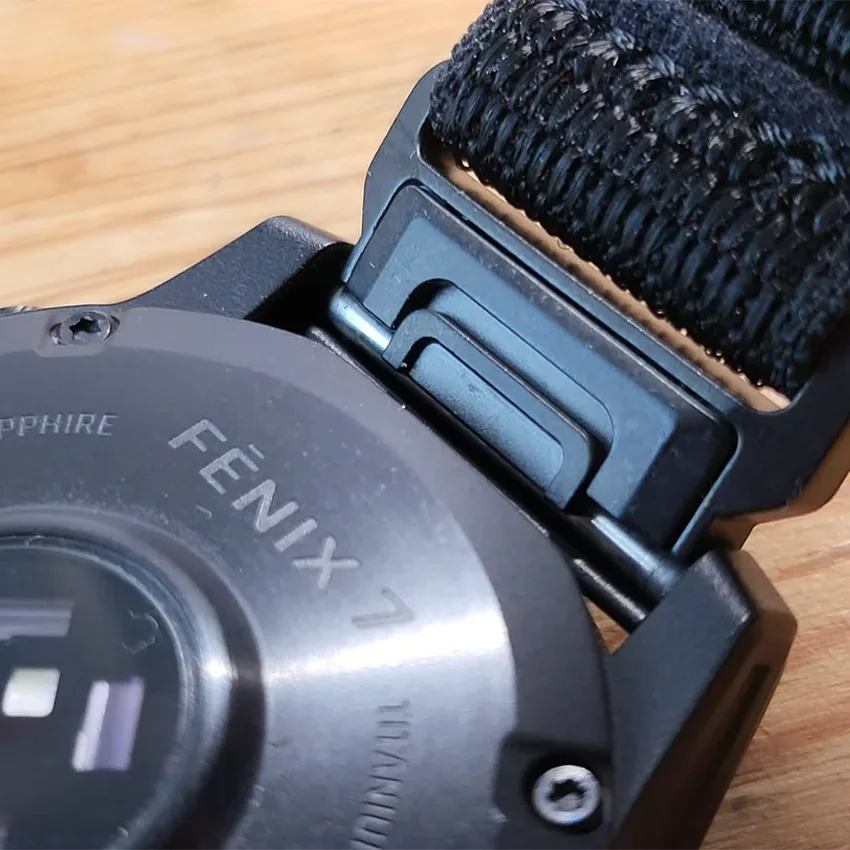
This is the part that surprises people coming from an older watch. There’s no spring bar and no tool needed. You slide the latch open with a finger or nail, and the band comes off in your hand.
How to Remove the Fenix 7 Band
The latch sits on the back of the QuickFit connector, right where the band meets the watch.
Here’s how to remove the QuickFit band:
- Hold the watch face-down in one hand, or rest it on a clean, soft surface to protect the screen.
- Find the latch on the back of the QuickFit connector, where the band meets the watch.
- Slide the latch open with a fingernail to release the connector from the watch pin.
- While you hold the latch open, lift the band away from the watch case so the connector clears the pin.
- Release the latch once the band is free.
- Repeat for the band on the other side.
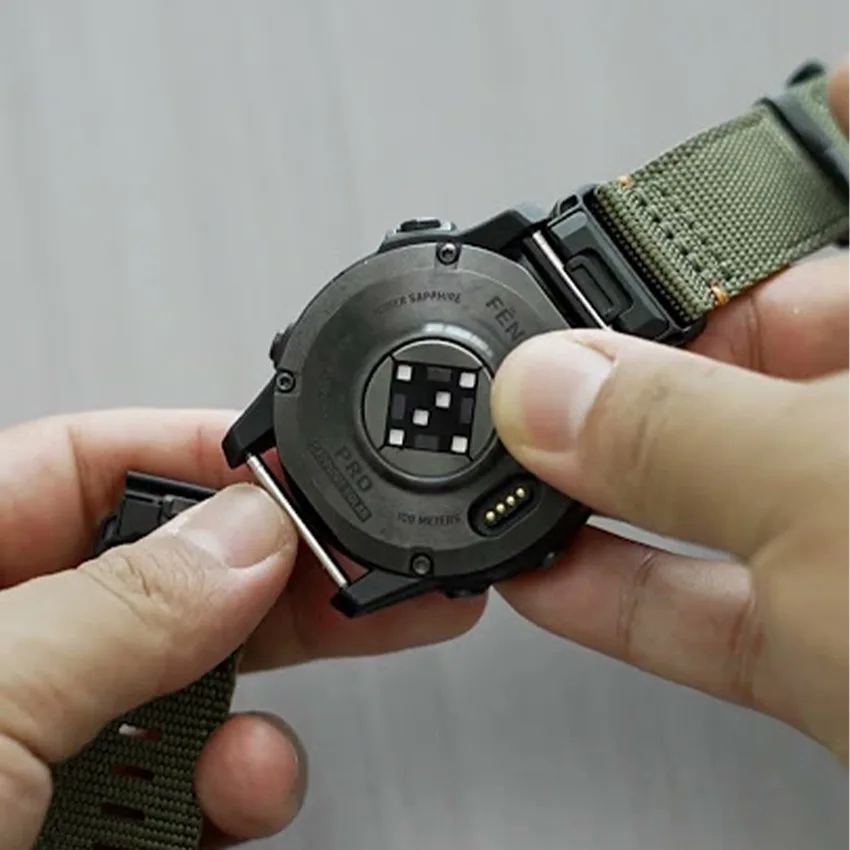
Common mistake: Pulling the band off without opening the latch feels stuck and can stress the connector. Slide the latch open first, then lift, and it comes off with almost no force.
How to Install the New Fenix 7 Band
Installing just reverses the removal:
- Hold the watch face-down with the lugs exposed and the new band lined up the right way around.
- Line up the QuickFit connector with the pin between the watch lugs.
- Press the band down toward the case until the latch clicks closed over the pin and the connector sits flat.
- Give the band a gentle tug to confirm the connector is locked and doesn’t lift.
- Repeat for the other side, then check that both bands sit flush against the case.
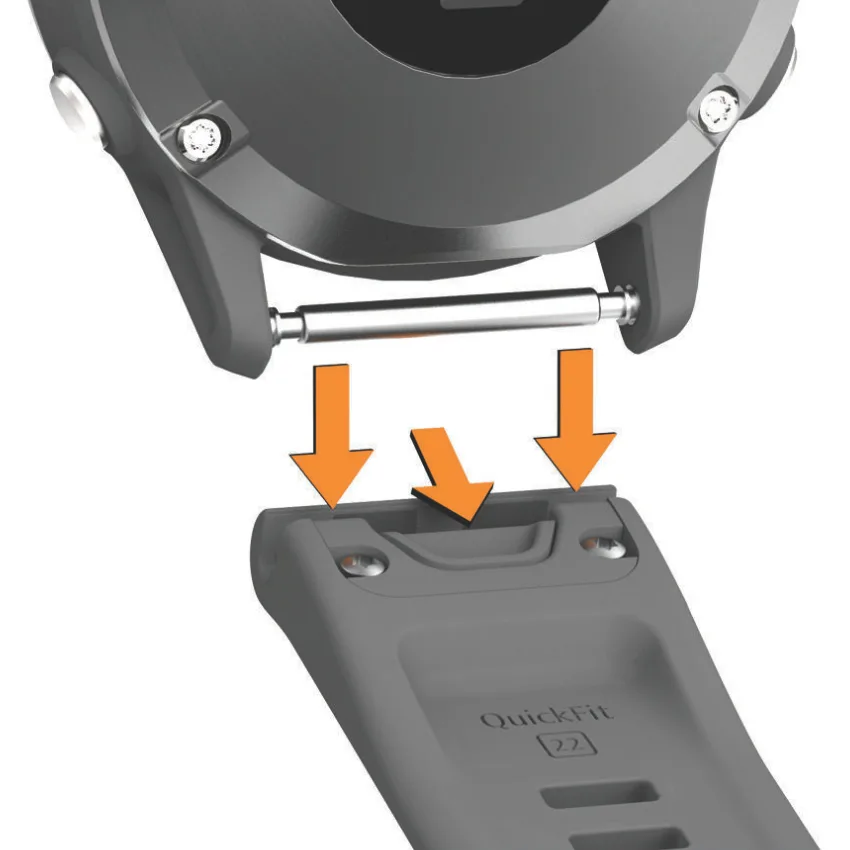
Check the click: You should hear and feel a firm click on each side. A connector that isn’t fully seated can pop off on a trail run or in the water, so listen for the click and check both ends before you wear it.
Troubleshooting Common Band Swap Issues
These three problems cover nearly every message we get after a Fenix 7 band swap.
The Band Wobbles or Feels Loose After Clicking On
The connector isn’t fully seated. Press the band down again on the loose side until you hear a firm click, then tug it to confirm it holds. If it still wobbles after a clean click on both sides, the problem is usually the band itself.
Many low-cost QuickFit clones have loose tolerances, so they rock even when seated. A well-made QuickFit band sits tight with no play, so that’s the fix worth spending on.
The Latch Is Stiff or Won’t Let Go
Brand-new QuickFit connectors can feel tight the first few times. Slide the latch fully open with a fingernail and steady pressure, and let it release before you lift the band.
Don’t pry the connector with a knife or a screwdriver, because that gouges the lug and can crack the latch. If the latch still sticks, rinse the connector with fresh water to flush out any grime or dried sweat, then try again.
You Ordered the Wrong QuickFit Size
A QuickFit 20 band won’t lock on properly on a base Fenix 7 that needs QuickFit 22. This is the top buyer mistake on this watch, and you unfortunately can’t adjust your way out of it.
Confirm your exact model first, then match it: 22 for the base 7, 20 for the 7S, and 26 for the 7X, with Pro versions matching their base size.
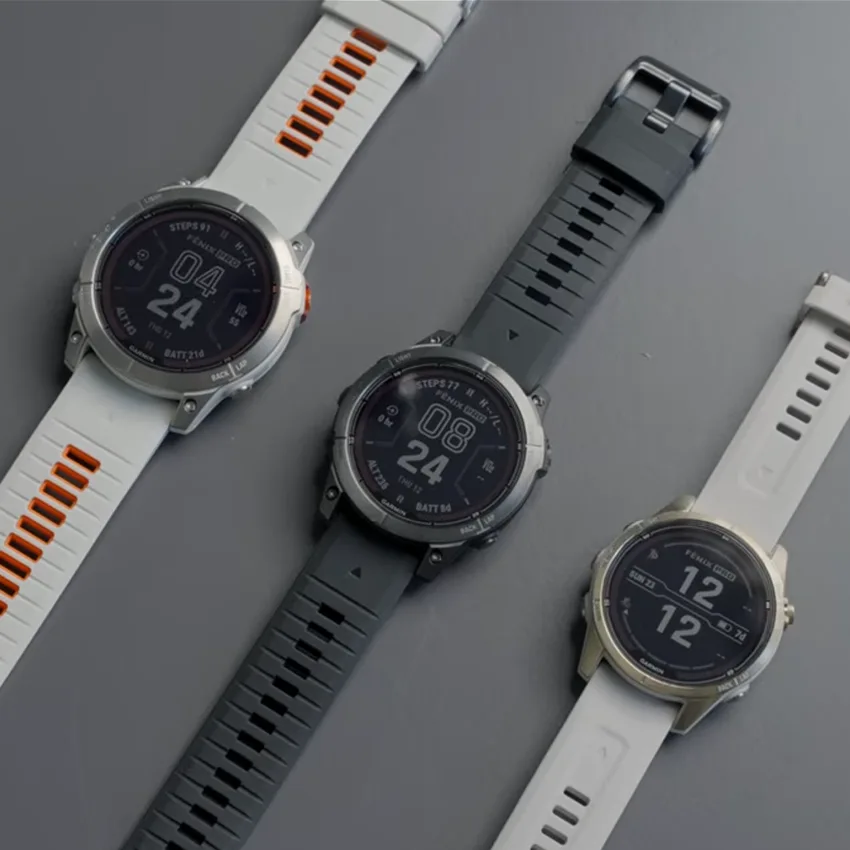
Shopping for more than one watch? Our Garmin band size chart covers every model.
Band Care After Installation
Once the new band is on, a little care keeps it from deteriorating.
Three habits make a band last:
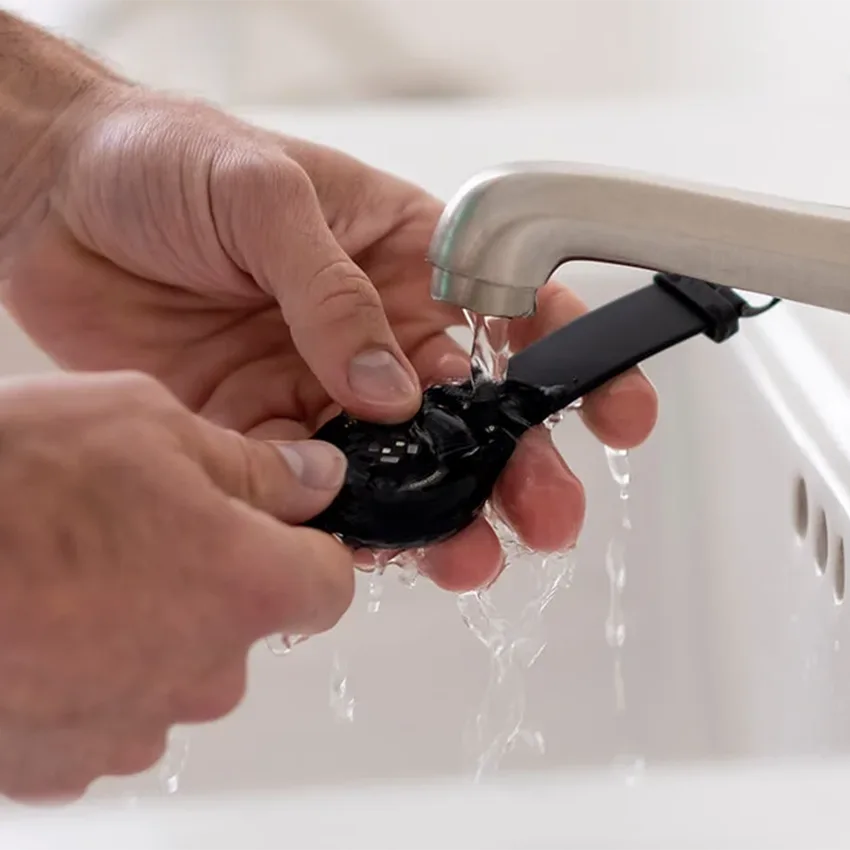
- Rinse it with fresh water after every sweat session or pool day, then brush any lint or grit out of the connector and latch.
- Let it dry all the way before you store it or wear it overnight for sleep tracking, since trapped moisture against your skin can contribute to skin irritation.
- Keep the band out of long, direct sun when you can, because heavy UV light can fade colors over time.
When to Replace vs Repair a Garmin Fenix 7 Band
Replace the band when the adjustment holes or keeper loop start cracking, the QuickFit latch cracks, or the connector sits loose on the watch pin. All three are structural rather than cosmetic, and you can’t repair any of them.
The adjustment holes take the most abuse on any rubber strap, because the buckle tongue pulls on them and the strap flexes there with every wear. The keeper loop is the small band that holds the strap’s loose end, and once it cracks or stretches, that end starts flapping loose and rubbing your wrist. As one Garmin owner put it: “Every Garmin rubber band I’ve had starts cracking at the keeper loop holes after about 8 to 10 months of daily use.”

Watch for three signs that it’s time for a new band:
- Cracks at the adjustment holes or a split keeper loop, which weaken the strap and let the loose end flap around.
- A cracked or chipped QuickFit latch, which stops the band from locking on cleanly.
- A loose connector that wobbles or lifts on the pin even after a firm click.
Your Fenix 7 Swap Is Done
With the old band off and the new one latched on both sides, you’re done. The whole thing takes a couple of seconds per side once you know where the latch sits and which QuickFit size you need. And because QuickFit is tool-free, swapping the band is quick whenever you want a new look.
We stock QuickFit in all three Fenix 7 sizes, so the base 7, the 7S, and the 7X are all covered. Browse the Garmin Fenix 7 bands collection for options.
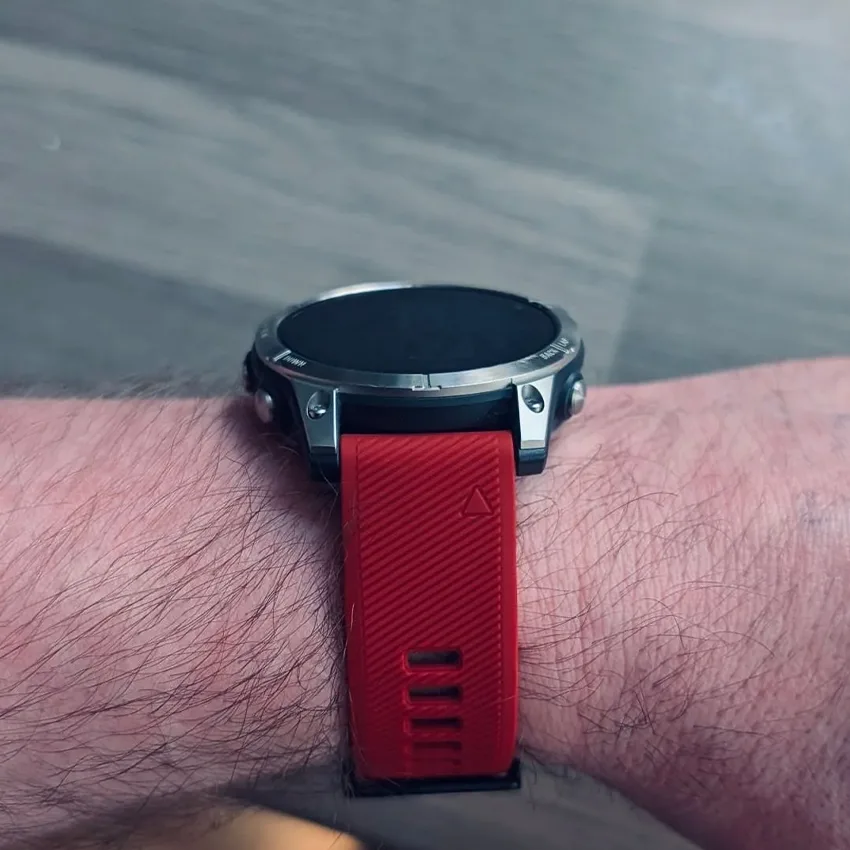
Which band is going on your Fenix 7 next?
Frequently Asked Questions
Does the Garmin Fenix 7 use QuickFit or spring-bar bands?
The Fenix 7 uses Garmin QuickFit, not quick-release spring bars. This is a common mix-up, since many watches still use spring bars and a spring bar tool. QuickFit is different, because each band ends in a connector with a latch that clicks over a fixed pin on the watch. So you can swap it in seconds by hand.
What QuickFit size does the Fenix 7 take?
The base Fenix 7 takes QuickFit 22, the smaller 7S takes QuickFit 20, and the bigger 7X takes QuickFit 26. So the size isn’t the same across the family, which is why a band that fits a friend’s 7X won’t fit your base 7. We encourage you to confirm your exact model before you order.
Do the Fenix 7 Pro models use the same band as the standard Fenix 7?
Yes, they do. The Pro versions match their base size, so a 7 Pro takes the same QuickFit 22 as the standard 7, and a 7X Pro takes the same QuickFit 26 as the standard 7X.
The Pro upgrade added a flashlight to every size and a newer heart rate sensor, but it didn’t change the band mount. So any QuickFit band in your case size works on both.
Do I need a tool to change the Fenix 7 band?
No, you don’t. QuickFit is built to be tool-free, so there’s no spring bar tool and no pins. You slide open the latch on the band’s connector with your finger, and the band lifts off the watch pin. To put a new one on, you line up the connector and press until it clicks. That’s the whole job on each side.
Why does my Fenix 7 band feel loose or wobble?
Most of the time the connector isn’t fully clicked on. Press the band down again until you hear a firm click, then tug it to check that it holds. If it still rocks after a clean click on both sides, the band is likely a low-cost QuickFit clone with loose tolerances. A well-made QuickFit band seats tight with no play once it clicks.