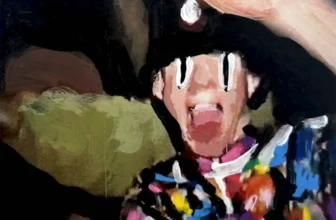


If the advice “Don’t ever use black paint! It dulls your paintings, and mixing blacks with colours always looks better” sounds familiar, then you’ve probably been thoroughly scared away from using black paints in favour of mixing them to create chromatic blacks. Although this can be brilliant advice in many cases, the beauty and individual assets of black pigments should also be given fair consideration. In this article, I give practical demonstrations using the Jackson’s Artist Pigment Set in Black, by transforming the six pigments into ink, oil, watercolour, and egg tempera to paint with, in response to historic artworks.
Painting in Black: Working with Pure Pigment Powders
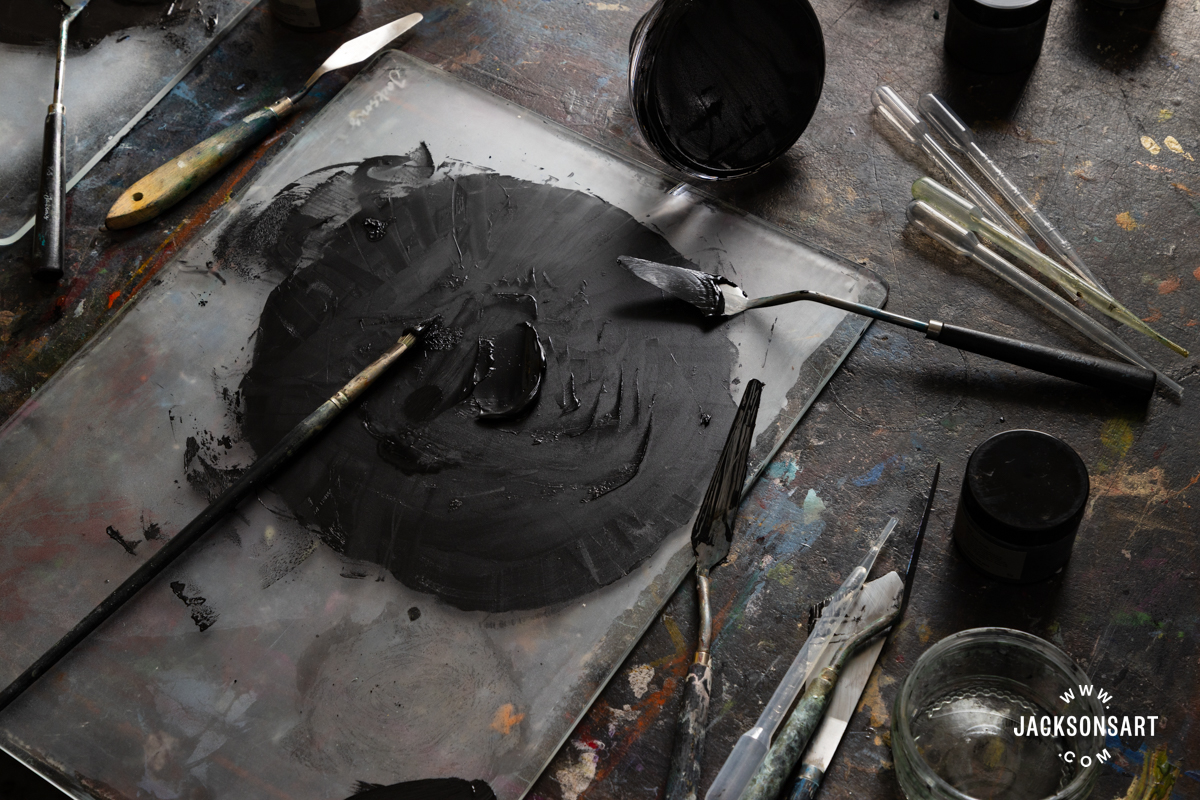
Properties of the Jackson’s Artist Pigment Set in Black
The beauty of working with pigments instead of buying paints is that you can transform them into a host of different mediums by combining them with different binders. This means you could use the same little pot of pigment to make drawings and paintings, without having to reinvest in the same colour in tube form for each medium. Working with pigments is often more economical, since they are relatively cheaper than pre-mixed materials, and give you the flexibility to jump between mediums.
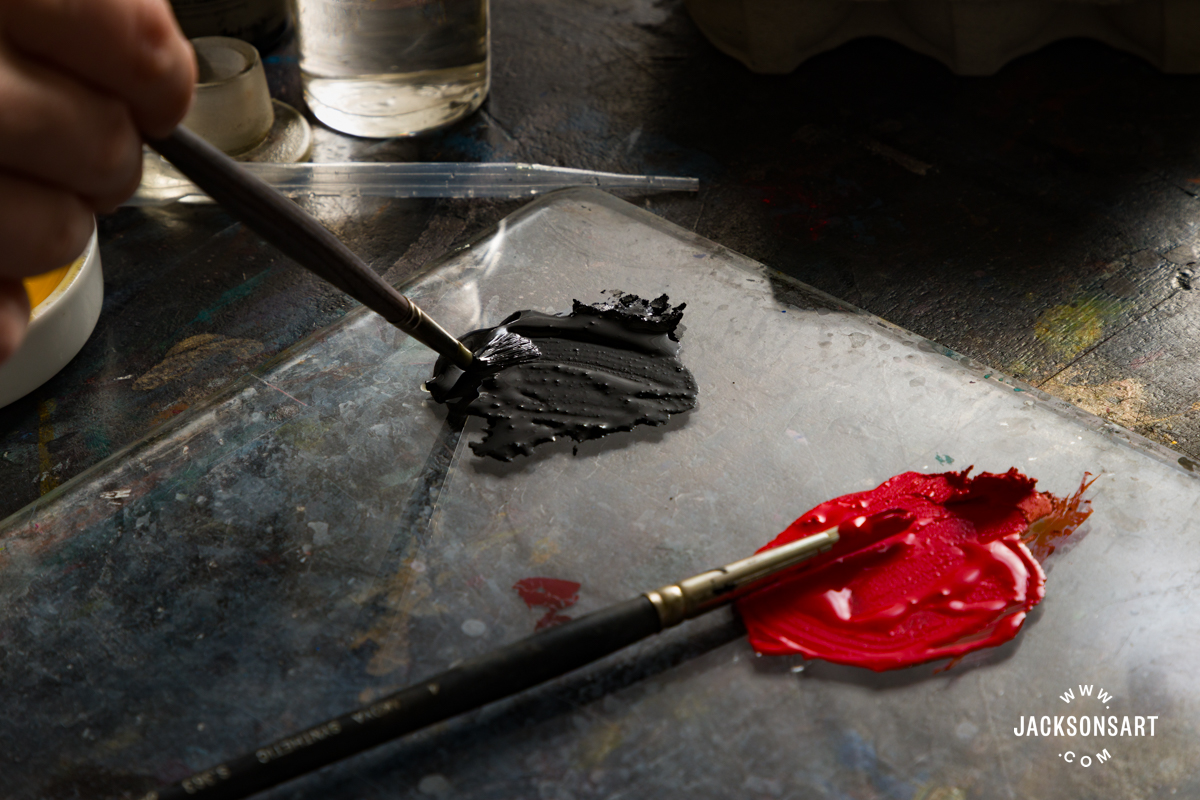
The Jackson’s Pigment Set in Black contains the following pigments: Graphite Silver, PBk10 (25 g), Graphite Black, PBk10 (25 g), Carbon Black Deep, PBk7 (10 g), Ivory Black, PBk9 (10 g), Lamp Black Intense, PBk6 (10 g) and Natural Black Iron Oxide, PBk11 (25 g).
The Artist Pigment Set comes in a small cardboard box, and each pigment is packaged in a durable plastic jar. Although the jars are all the same size, you’ll notice that the weights vary. This is because different pigments have different densities. We list the contents in grams to reflect the actual mass rather than in millilitres, which measure volume. As a result, some jars may appear to contain more product than others.
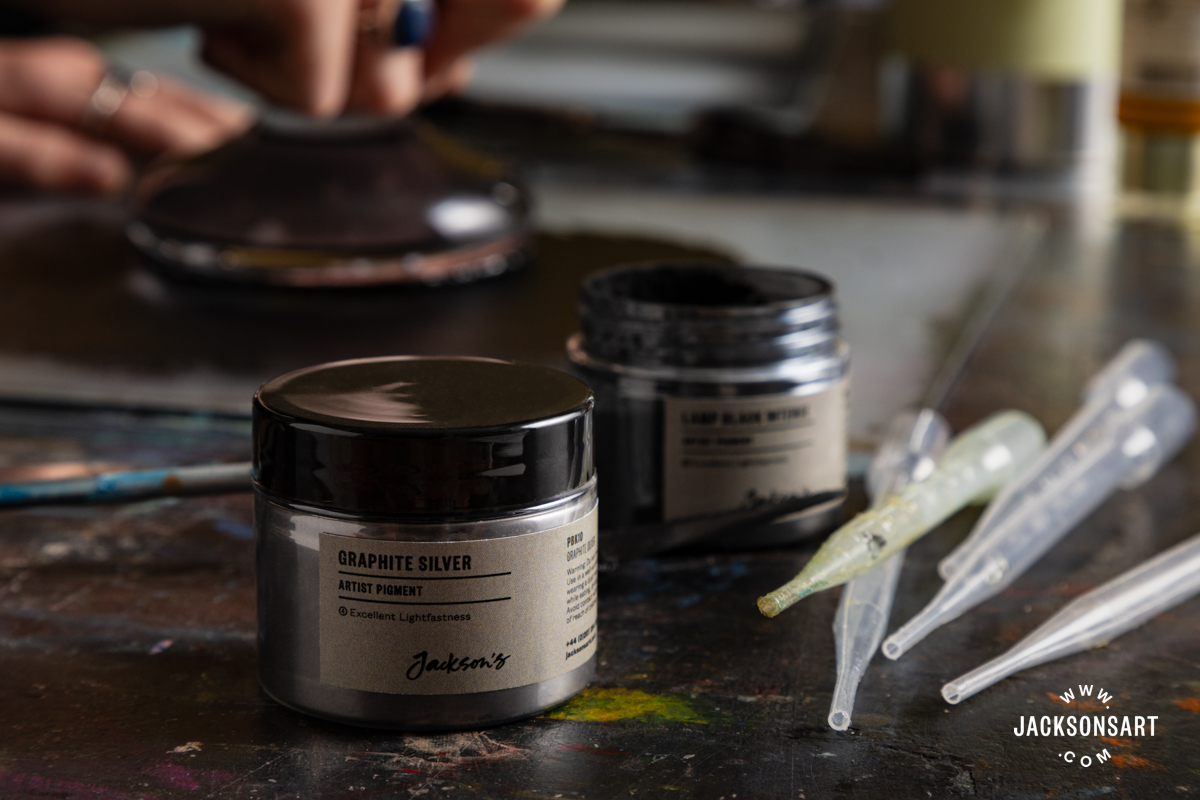
The set offers a versatile range of blacks and deep silvers, with both warm and cool tones. Graphite Silver and Graphite Black are jars full of graphite, allowing you to paint with the raw material that sketching pencils are made from. Both of these pigments have a light sheen finish. Carbon Black Deep is a deep, opaque black with high tinting strength, making it very common in printmaking inks and perfect for punching out deep shadows. Ivory Black is relatively warmer in hue, compared to the blue-leaning coolness brought by Lamp Black Intense, making them an interesting palette pairing. Natural Black Iron Oxide is made from the mineral Magnetite. It also makes a rich black, and has a moderate tinting strength, so it is ideal for mixing shades.
In the following examples, I’ll transform each pigment into a new medium and paint an example inspired by a historic artwork. When working with pigments, you should wear a dust mask and work in a well-ventilated space to prevent inhalation. Avoid eating and drinking whilst handling pigments, and make sure to close the jar lids tightly to prevent spillages. You may also prefer to use gloves – which can be essential depending on the pigments you’re handling, like cobalt and cadmium.
For more information on black pigments, Evie Hatch goes into detail in Getting the Most Out of Using Black Pigments in Your Palette.
Making Ink from Graphite Black
Ink has been used to record human stories for millennia, from Ancient Egyptian scrolls to traditional Chinese drawings. In its earliest forms, soot would simply be mixed with water, before recipes were refined over time to create more durable inks that were easier to preserve.
Kawanabe Kyōsai was a Japanese traditional and satirical artist who is considered the first political caricaturist of Japan. The boldness of these critical works landed him under arrest several times. Paired with his love of drinking and the theatre, his paintings encapsulate the exuberance of his personality. In Fox Catching Bird, he used a dynamic diagonal composition to convey the swift movement of the fox, pouncing upon the panicked bird. Building the form up in light washes, we can sense the softness of the creature, as opposed to the few details that are picked out in pure black ink, like the plants in the foreground.

Fox Catching Bird, ca. 1887
Kawanabe Kyōsai
Ink and colour on silk, 36.8 x 26.7 cm | 14.5 x 10.5 in
The Metropolitan Museum of Art
For my first demonstration of how to use the Jackson’s Pigment Set in Black, I’ll make ink out of Graphite Black, before making a painting inspired by Fox Catching Bird.
To make the ink, you will need:
A glass palette with a frosted surface – you can do this yourself by following the instructions in the article Making Your Own Paint Grinding Slab
A jar or dish to contain the ink
Gum arabic solution (or you can make your own solution from gum arabic powder)
Your chosen black pigment – I’m using Graphite Black
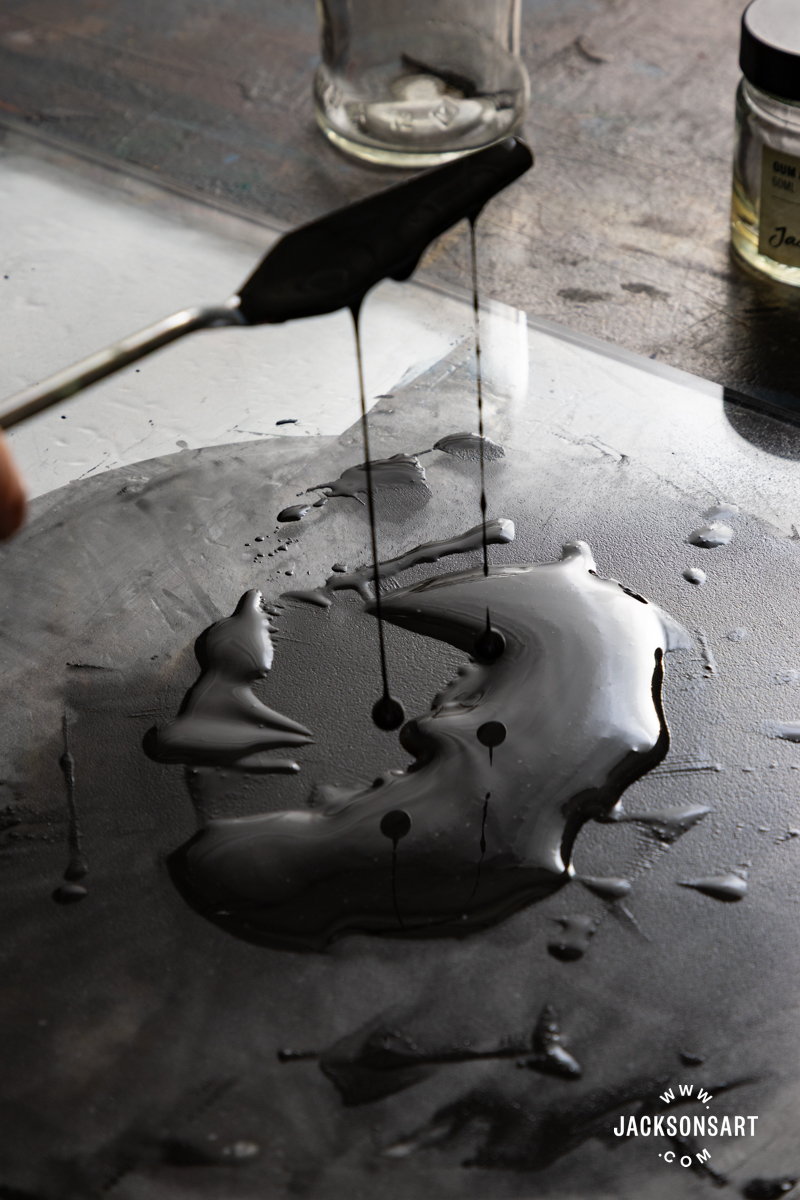
I scooped out one tablespoon of Graphite Black pigment onto my palette and made a well in the middle for the liquids to be added to. I poured out three tablespoons of gum arabic solution and added four drops of ox gall liquid to the pile, before mixing them with my palette knife. Some pigments are ‘thirstier’ than others, meaning they will require more or less medium to make them fluid to your desired consistency – this is just the mixture that worked for me for this specific pigment.

The consistency of the ink is expectedly smooth and fluid, so it will spread across your palette as you mix. It’s best to start combining the pigment in the middle of your surface, so you don’t risk it spilling over the edge.

Next, I used the muller to refine the consistency of my ink, to make sure all of the pigment was evenly distributed. I pulled all of the ink into a central pool before rubbing over it with the muller in circles. I changed direction as I worked, and once a ridge had formed around the edge of my circle, I scraped the ink back into the centre before repeating the process several times.

Once I was satisfied with the consistency of my ink, I poured it into a glass jar from the corner of the palette, using my palette knife to direct the flow.
To make the ink painting, you will need:
Your handmade ink
A jar of water
A sheet from a Hot Pressed Jackson’s Watercolour Paper Block

To begin my artwork, I lightly sketched the placement of my imagery of a cat chasing a bird on a sheet from a Hot Pressed Jackson’s Watercolour Paper Block.
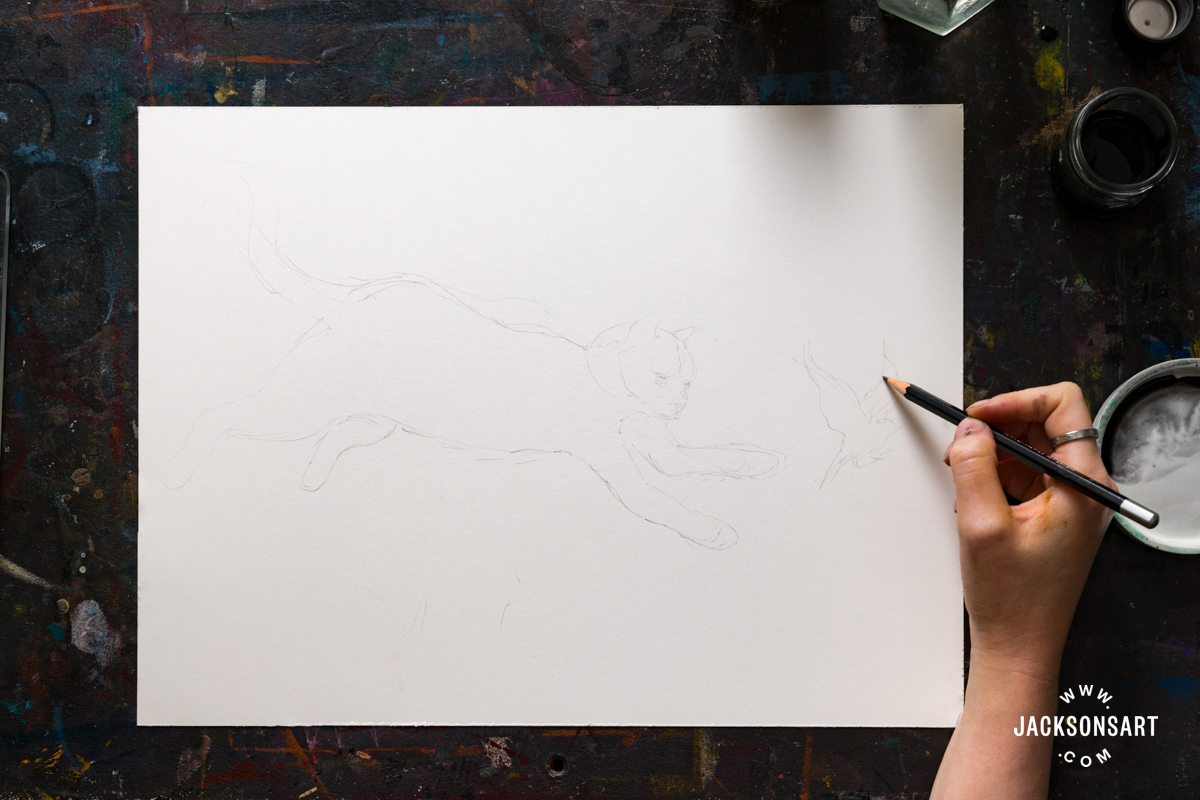
Next, I began painting by working in light layers, with the ink diluted in water. Like the example image, I intentionally kept the top side of the creature in shadow and left the bottom white.
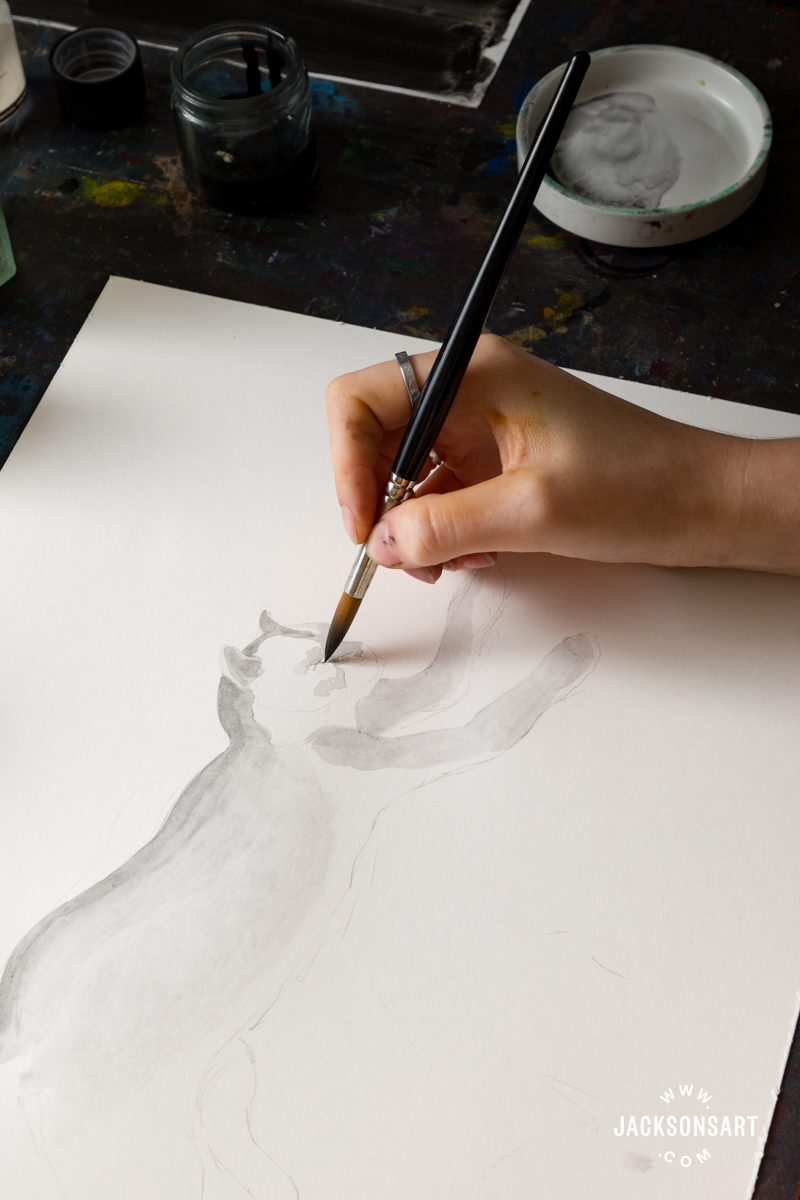
Then I washed some forms in the background, and added the placement of plants.
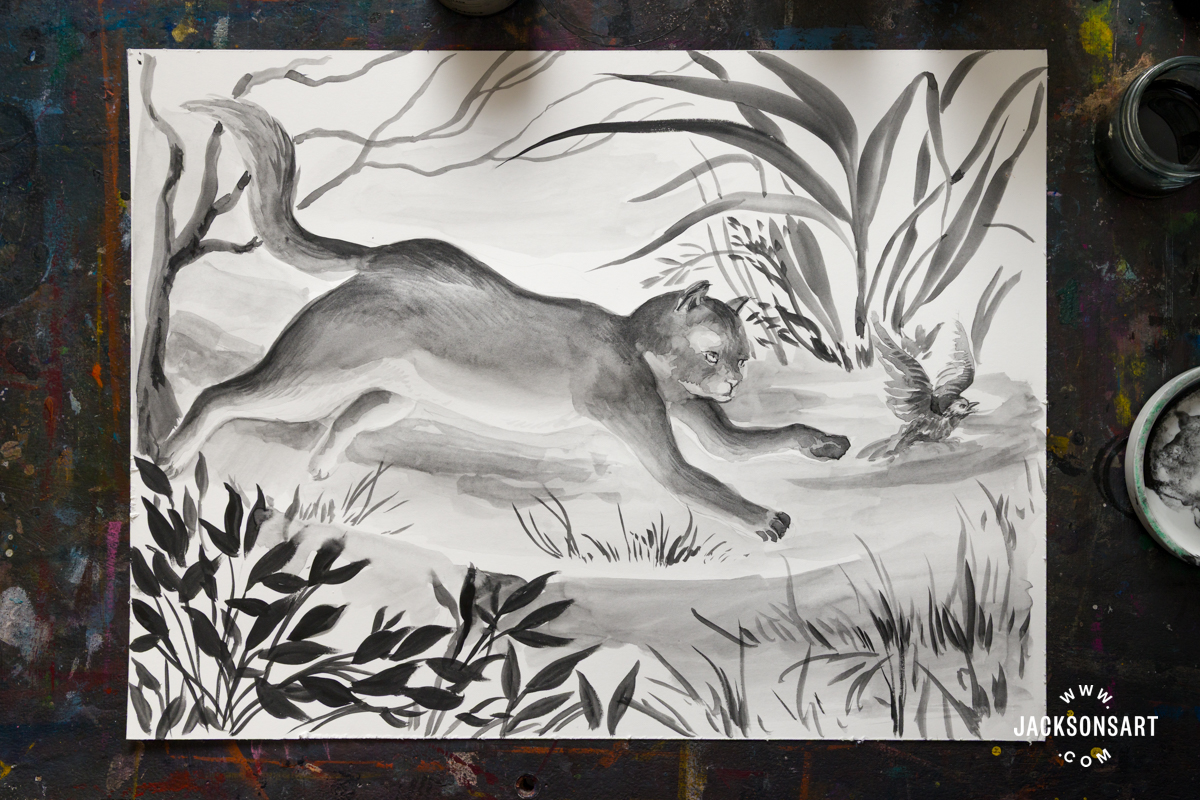
I completed the painting by picking out the darkest areas in pure black ink, after allowing the initial wash layers to dry to prevent bleeding.
Making Oil Paint from Lamp Black Intense and Ivory Black
Making oil paint from pigment is an incredibly straightforward process – you essentially just have to combine the pigment powder with oil. Some pigments need more oil added than others to gain a smooth paint consistency, rather than becoming a dry paste. Due to this, it’s impossible to give a perfect ratio of pigment to oil, since it differs so much. It’s best to start with a spoonful of pigment and add more oil as you go. This can be tailored to your preference, where you can choose between options like linseed, poppy, safflower, and walnut oil.
For this example, I mixed a small amount of oil paint that I painted with straight away. To mix greater quantities that can be added to tubes, refer to Julie Caves’ article Making Your Own Oil Paint with Jackson’s Pigments.
Young Woman in Black is an atmospheric portrait by Robert Henri, where we see the cool gaze of a lady meeting us from a darkened room, where just her face, shirt and hands are made visible. Henri was a founder of the Ashcan School, who sought to create a new movement of art that spoke to life in America at the time, rejecting academic painting and Impressionism for their aesthetic focus. Instead, they wanted to create images that were starkly honest and grounded in reality.
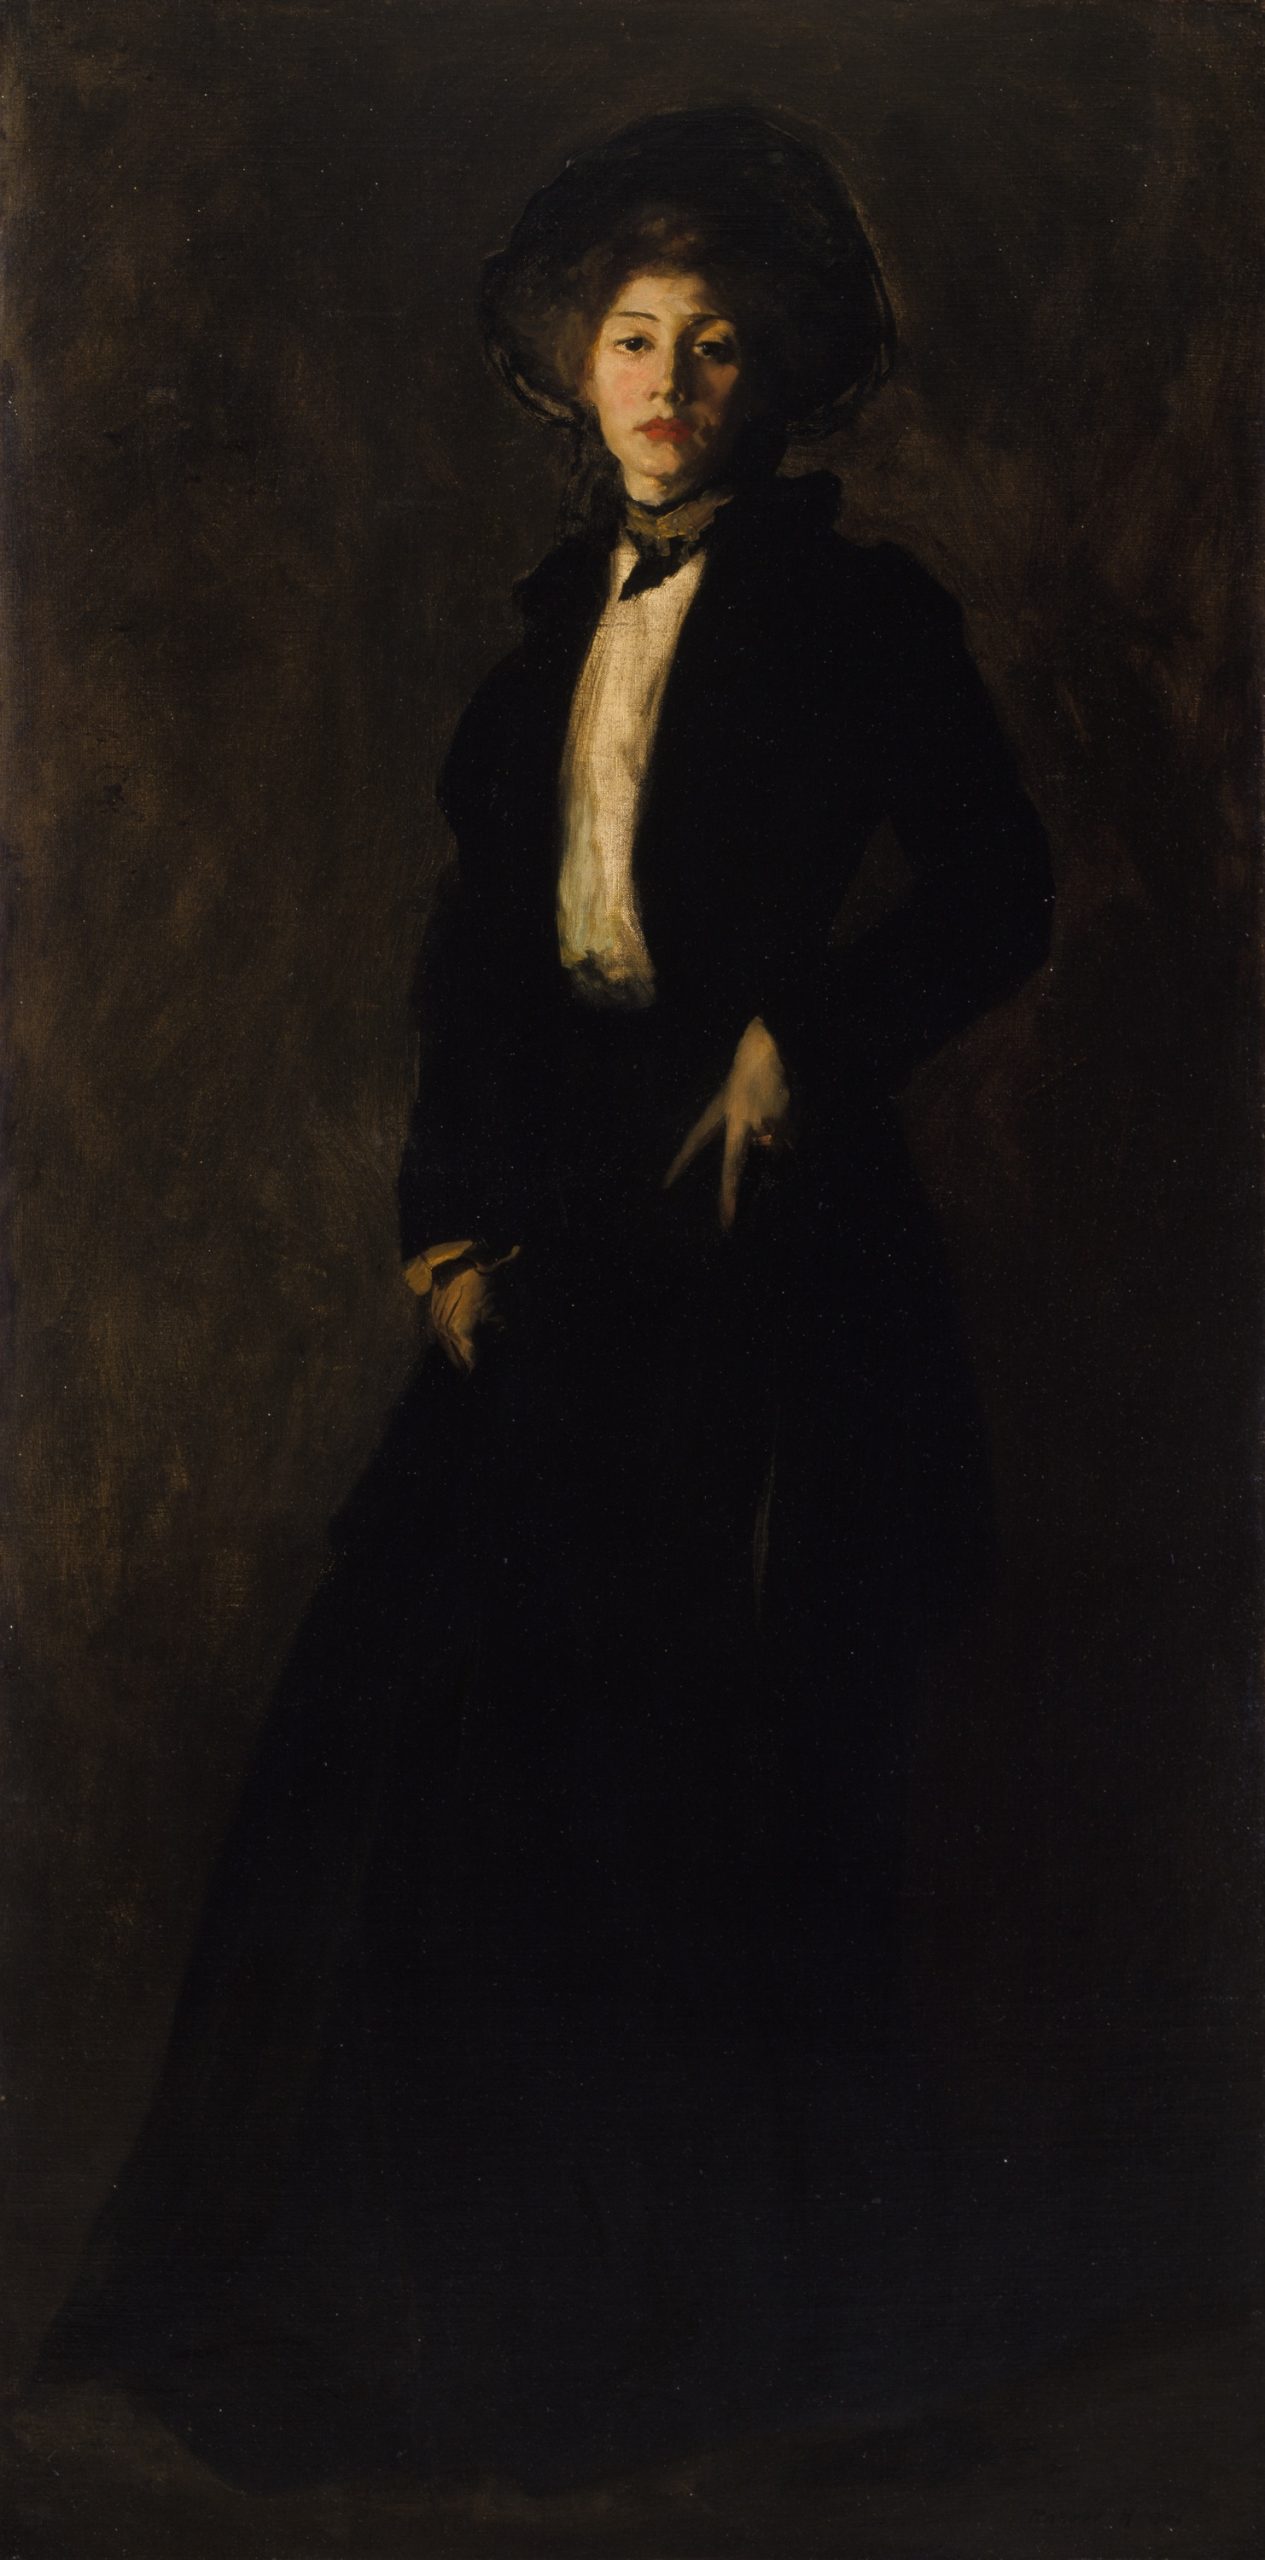
Young Woman in Black, 1902
Robert Henri
Oil on canvas, 195.6 x 97.8 cm | 77 x 38.5 in
Art Institute of Chicago
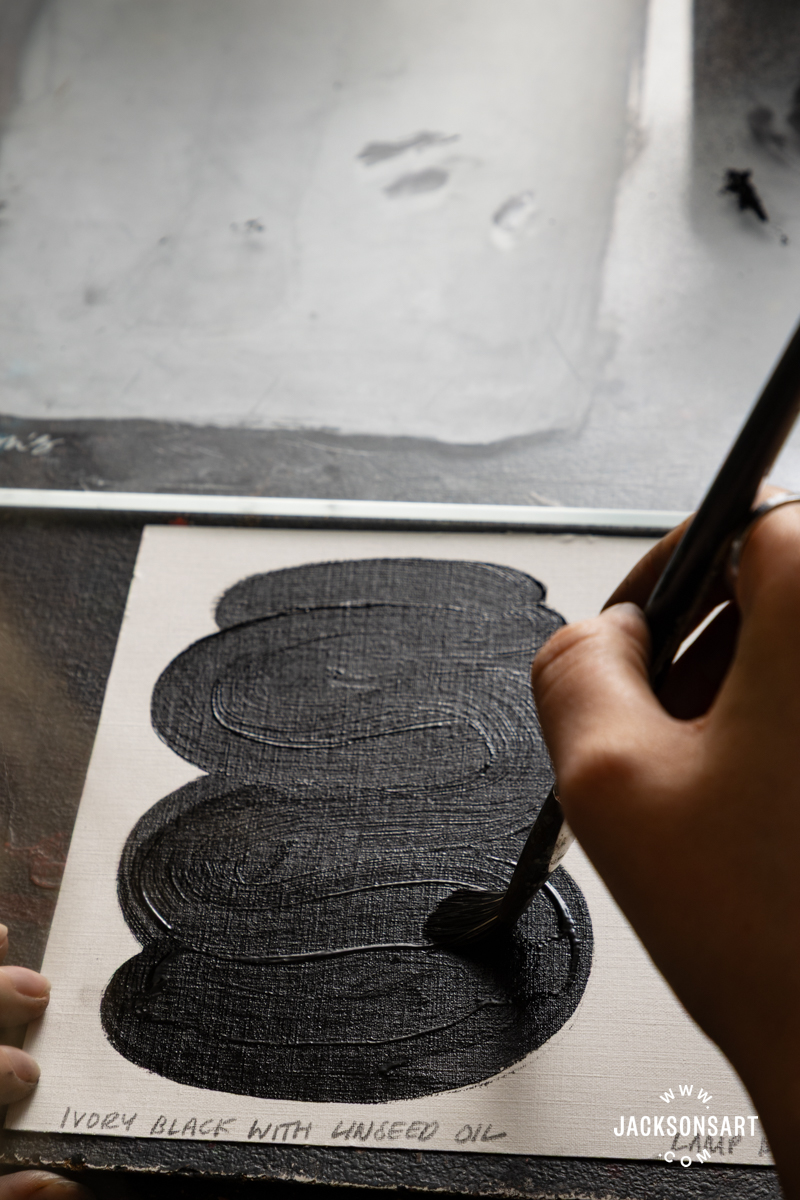
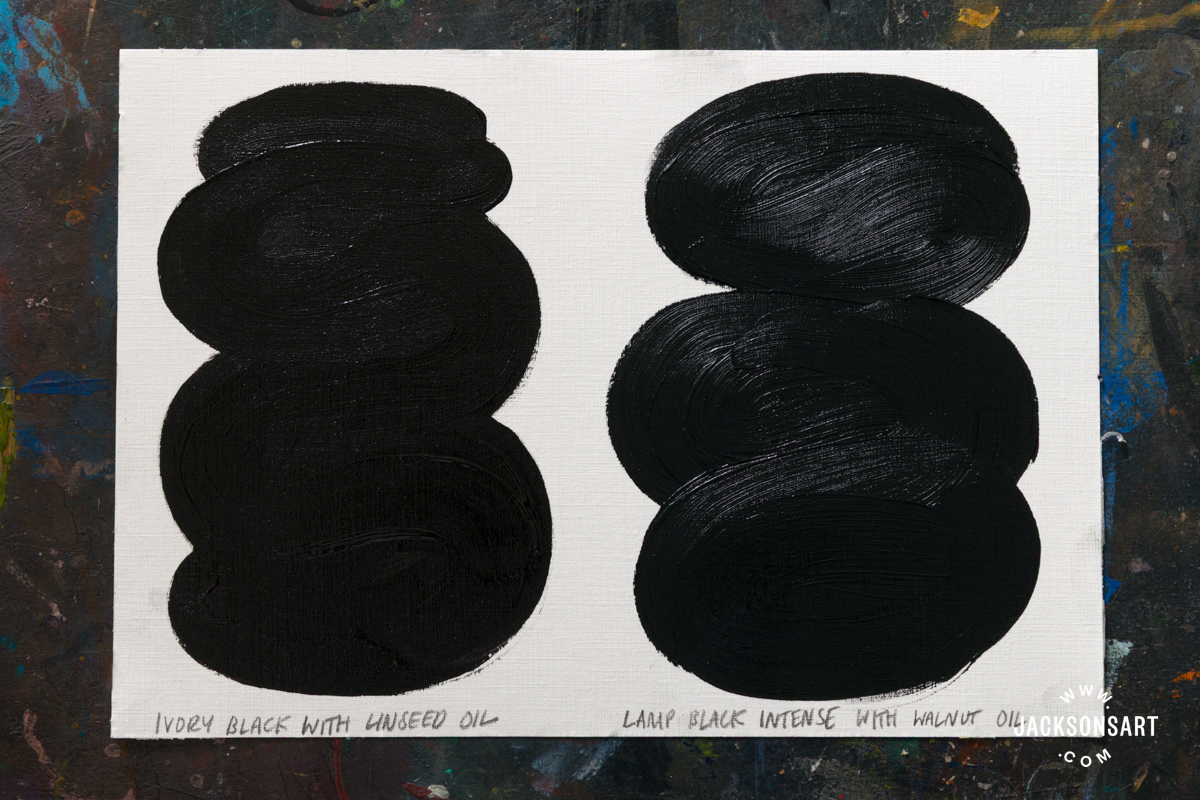
In this portrait, the black in the palette is completely enveloping, and gives the sense of a shadowed street corner or interior. The background has a warmer brown hue than the depth of her dress, so I wanted to make my example with two blacks – Ivory Black for warmth, and Lamp Black Intense for cool depth. I picked two different oils to mix the paints with, too, to experiment with their differences – Lamp Black Intense with walnut oil, and Ivory Black with refined linseed oil.
To make the oil paint, you will need:
A glass palette with a frosted surface – you can do this yourself by following the instructions in the article Making Your Own Paint Grinding Slab
Your chosen oil – I used walnut oil and refined linseed oil
Your chosen pigments – I used Lamp Black Intense and Ivory Black
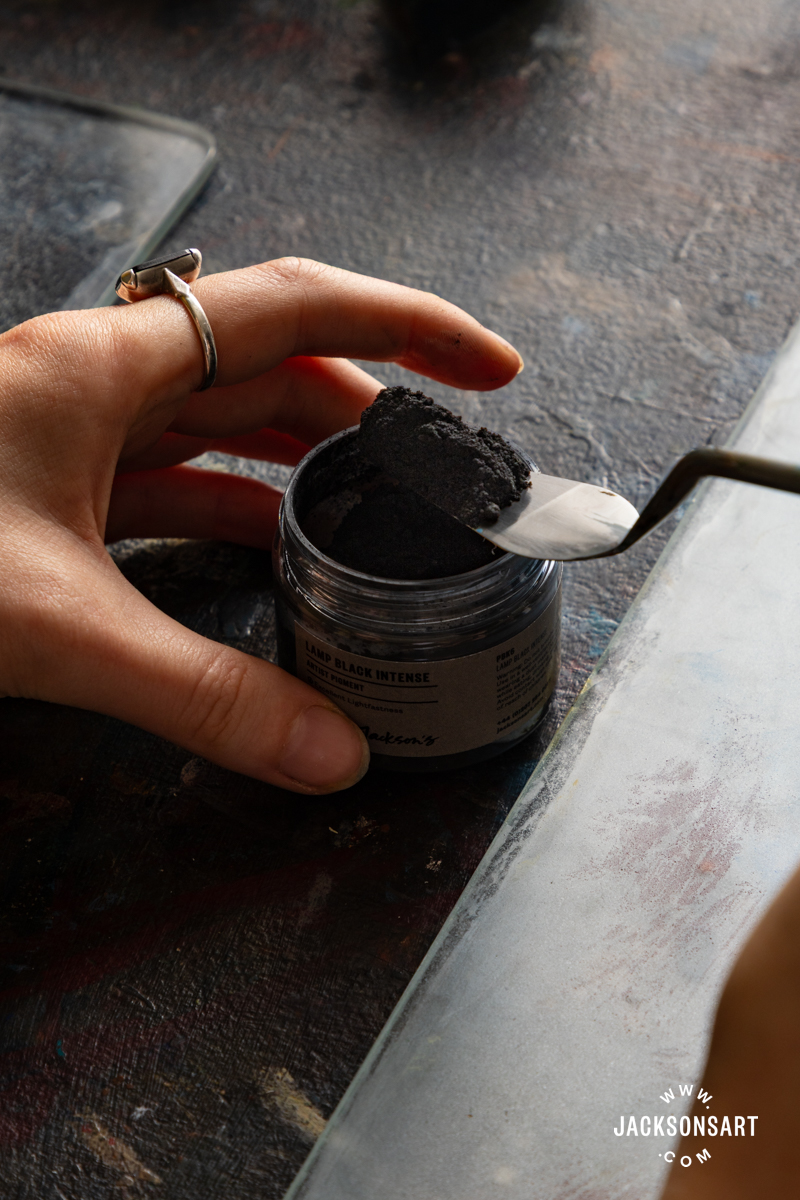
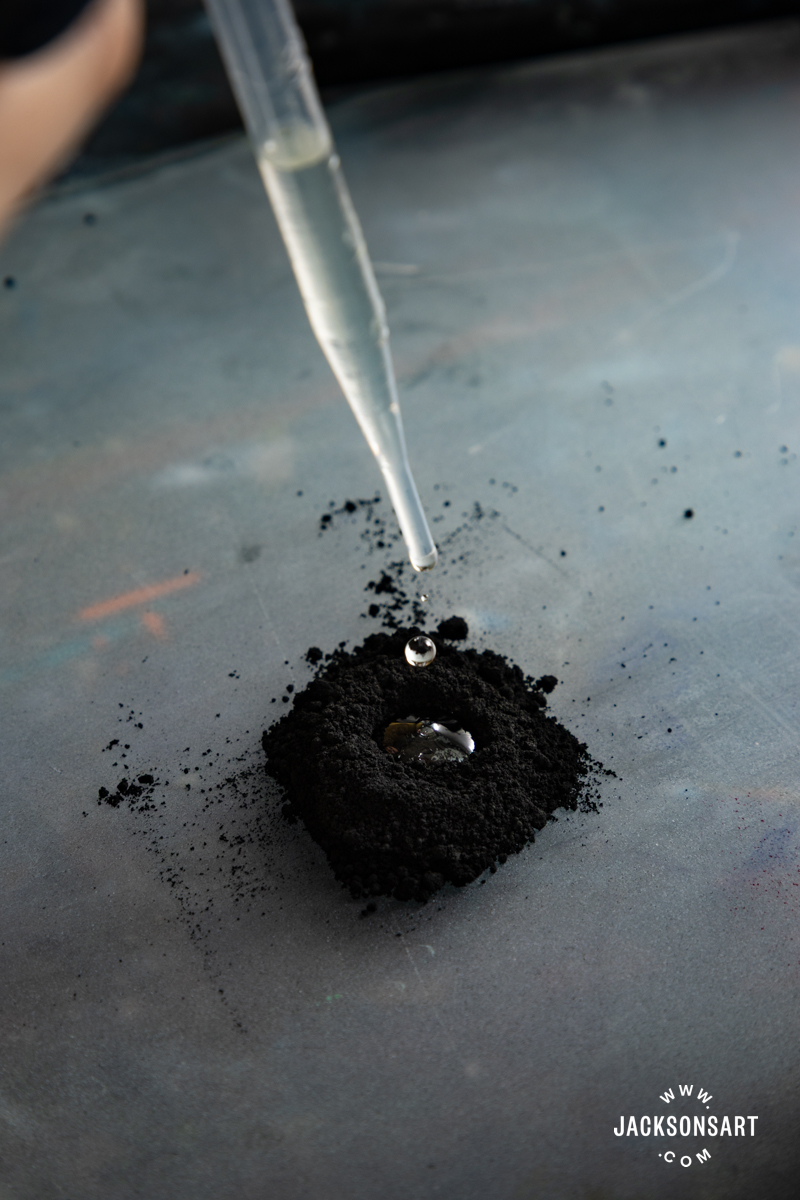
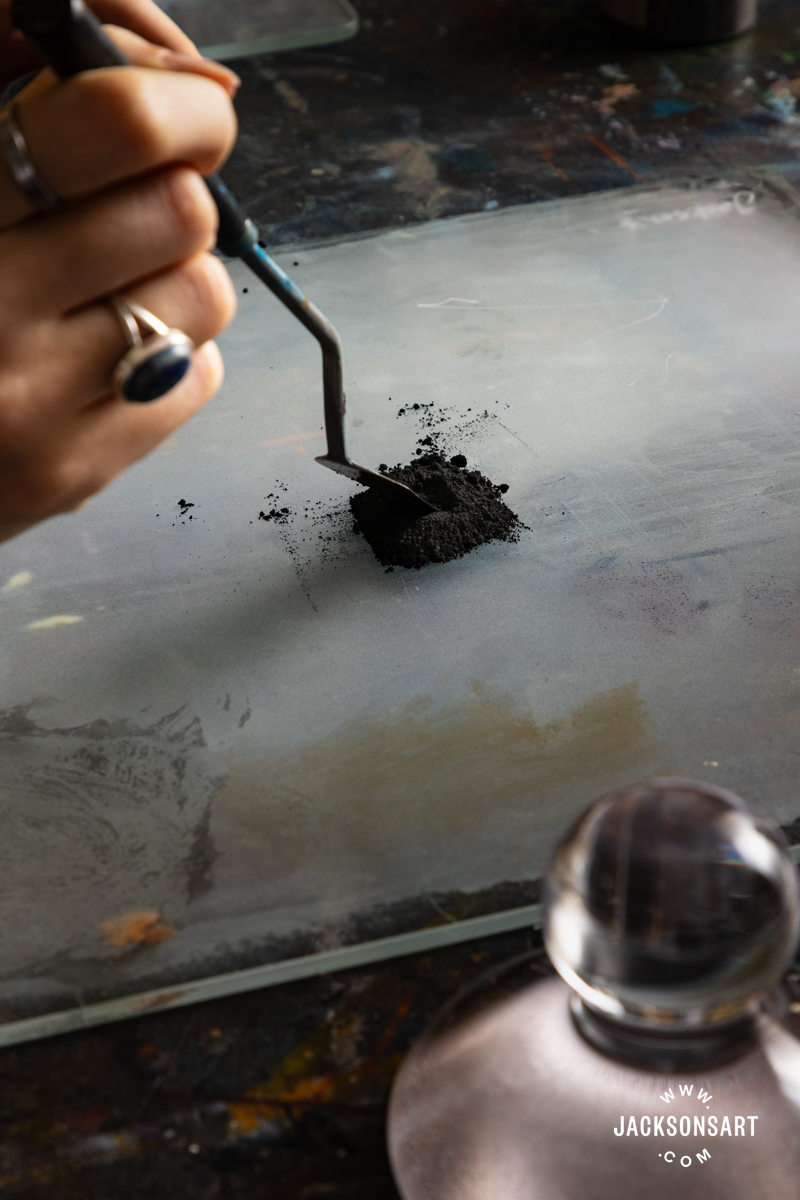
I scooped out a heap of Lamp Black Intense pigment with a palette knife onto my palette, and made a well in the middle for the oil to be added to.
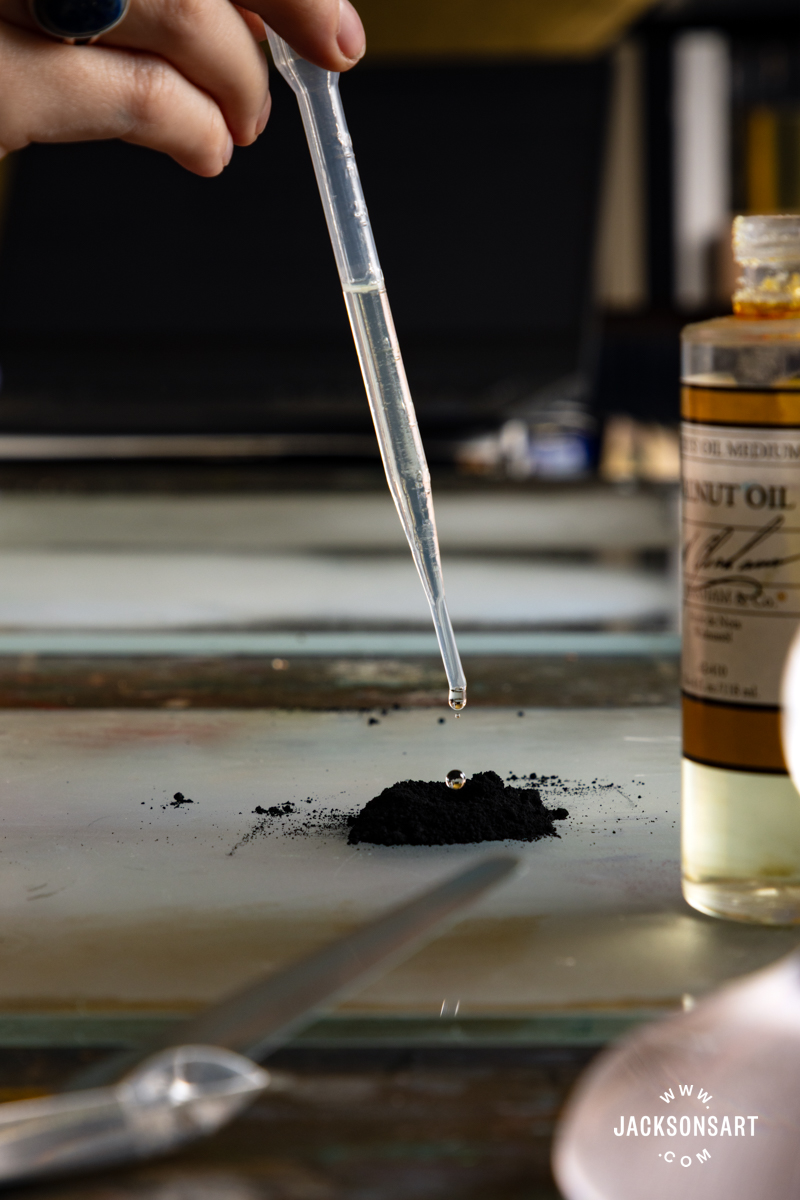
I added the walnut oil gradually with the pipette, taking care to mix the pigment together with the palette knife before adding more. Once it had formed a stiff paste and had a satin sheen, it was ready for mulling.
I moved the muller around the palette in circles, making sure to periodically change direction. As the paint was moved to the edges of my circle, I scraped it back into the centre, and scraped it off the muller itself. Being thorough ensures your paint has an even consistency.
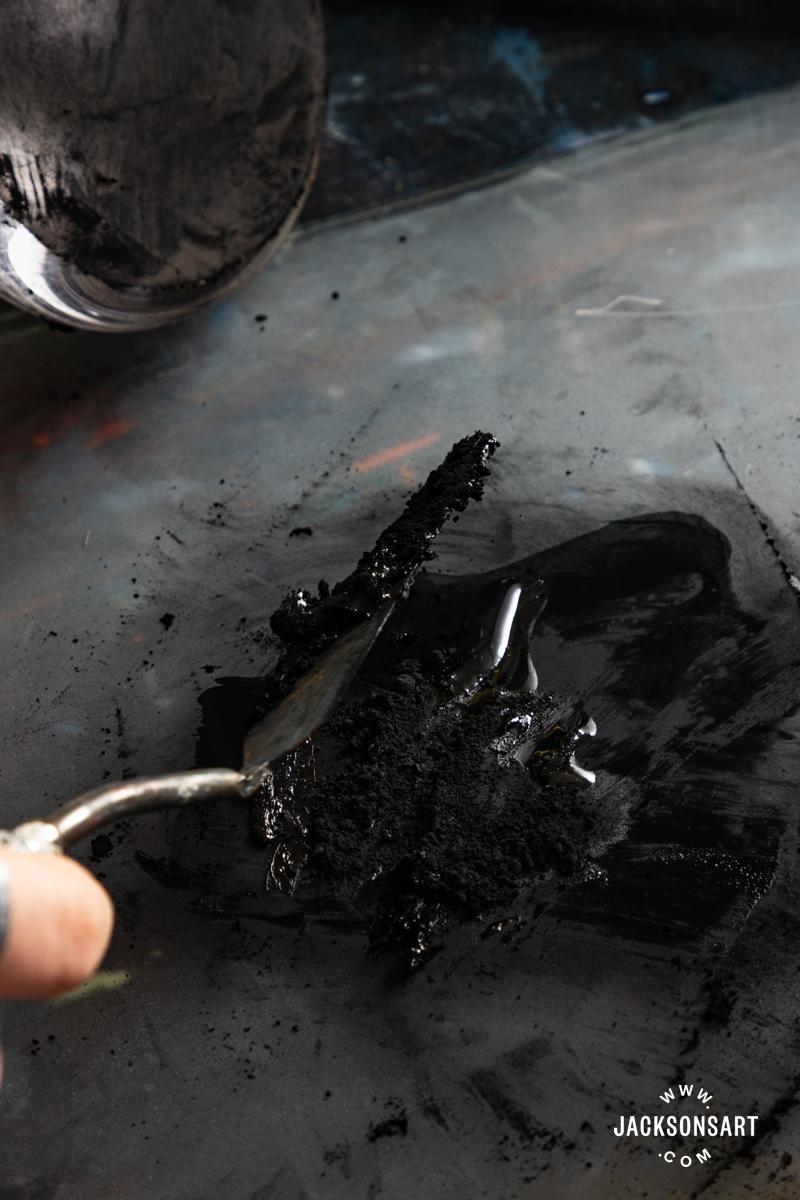
If the paint is too slick and runny, sprinkle in some more pigment powder and continue mulling; if it’s too dry and stiff, add more oil with the pipette and continue mulling.
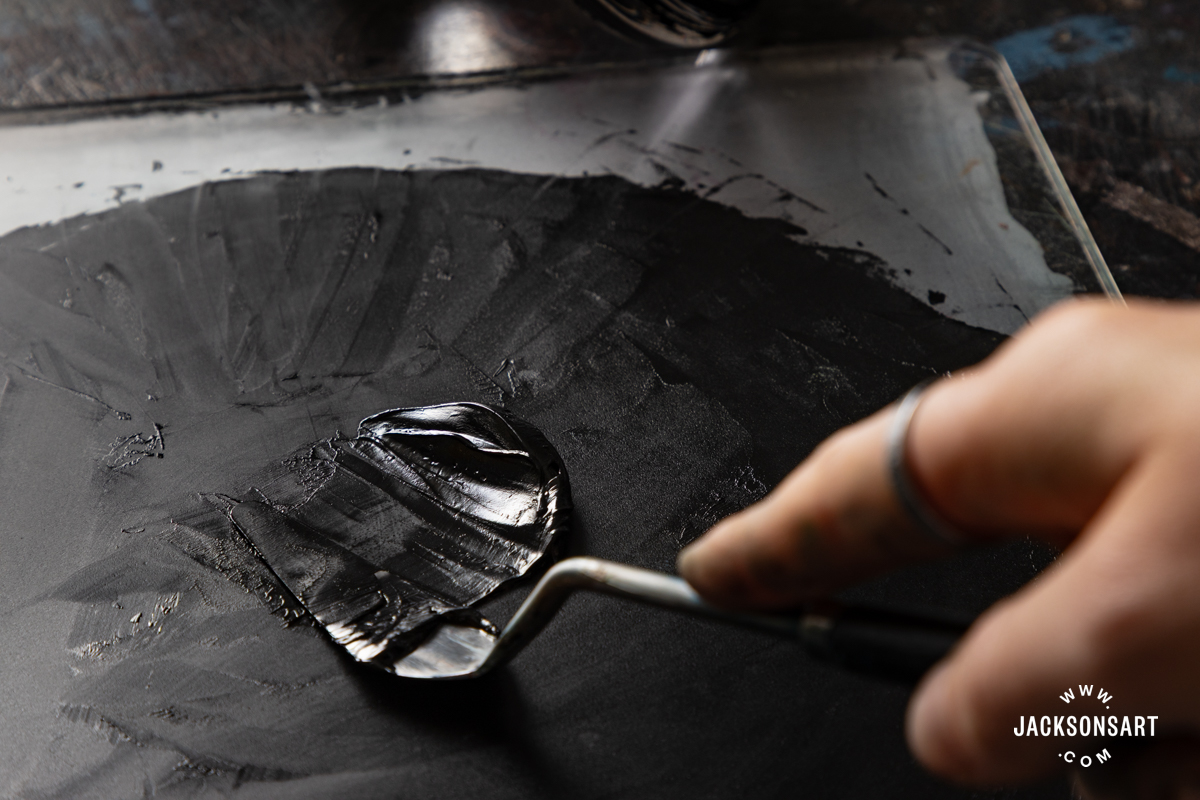
Once I had completed the mulling process, I scraped my blob of Lamp Black Intense onto a clean palette and washed the frosted glass palette before repeating the process with Ivory Black.
To make the oil painting, you will need:
Your handmade black oil paints
A few oil colours – I used Transparent Oxide Red, Raw Sienna, and Warm White
A sheet from a Jackson’s Oil Paper Block
A selection of oil brushes
A jar with your painting medium inside – I used Michael Harding Miracle Medium
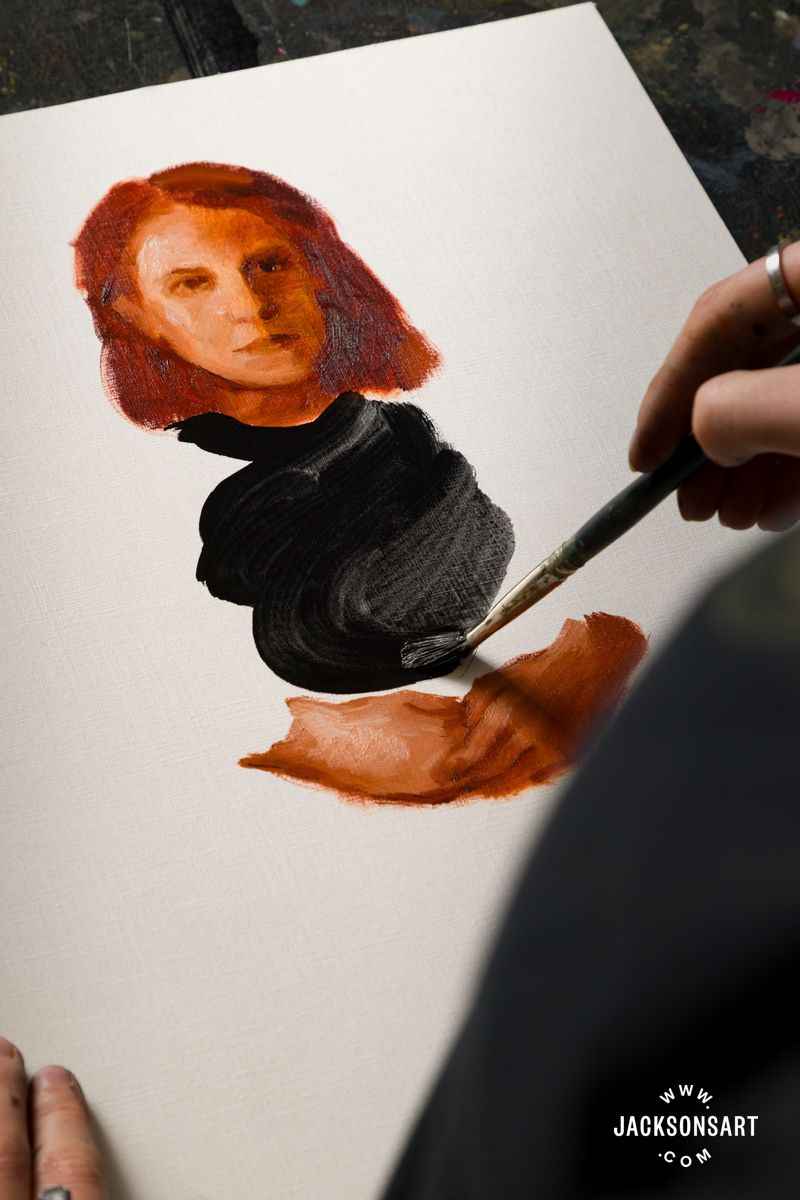
To begin my painting, I worked on a portrait of a woman using the Transparent Oxide Red, Raw Sienna, and Warm White, at the top of my page, and positioned her hands resting on her lap.

Next, I began blocking in her dress using Lamp Black Intense, with its cool depth.
Then I applied the background in Ivory Black, noticing the difference in hue between the blacks.
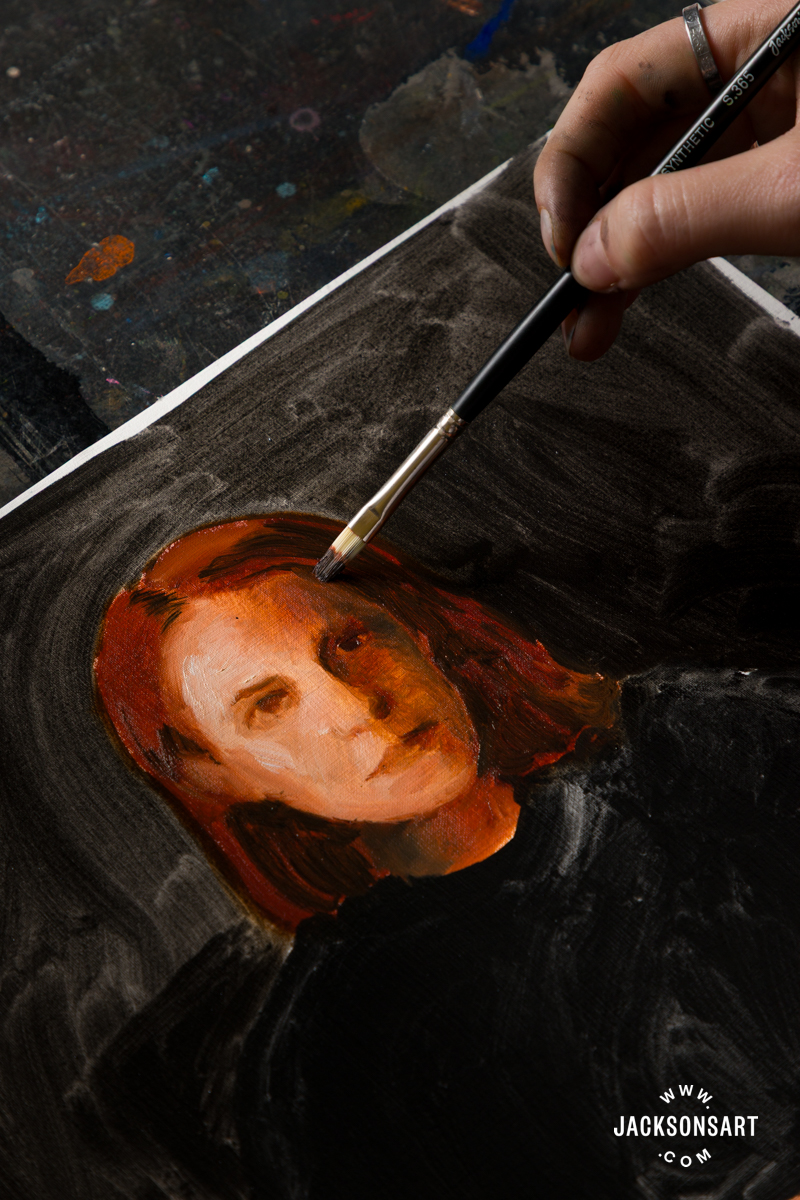
To complete the painting, I added some shadows to her face and hands by mixing Ivory Black with the wider palette.

Making Watercolour With Graphite Silver and Natural Black Iron Oxide
Handmaking watercolours from pigments is an age-old practice, seen in early manuscript illustration and later elevated to a fine art medium during the German Renaissance by artists like Albrecht Dürer. For my watercolour examples, I followed Evie’s recipe from the article Making Handmade Watercolours with Jackson’s Artist Pigments. Except I didn’t use glycerin, or decant the paints into pans, and just used them straight away after mixing them on the palette.
View of the Villa Lante on the Janiculum in Rome by John Robert Cozens describes a view from observation, in dusk tones. Cozens specialised in romantic landscapes, which often have a muted grey-blue palette, which inspired artists like JMW Turner. I especially enjoy the subtle shift in hue between the blue of the clouds and the slight warmth of the building below. To emulate this painting, I wanted to make two different watercolours to pick out these distinct zones in my own example.

View of the Villa Lante on the Janiculum in Rome, 1782-3
John Robert Cozens
Watercolour on paper, 25.4 x 36.8 cm | 10 x 14.5 in
The Metropolitan Museum of Art
I especially wanted to experiment with Graphite Silver, to transform it into a kind of liquid pencil, and then balance it with the Natural Black Iron Oxide. The beauty of working with pigments is that you may be able to make paints that aren’t commonly found in a specific form.
To make watercolour paint, you will need:
A glass palette with a frosted surface – you can do this yourself by following the instructions in the article Making Your Own Paint Grinding Slab
A tablespoon and a teaspoon
Pigments – I used Graphite Silver and Natural Black Iron Oxide
A jar of gum arabic solution – or you can mix your own using gum arabic powder
Honey
Clove oil
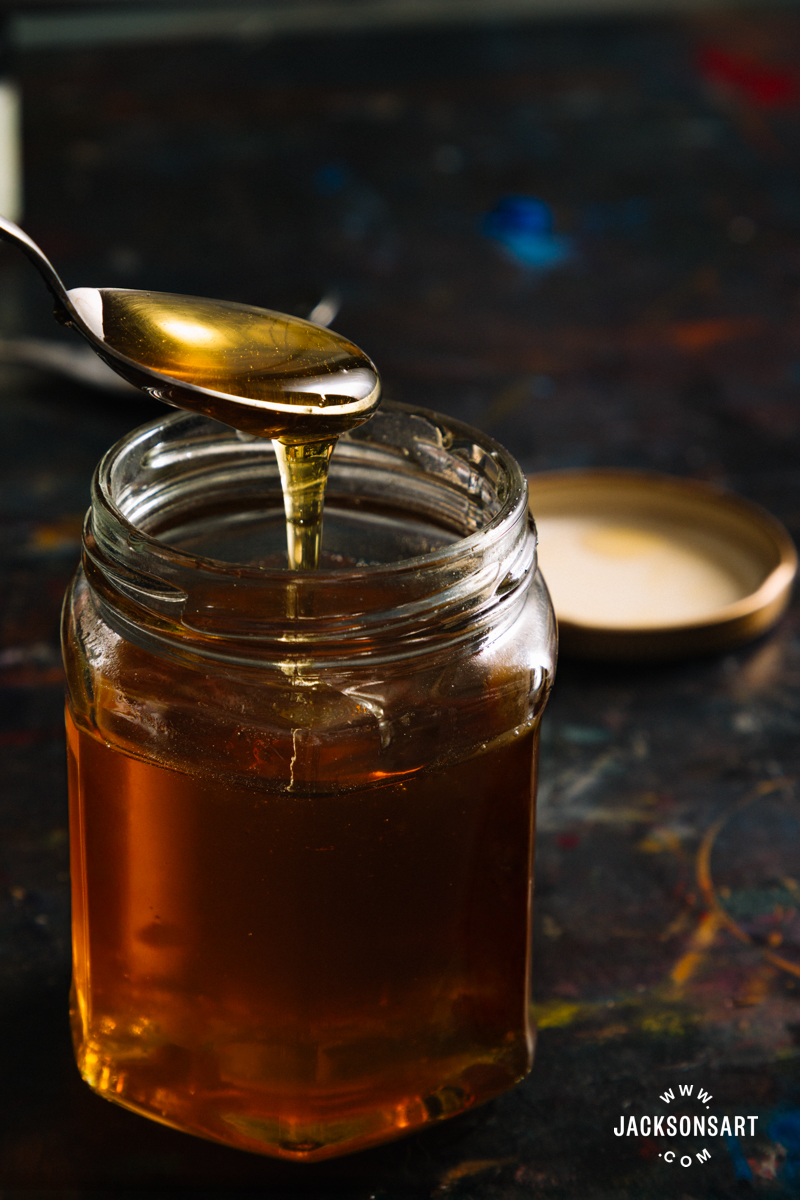
To begin, I mixed together four tablespoons of gum arabic solution, two teaspoons of honey, and one drop of clove oil in a jar. This mixture makes the medium that you will mull together with the pigment powder to create the paint.

Next, I heaped a pile of Graphite Silver pigment onto my frosted glass palette and created a well in the middle before dropping in some of my binder with the pipette.

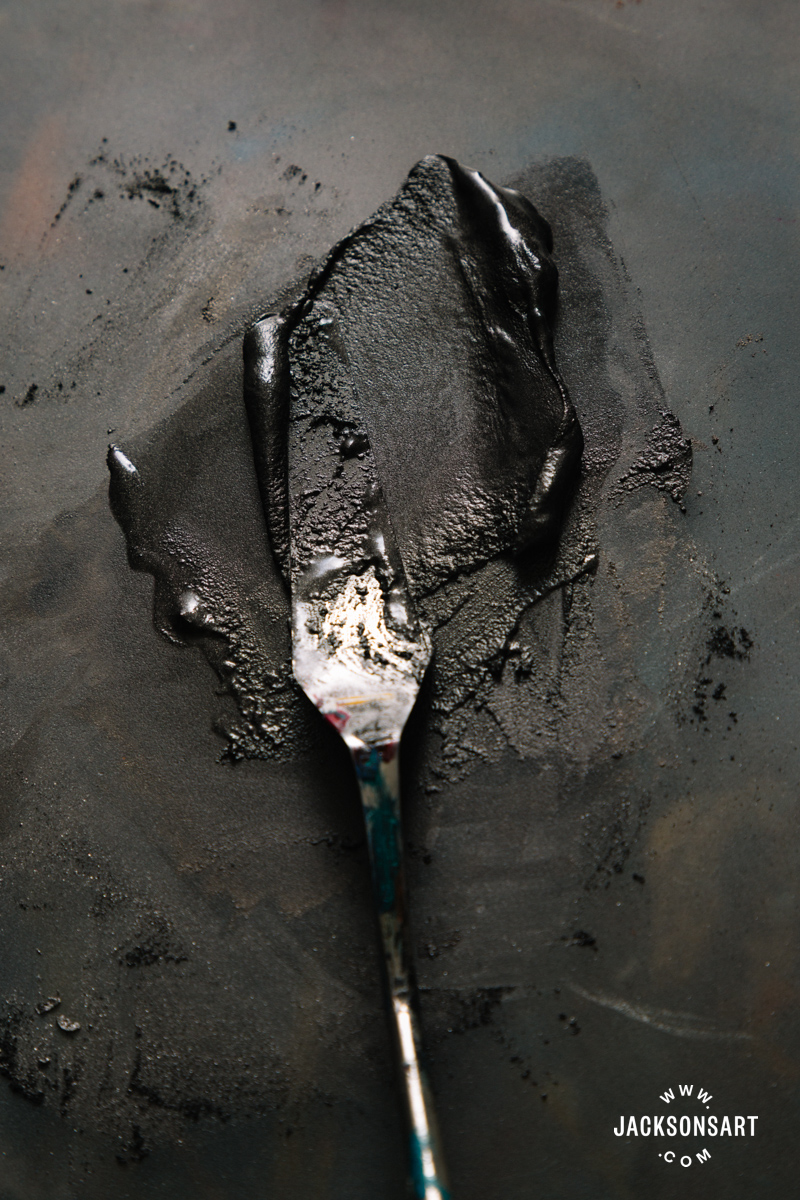
I folded the mixture together with a palette knife, checking the consistency for ease of flow, until I was satisfied that it was smooth in consistency like cream.
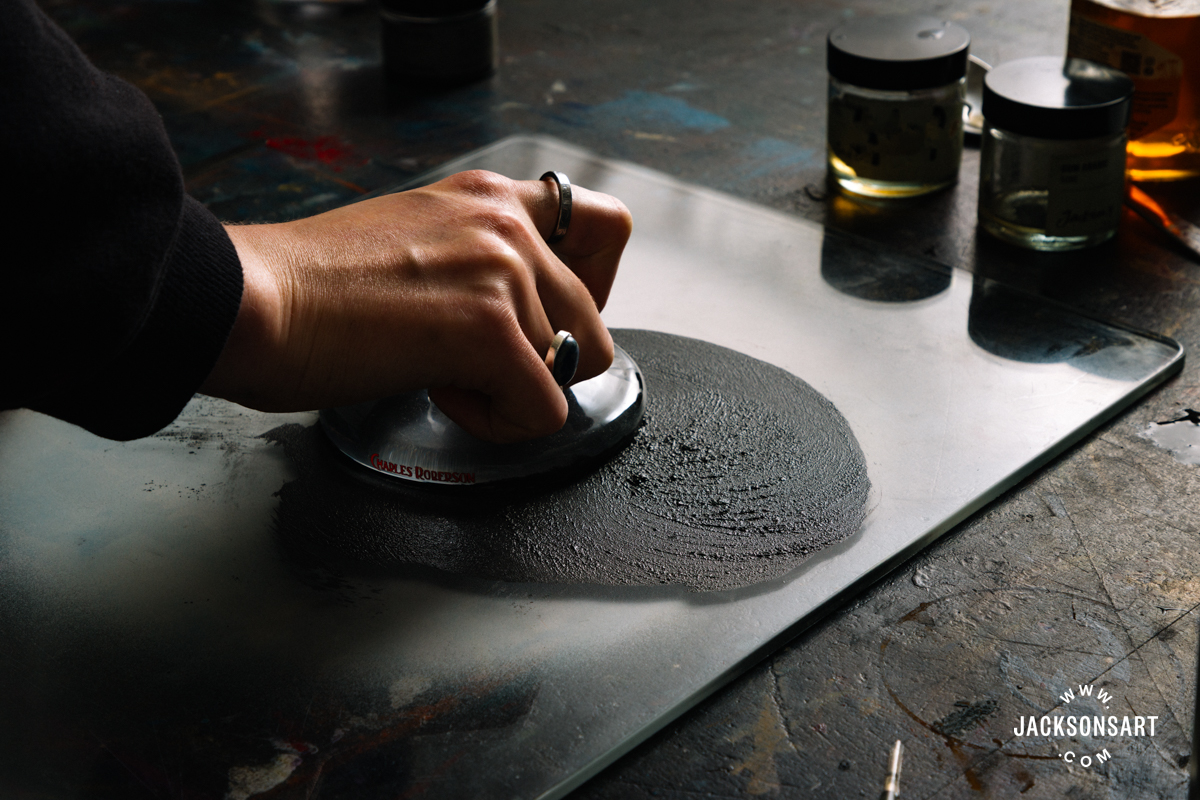
Next, I used the muller to mull the pigment and binder mixture, working in circles and spreading the pigment out. As I worked, I scraped the paint back into the centre and off the muller to repeat the process.
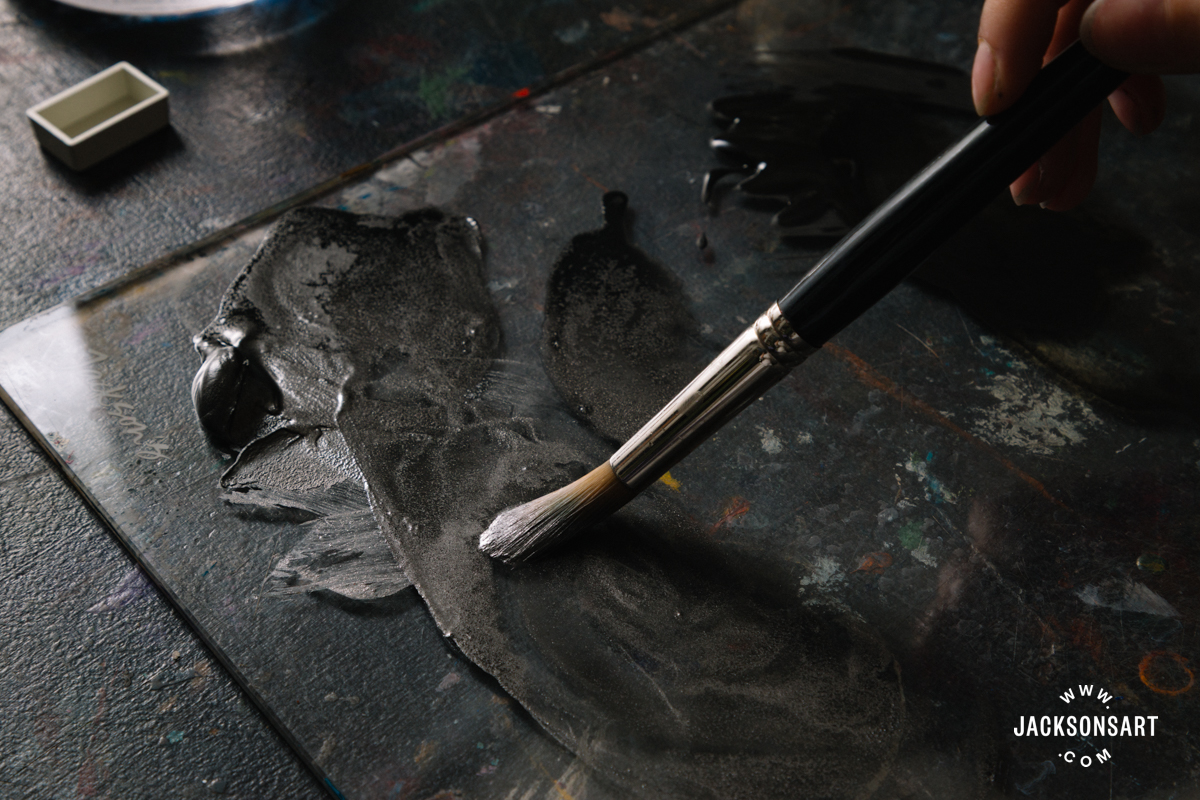
As you work, you may swatch a bit of your paint as you would when painting with watercolours, to check the consistency, to decide if it needs more binder, or slightly more pigment.
After finishing the mulling process, I scraped my watercolour paint onto a clean palette and repeated the process with Natural Black Iron Oxide.

To make the watercolour painting, you will need:
Your handmade watercolours
A jar of water
Jackson’s Hot Pressed Watercolour Paper Block
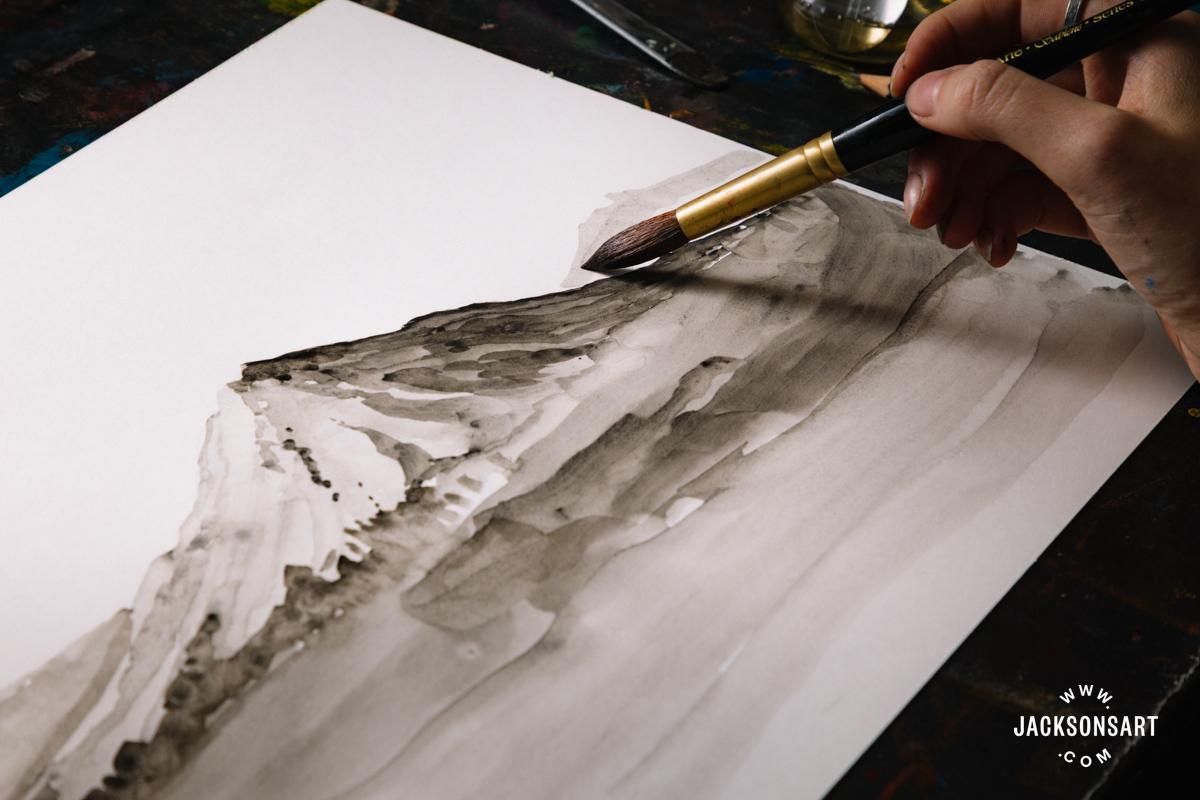
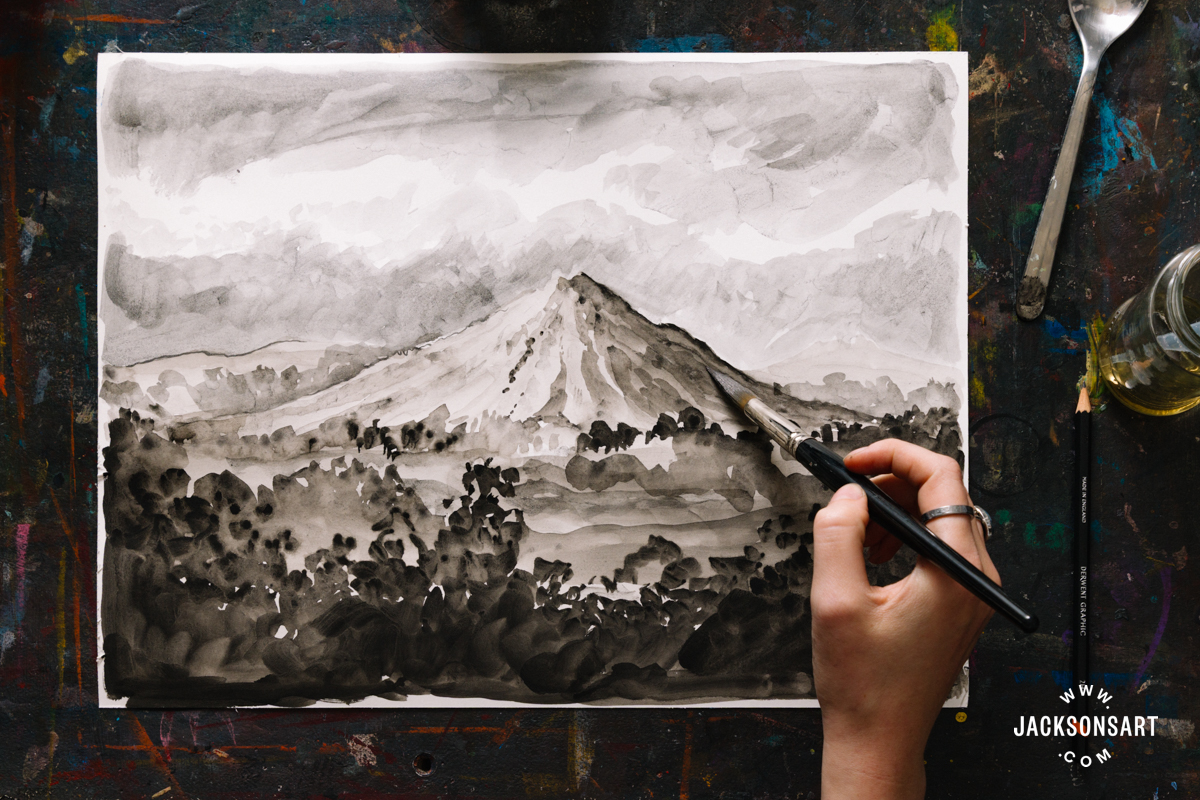
To start, I used my Natural Black Iron Oxide watercolour paint to block in the form of a mountain landscape in light washes.

I steadily built in more detail and tone as I worked, and built towards the darkest areas in the foreground.
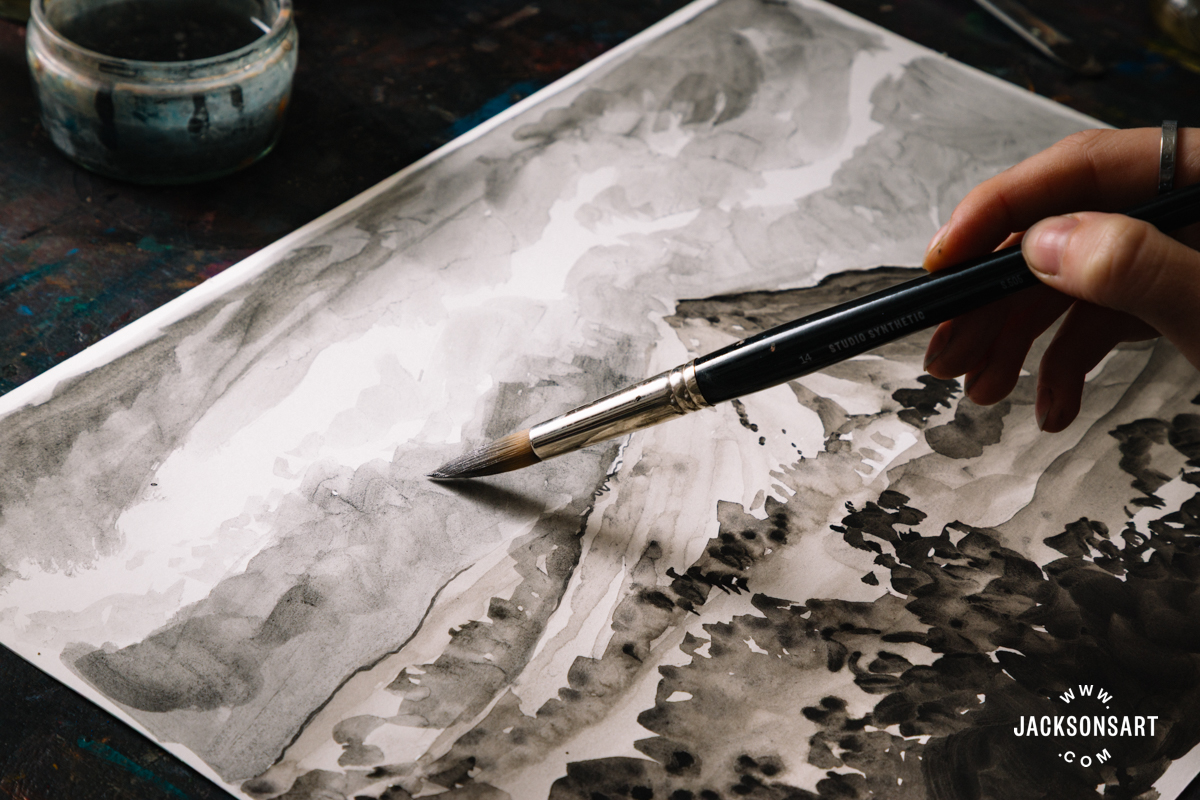
To finish, I added the sky using my Graphite Silver watercolour. I love the light sheen that it provides, and its cool tone compared to the neutrality of Natural Black Iron Oxide. Since it’s made from Graphite, you can very lightly erase the Graphite Silver watercolour a little bit on the page.
Making Egg Tempera with Carbon Black Deep
The first egg tempera paintings are found in murals from the Ancient world, where it has incredible longevity as a medium. Panel paintings made with egg tempera thousands of years ago still retain intensely vibrant colours – many without cracking or peeling. After the invention of other kinds of paint, egg tempera widely fell out of favour, but it’s still a wonderful medium to use. It retains the brilliance of colours beautifully and emulates a direct connection to the past. Part of its mystique may be that it’s hardly taught in art schools now, but the process is actually pretty straightforward.
I wanted to emulate an egg tempera panel painting with lots of black in the imagery, so I chose Saint Francis of Assisi by Antoniazzo Romano, with its flat black background against the dimension of his draped robe. He was famed for reinterpreting older imagery, bringing it new life for his day. This painting of Saint Francis is unusual for his isolation in the space and huge vertical dimension.

Saint Francis of Assisi, ca. 1480-81
Antoniazzo Romano
Tempera and gold on wood, 160.3 x 59.7cm | 63.1 x 23.5 in
The Metropolitan Museum of Art
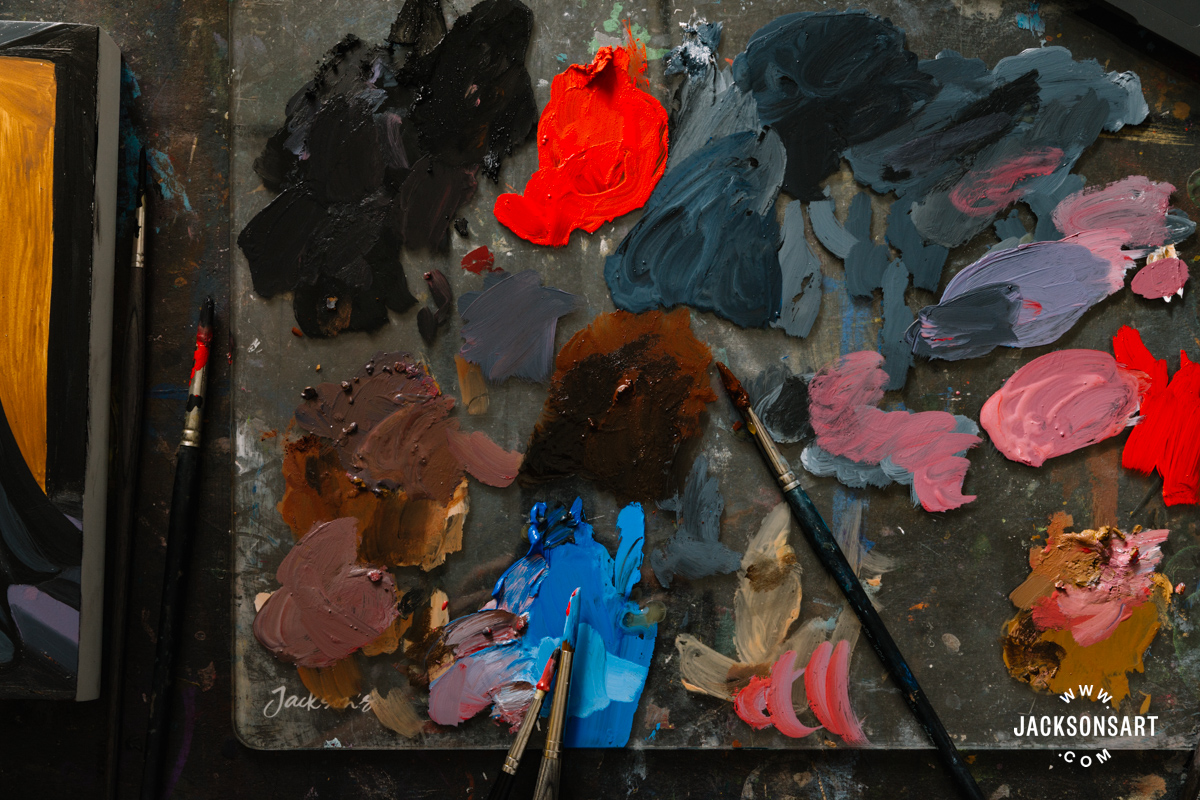
For my final experiment with creating paints from the Jackson’s Pigment Set in Black, I used Carbon Black Deep because of its intense opacity and depth. To complete the tempera painting, I also mixed the pigments Cobalt Blue Light, Pyrrole Red, French Raw Sienna, Italian Burnt Sienna, and Titanium White Anatase.
To make the egg tempera paint, you will need:
2 eggs (and spares in case separating the yolk doesn’t go right the first time)
Paper towels
Cold sterile water
White vinegar
A jar or dish to hold your egg mixture
Your chosen pigments – I used Carbon Black Deep, alongside Cobalt Blue Light, French Raw Sienna, Italian Burnt Sienna, and Titanium White Anatase.
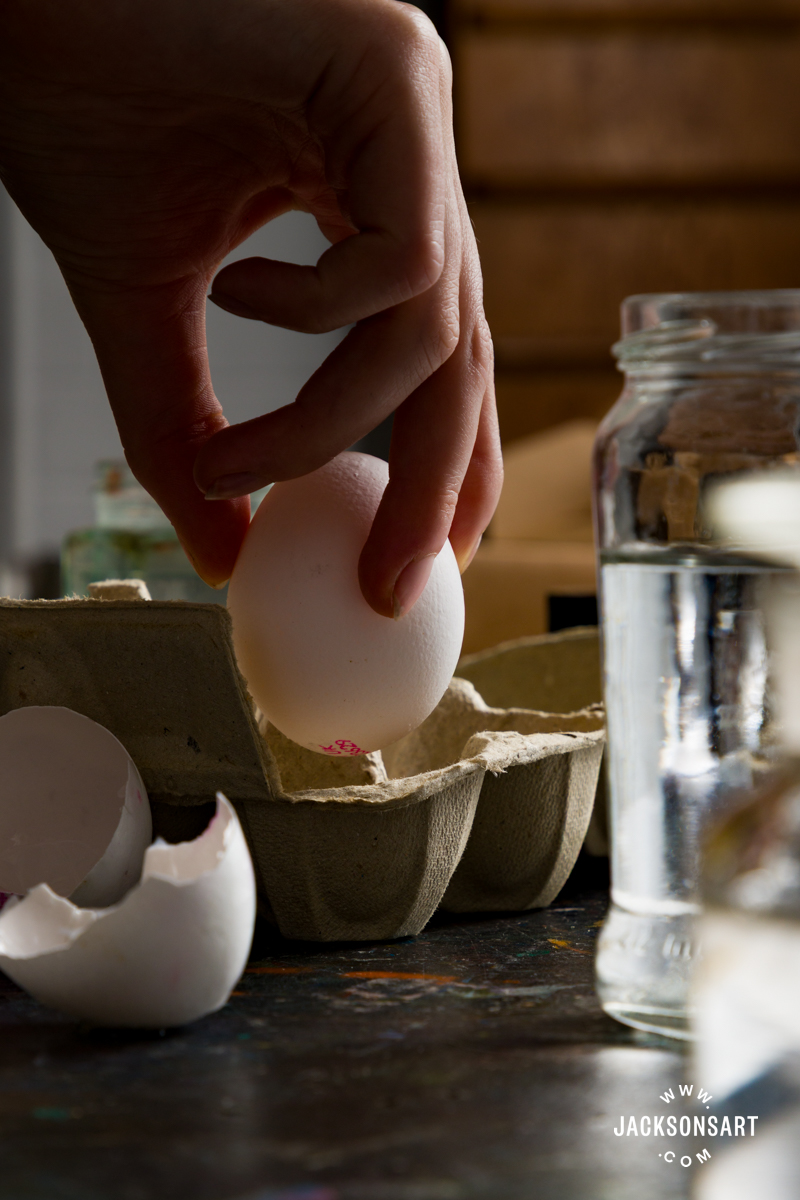
To begin, you have to separate your egg yolks from the egg whites and discard the whites. This can seem intimidating, but I’ll detail the most straightforward way to do it. The quality of your eggs matters – very cheap eggs have yolks that will burst more easily, compared to higher quality ones that have a bit more structural integrity. If you try this out and the yolk bursts no matter how careful you are, try different eggs. For these demonstrations, I chose a mid-price box of eggs.
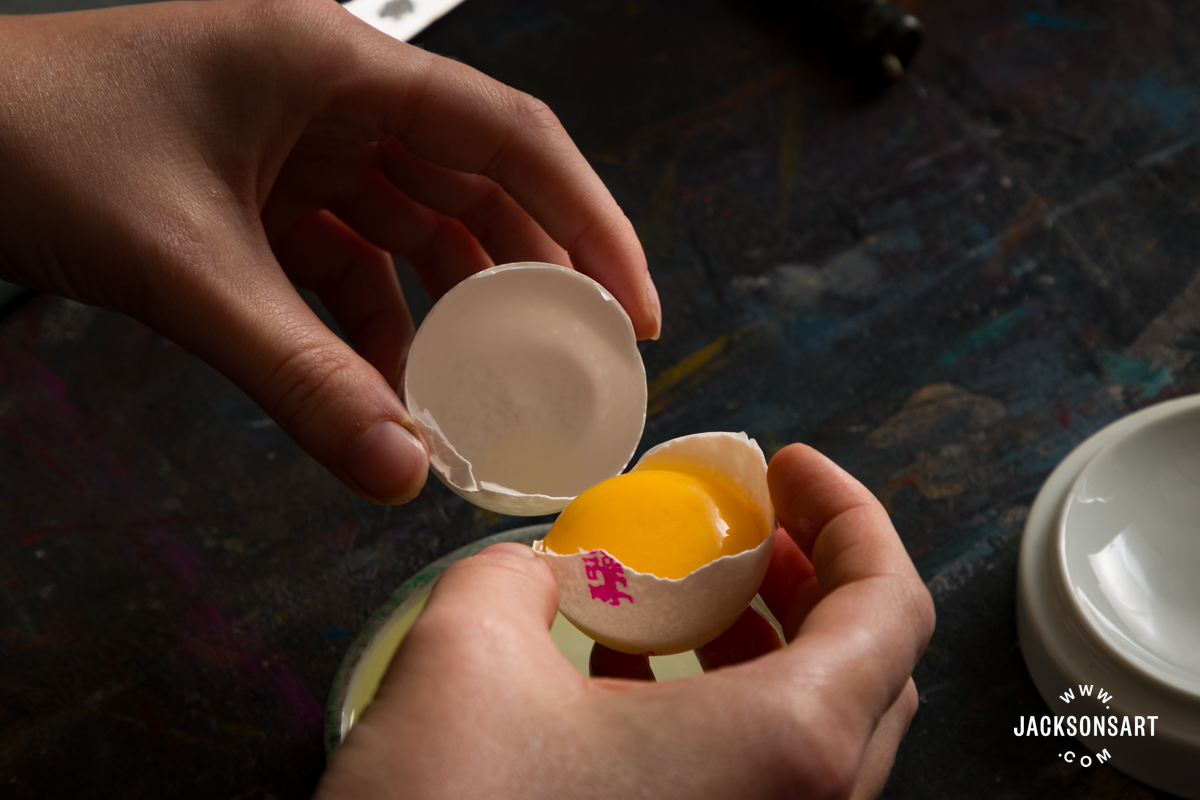
Firstly, you have to crack the eggs and separate the whites by pouring the yolk between each half of the cracked shell, allowing the whites to drop out.

Once you have separated the yolk, carefully place it out onto some dry paper towels, and carefully roll the yolk around to dry off the remaining whites stuck to it. It’s ready to tip off the paper towel once the trail it leaves starts to dry up.
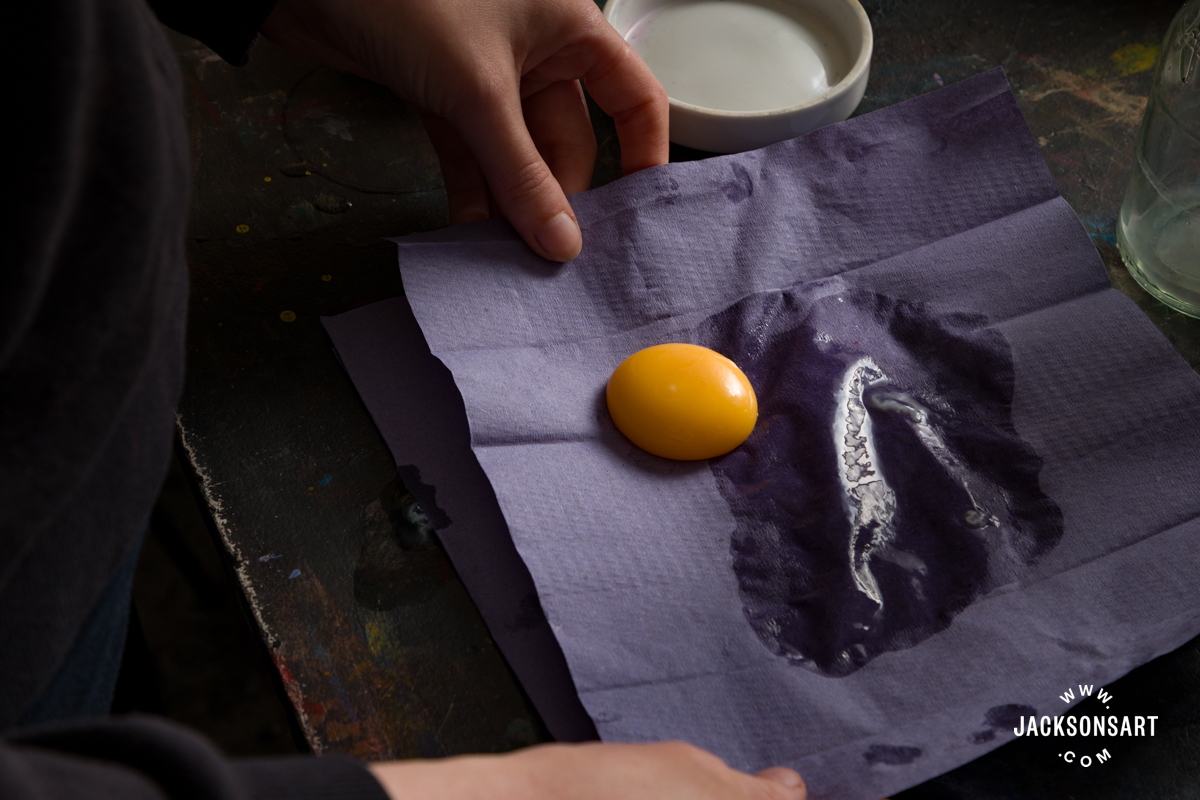
Now the dried yolk is sitting in a flat dish, I picked it up carefully with a gentle grip and pierced the membrane with a palette knife.
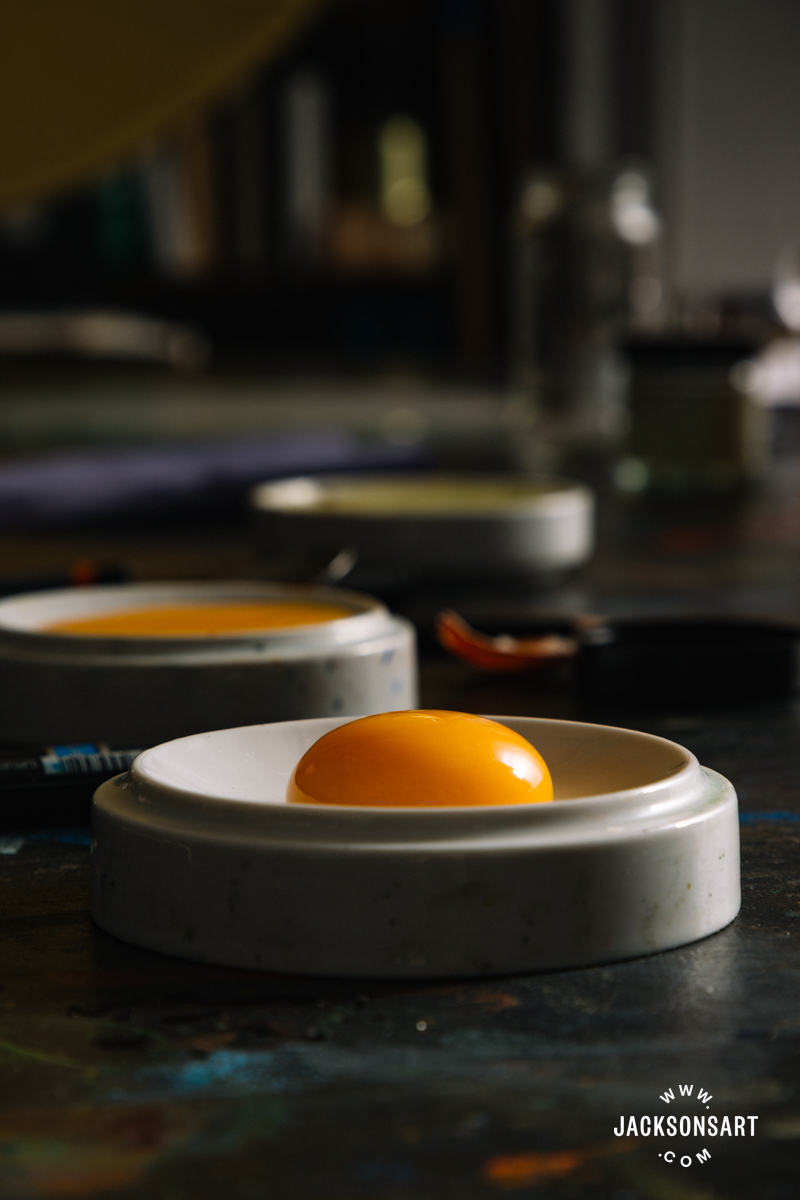
This allowed the yolk to pour out into my dish, and I discarded the membrane.

If you struggle to pick it up, you can also pierce the membrane with the yolk in the dish and carefully pull the membrane upwards and out.
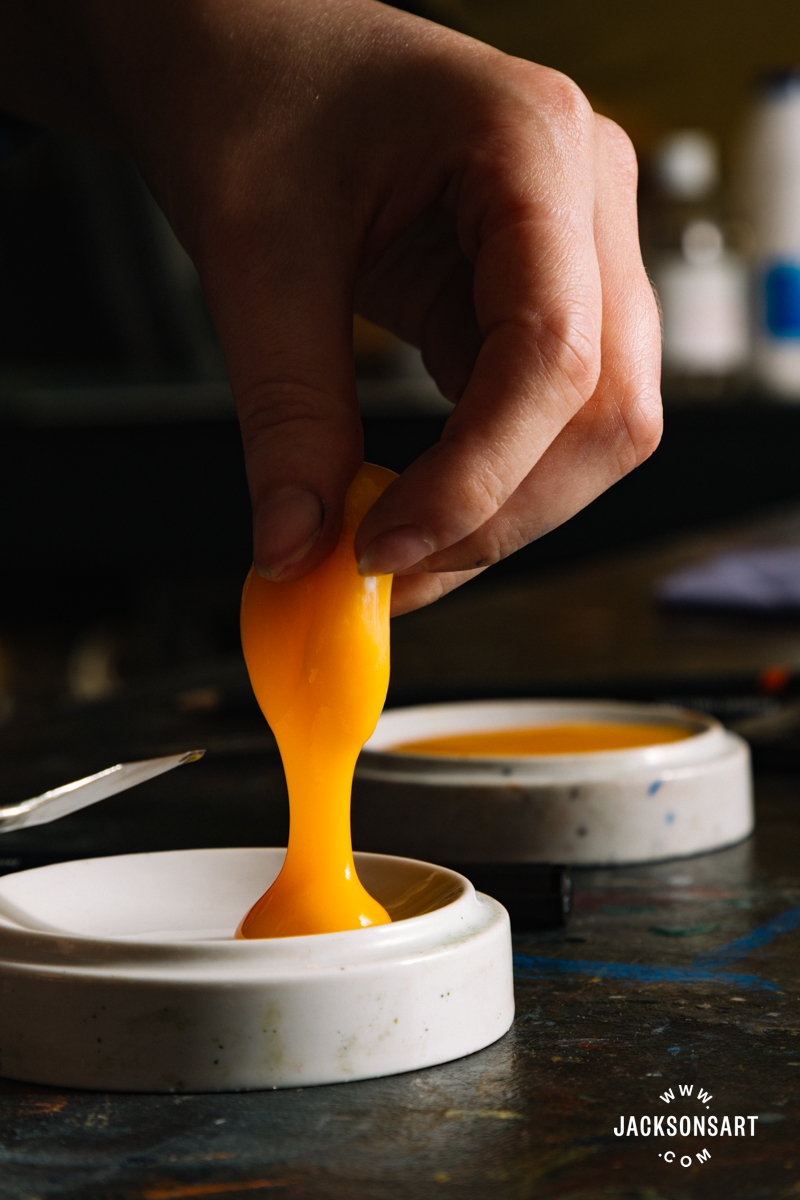
I repeated the process so I had the yolk of two eggs in my dish, before adding an equal amount of water to the volume of the egg.
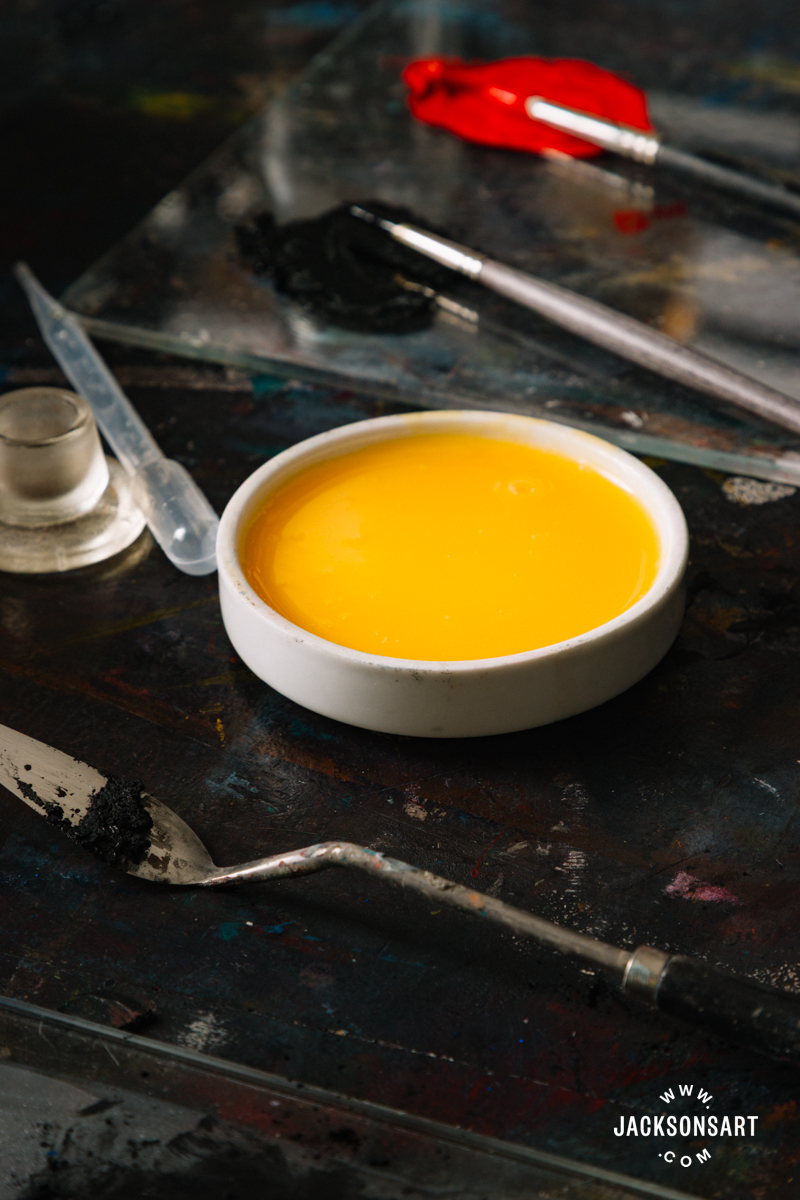
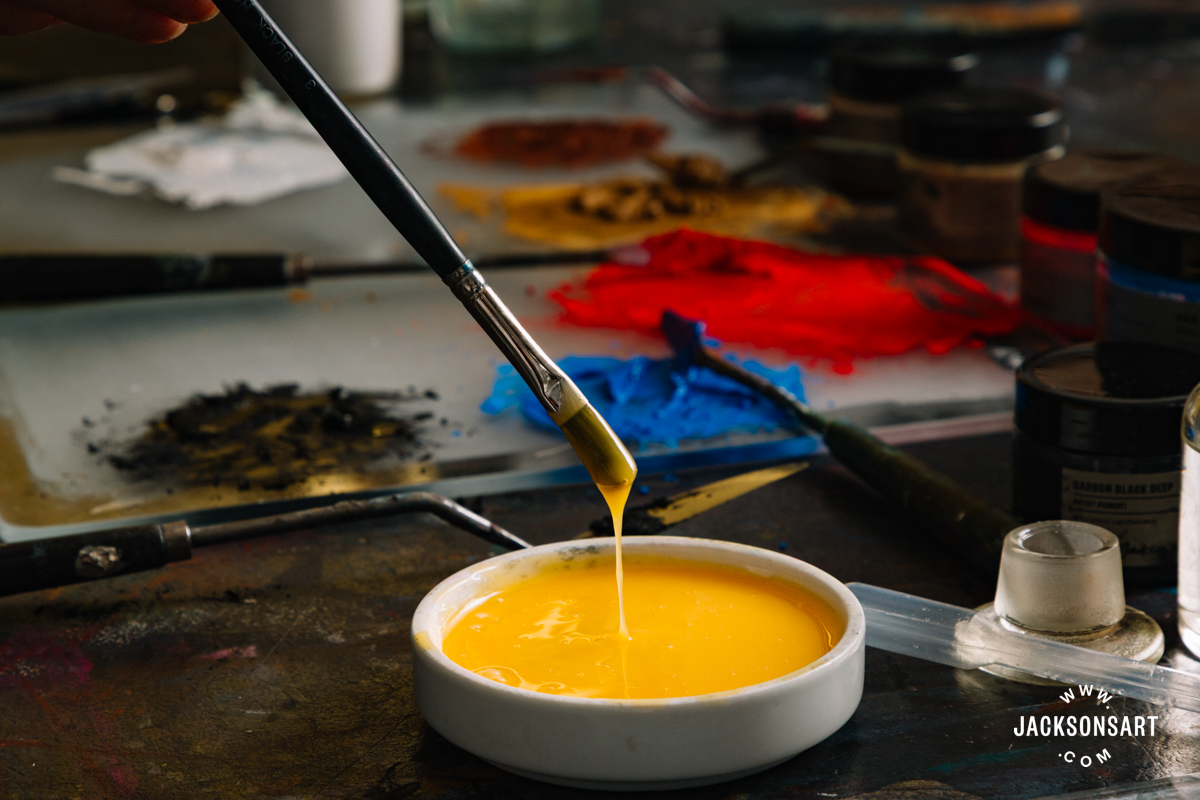
To finish, I added one drop of vinegar with a pipette to the mixture to help preserve it, and combined it. If you kept this tempera mixture in a glass stoppered container, it would keep for use within a few days.
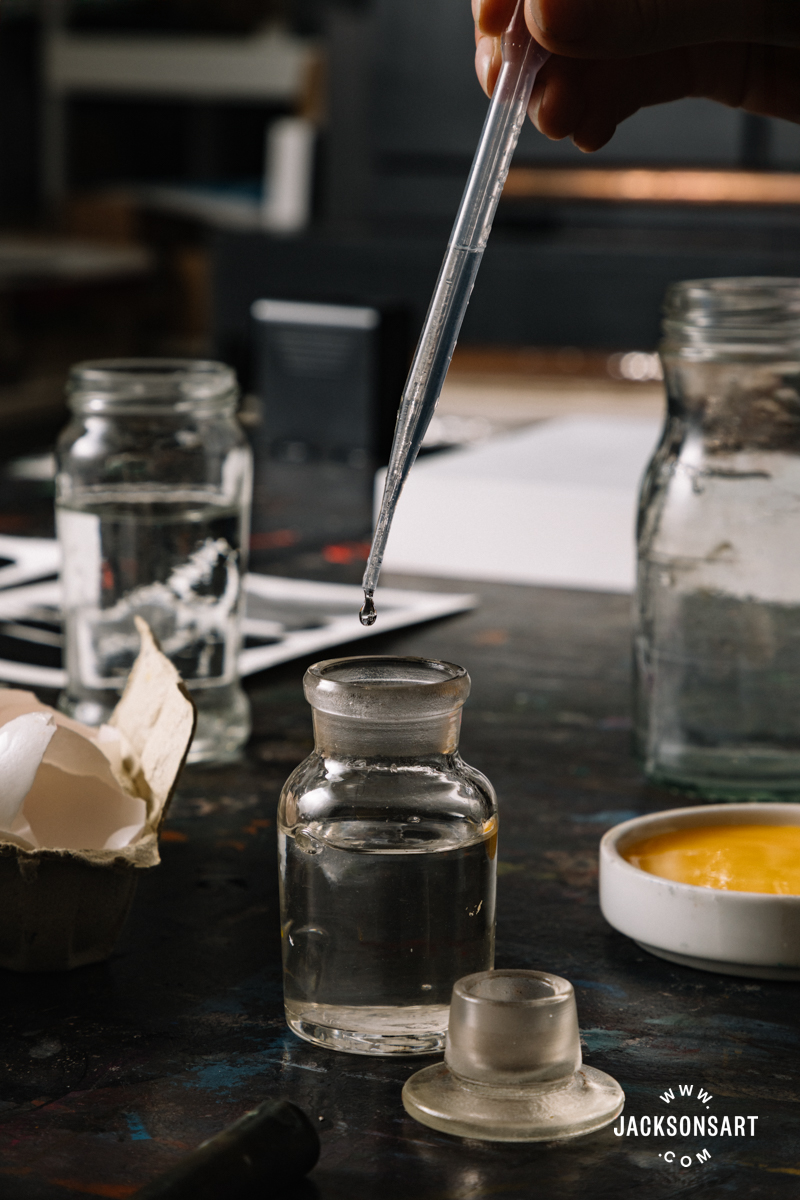
On a glass palette, I made pigment paste by combining my powders with water, applied to the palette with another pipette. As I mentioned before, some pigments are thirstier than others, so they require more water. I mixed each of these until they formed a thick paste.
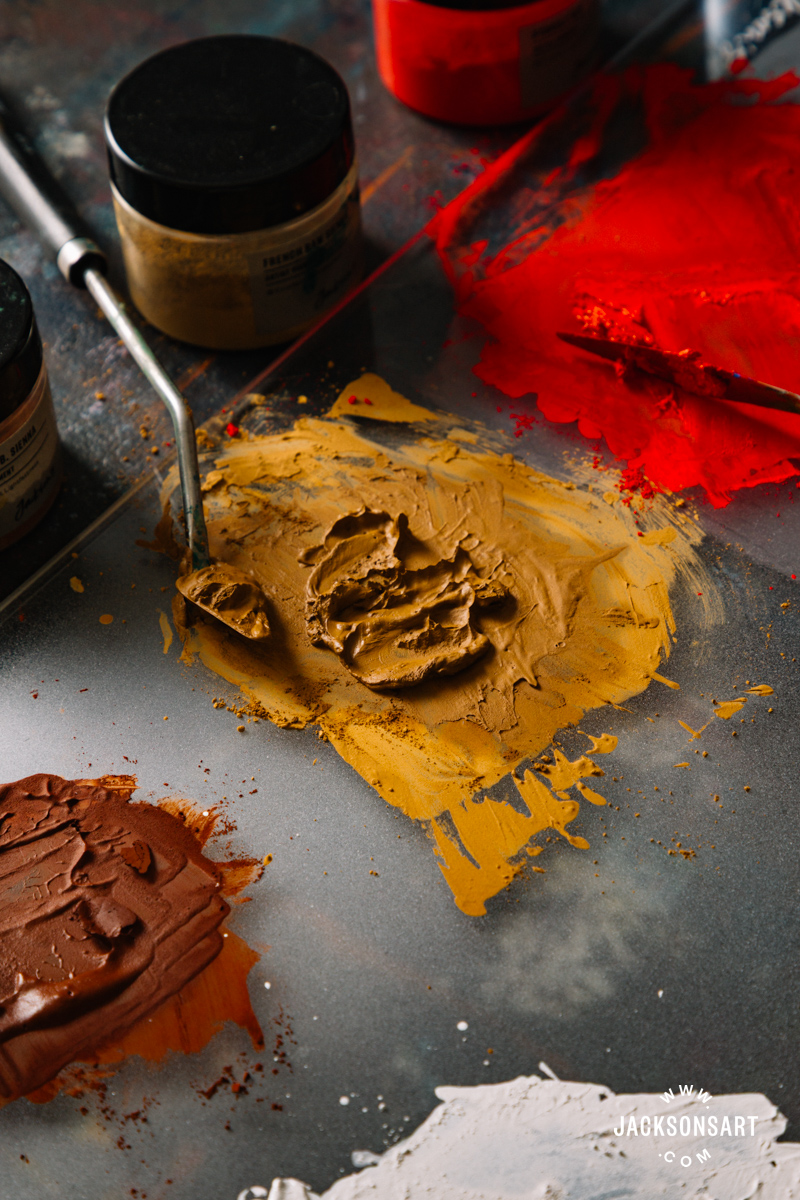
At this stage, you could mull the pigments to make them finer, but I used them as they are, and didn’t find these colours to be too inconsistent to work with.
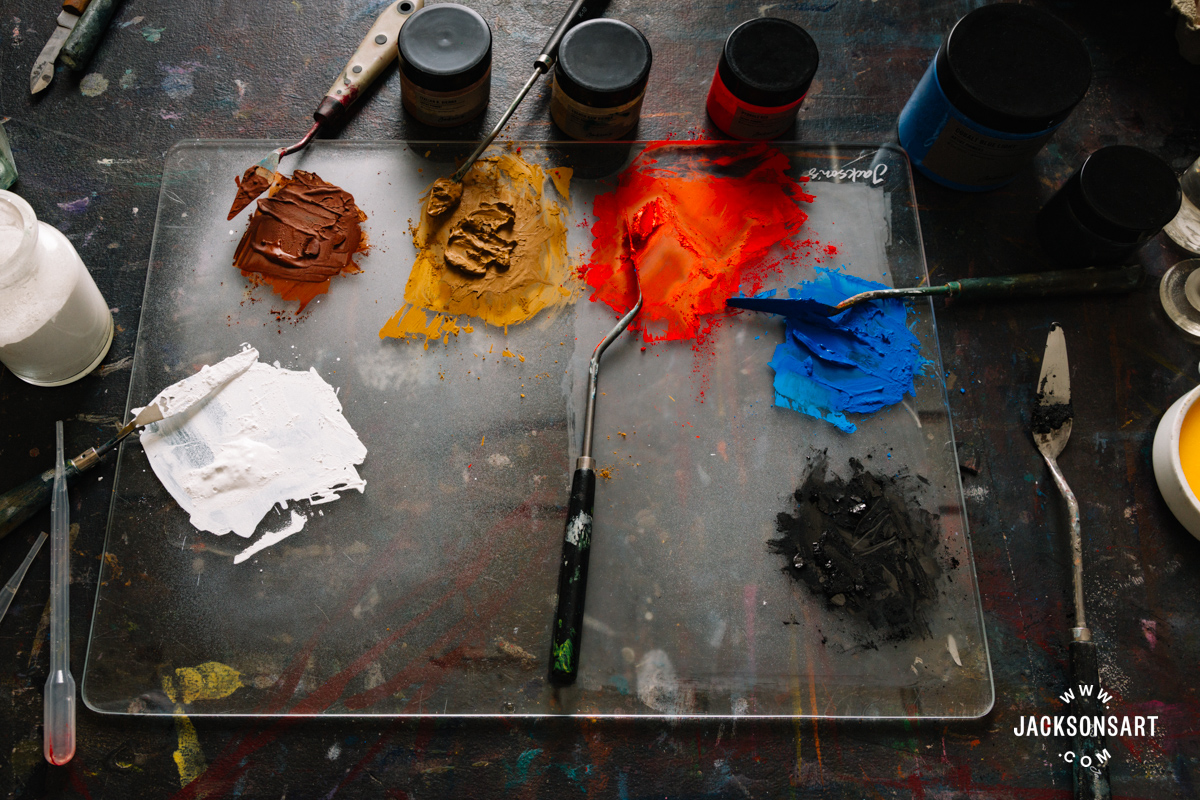
Now you are ready to begin painting by adding the egg mixture to the combined pigment paste as you work around your painting.
To make the egg tempera painting, you will need:
Your egg tempera mixture and pigments

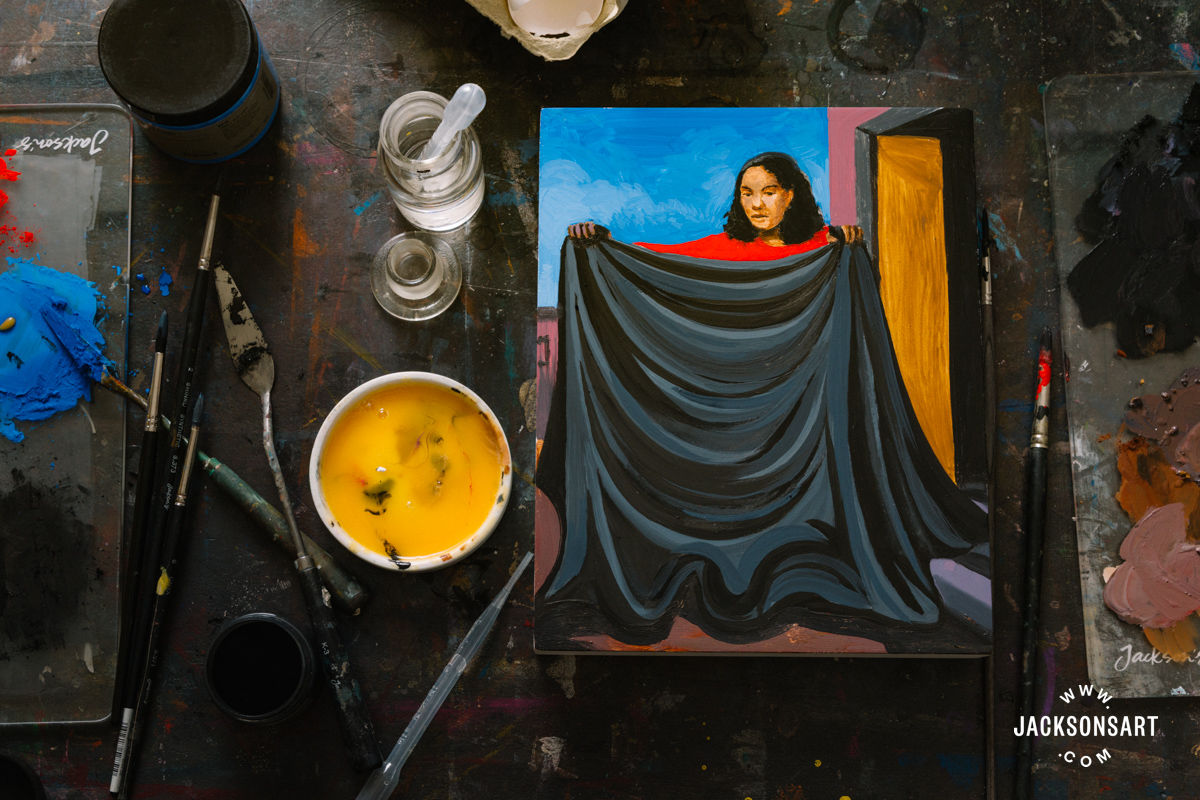
I began my egg tempera painting by lightly sketching out the imagery of a woman holding up a black sheet of fabric, standing outside a building.
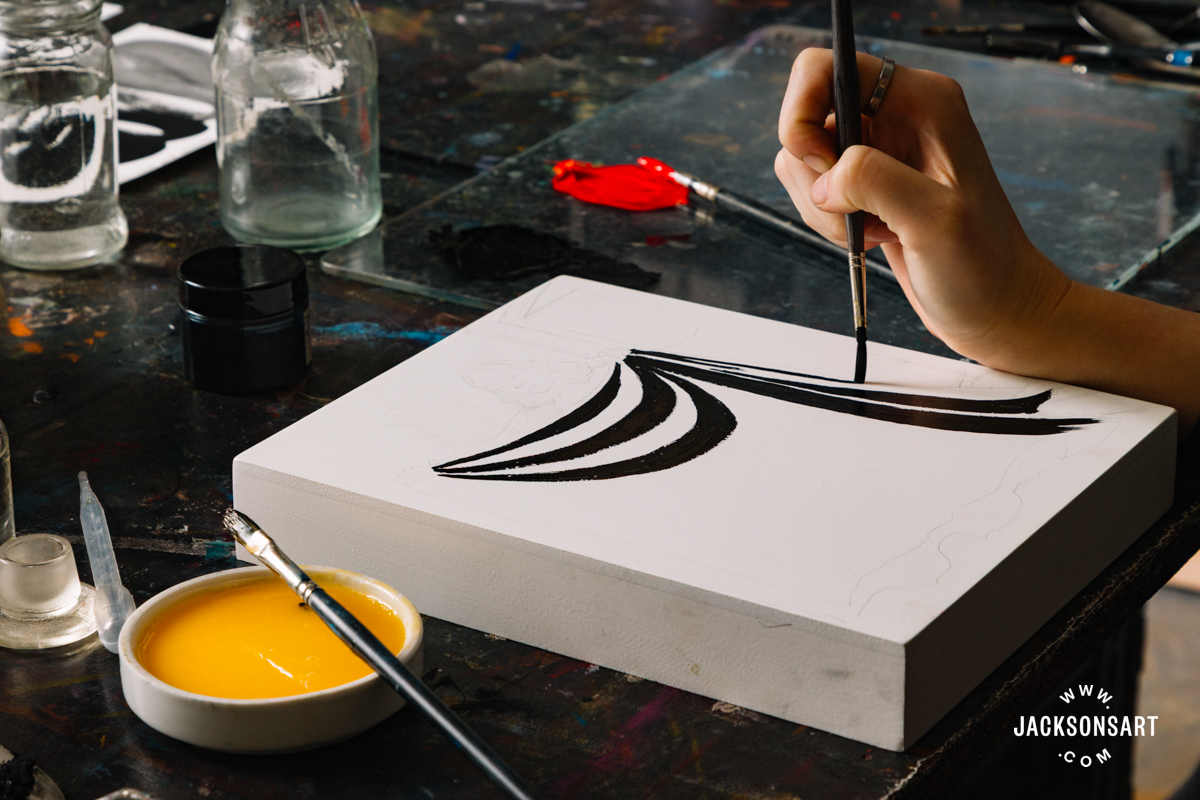
I worked my way around the painting, a colour at a time, beginning with the black and greys on the sheet. As I worked I combined my egg tempera mixture with the pigment paste, not mixing too many colours up preemptively.
Once I had built up the darkest areas of the painting, I added the blue sky, doorway, and ground below. Egg tempera dries very quickly as you work, so it doesn’t remain moveable on the surface for long.
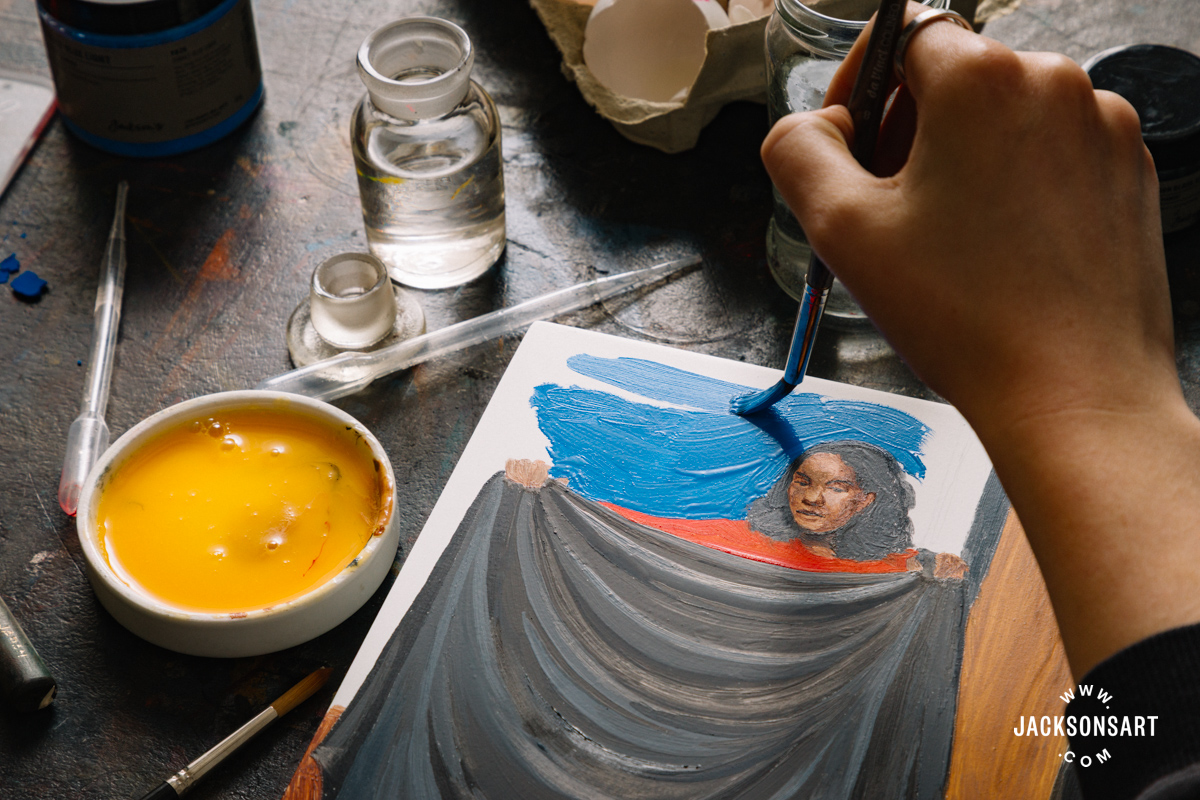
To finish I went over the work in a last pass, picking out some details that I wanted to sharpen. By this point the initial egg tempera paintwork was completely dry.
Hopefully, these demonstrations have given you some inspiration for the wide potential of the Jackson’s Pigment Set in Black, and underlined just how many mediums they can be transformed into. The variety of hues, opacity, and finish of blacks in the set are versatile, and for me, brilliant fun to experiment with.
Further Reading
Introducing Jackson’s Artist Pigment Sets
Making Your Own Oil Paint with Jackson’s Pigments
Making Handmade Watercolours With Jackson’s Artist Pigments
Getting the Most Out of Using Black Pigments in Your Palette
Shop Art Materials on jacksonsart.com