


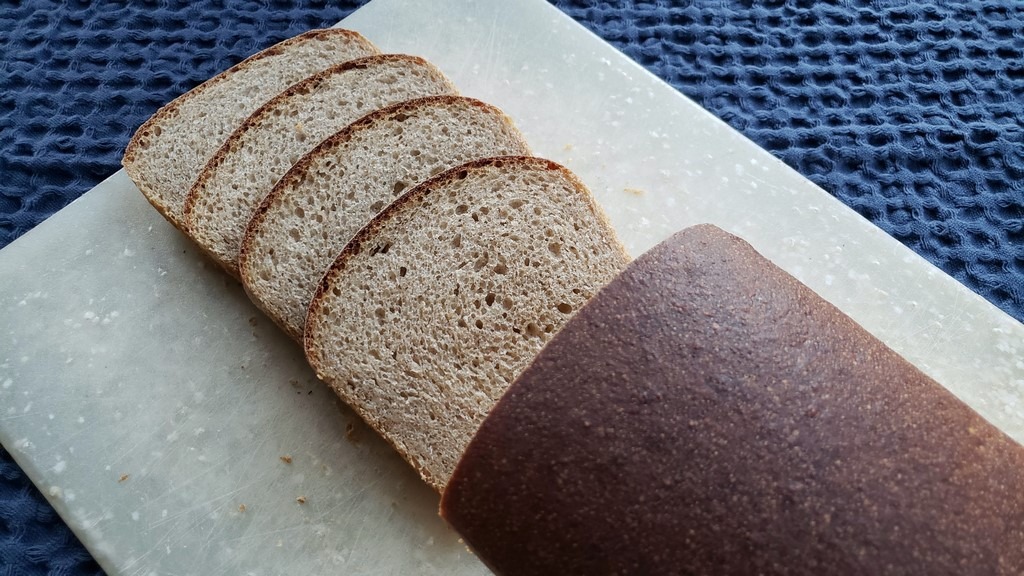
Einkorn wheat is the earliest form of cultivated wheat. The grains are small and dark gold in color, and the flavor is slightly sweet and nutty. An all-einkorn dough can be quite sticky due to the low gluten strength of this wheat but it can still produce a lovely pan loaf and even a freestanding artisan-style bread. When you pair einkorn wheat with a stronger flour e.g. bread flour in the recipe below, you get that uniquely delicious einkorn flavor and a chewy, bendy bread that works well for sandwiches.

Bread flour and einkorn flour
In this recipe, we use this same formula and mix-and-abandon strategy as our Vegan Sourdough Spelt Sandwich Loaf but substitute einkorn flour for the spelt. (The crust color is darker in the spelt bread below because it wasn’t covered with aluminum foil during the last 10-15 minutes of the bake.)
Vegan Sourdough Spelt Sandwich Loaf
This recipe uses a medium USA Loaf Pan, which is 9 x 5 x 2.75 inches. If you have a difference size pan and are not sure how to modify the loaf size, check out: How to Scale a Recipe.
If you’d like to see how this same einkorn dough was accidentally overfermented to more than triple in size and then made into flatbreads, check out: Can this dough be saved?

Same dough made into flatbreads and rolls
See the photo gallery after the recipe for before-and-after photos of the bulk fermentation and final proof.
Einkorn Sourdough Sandwich Bread


Soft, nutty, and slightly tangy, this einkorn sourdough sandwich bread offers the delicious flavor and nutritients of einkorn wheat and the easy handling and pliable texture of bread flour. Bonus — it’s also so easy to make with all-in mixing and no additional gluten development required.
Total Time
1 hour, 20 minutes
Ingredients
- 265 grams einkorn whole grain flour (2 cups)
- 265 grams bread flour (2 cups)
- 330 grams milk or milk substitute (1 1/3 cups + 1 Tbsp) *see notes
- 100 grams sourdough starter (~ 1/3 cup)
- 30 grams agave, maple syrup, or honey (1 1/2 Tbsp)
- 24 grams oil (2 Tbsp)
- 12 grams salt (2 tsp)
Instructions
- With lively sourdough starter and warm temps, this recipe can be completed in a day. The first rise (doubling) of my dough took 5 1/2 hours at 78-80°F. The final proof — see the photo gallery for target dough expansion — should take 1-2 hours at these warm temps. I chose to refrigerate my dough overnight. It needed a few more hours at room temp the next morning to crest over the edge of the pan.
- Warm up your milk from refrigerator temperature to 80-90°F.
- Combine the ingredients in a bowl or stand mixer with the dough hook attachment and mix for 3-5 minutes. The dough will be soft but should come together quickly and wrap around the hook.
- Place in a bowl and cover. Use a straight-walled container if you have one and mark the starting height of the dough.
- Let the dough rise until it has doubled in size. My dough needed 5 1/2 hours at 80°F.
- Lightly flour your countertop and scrape the dough out onto it.
- Flatten the dough into a rectangle that’s about 7×10 inches. If it is very loose, fold and flatten it again.
- Starting on one of the short sides, roll the dough into a tube, and let it rest on the seam. It should be a little shorter than your pan.
- Lightly oil your loaf pan and place the dough inside it, seam down.
- Cover and proof for 2-5 hours, depending on your room temperature. You can also retard the dough in the refrigerator. The dough is ready to bake when it has doubled, or crested over the lip of a medium loaf pan (9 x 5 x 2.75 inches).
- Put your oven shelf on the second-from-the-bottom position and preheat your oven to 350°F for about 15 minutes. Placing the pan on a lower shelf will help the base of the bread cook efficiently and not be dense.
- Brush the top of the loaf with milk and put the pan in the oven.
- Bake for 50-55 minutes, until the interior of the loaf is over 190°F. Cover the bread for the final 10-15 minutes of the bake if you find it is browning too much. If you’d like the sides of the loaf to be firm, you can take it out of the pan and put it directly on the oven rack for this last portion of the bake.
- Remove the bread from the pan and cool it on a rack for at least an hour before slicing.
- Once completely cooled, store the bread in a bag, box, or beeswax wrap to keep it soft.
Notes
* I had oat milk on hand but you can use cow’s milk or other milks. Fermentation seems to be a little speedier with oat milk, perhaps due to higher sugar and lower protein content.