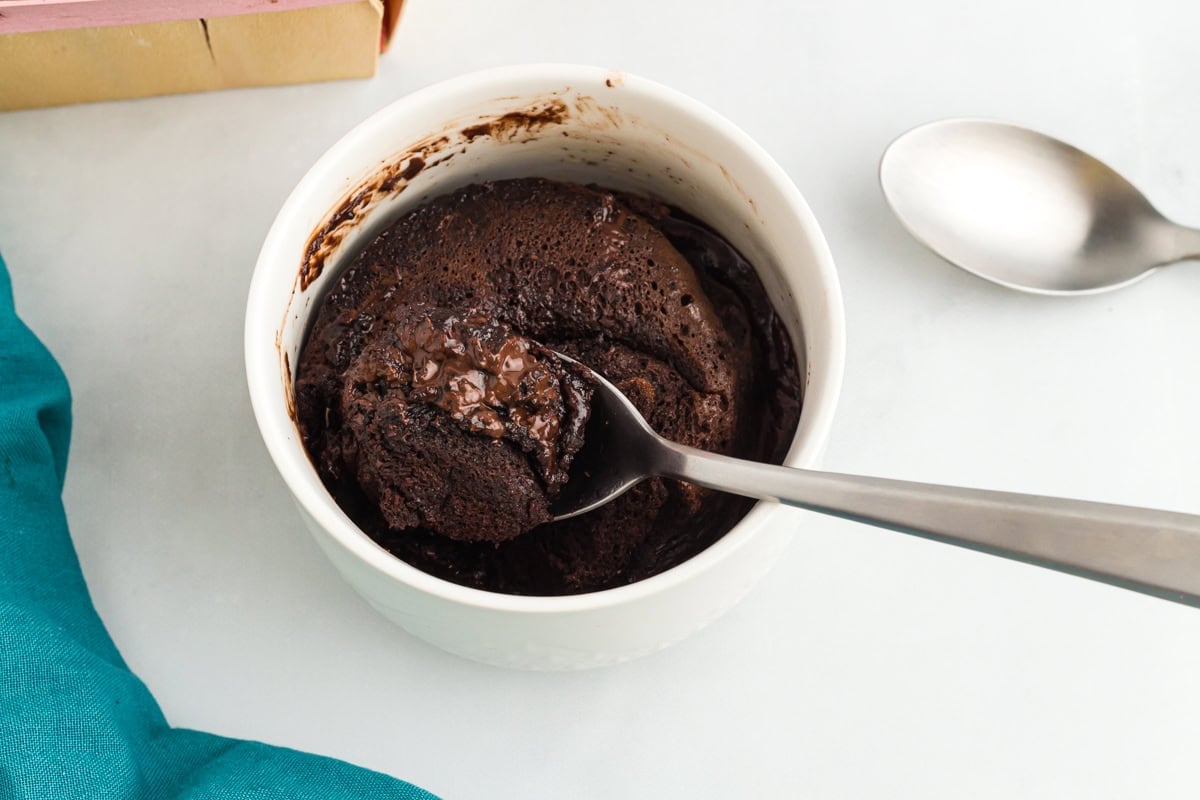
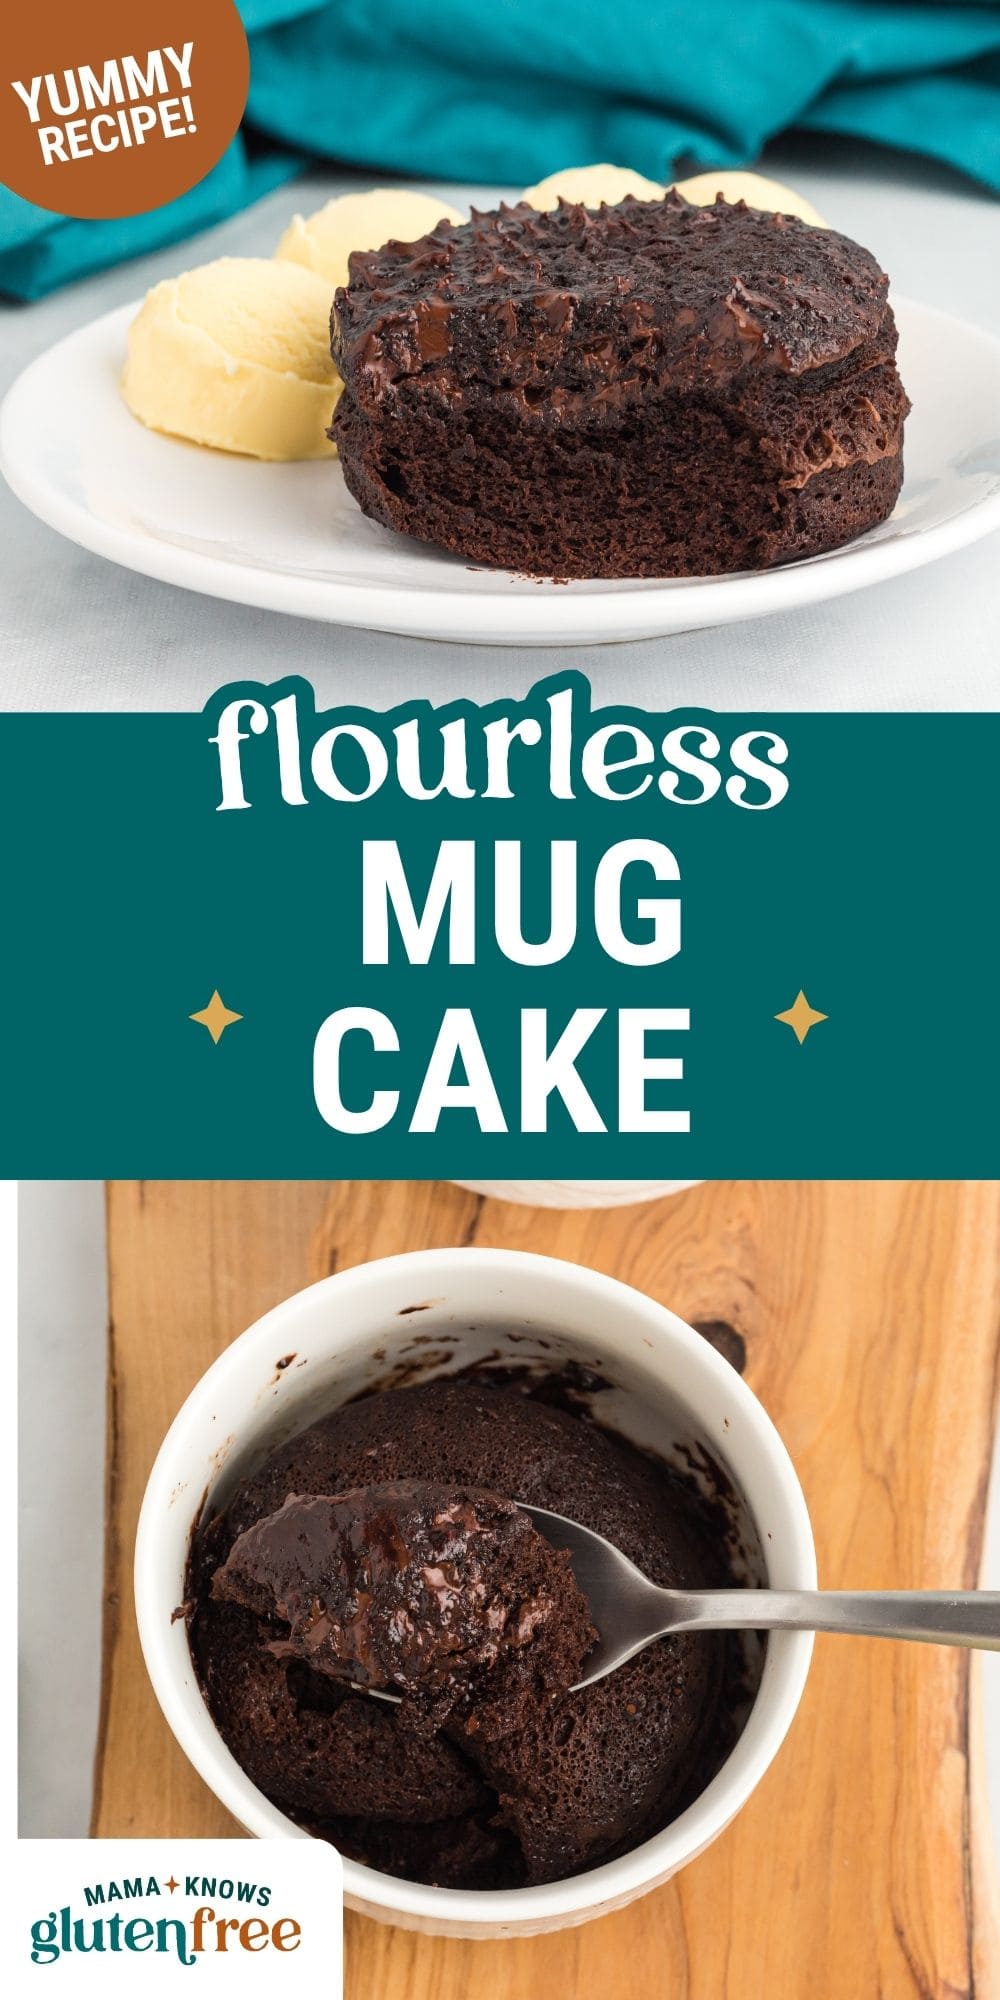
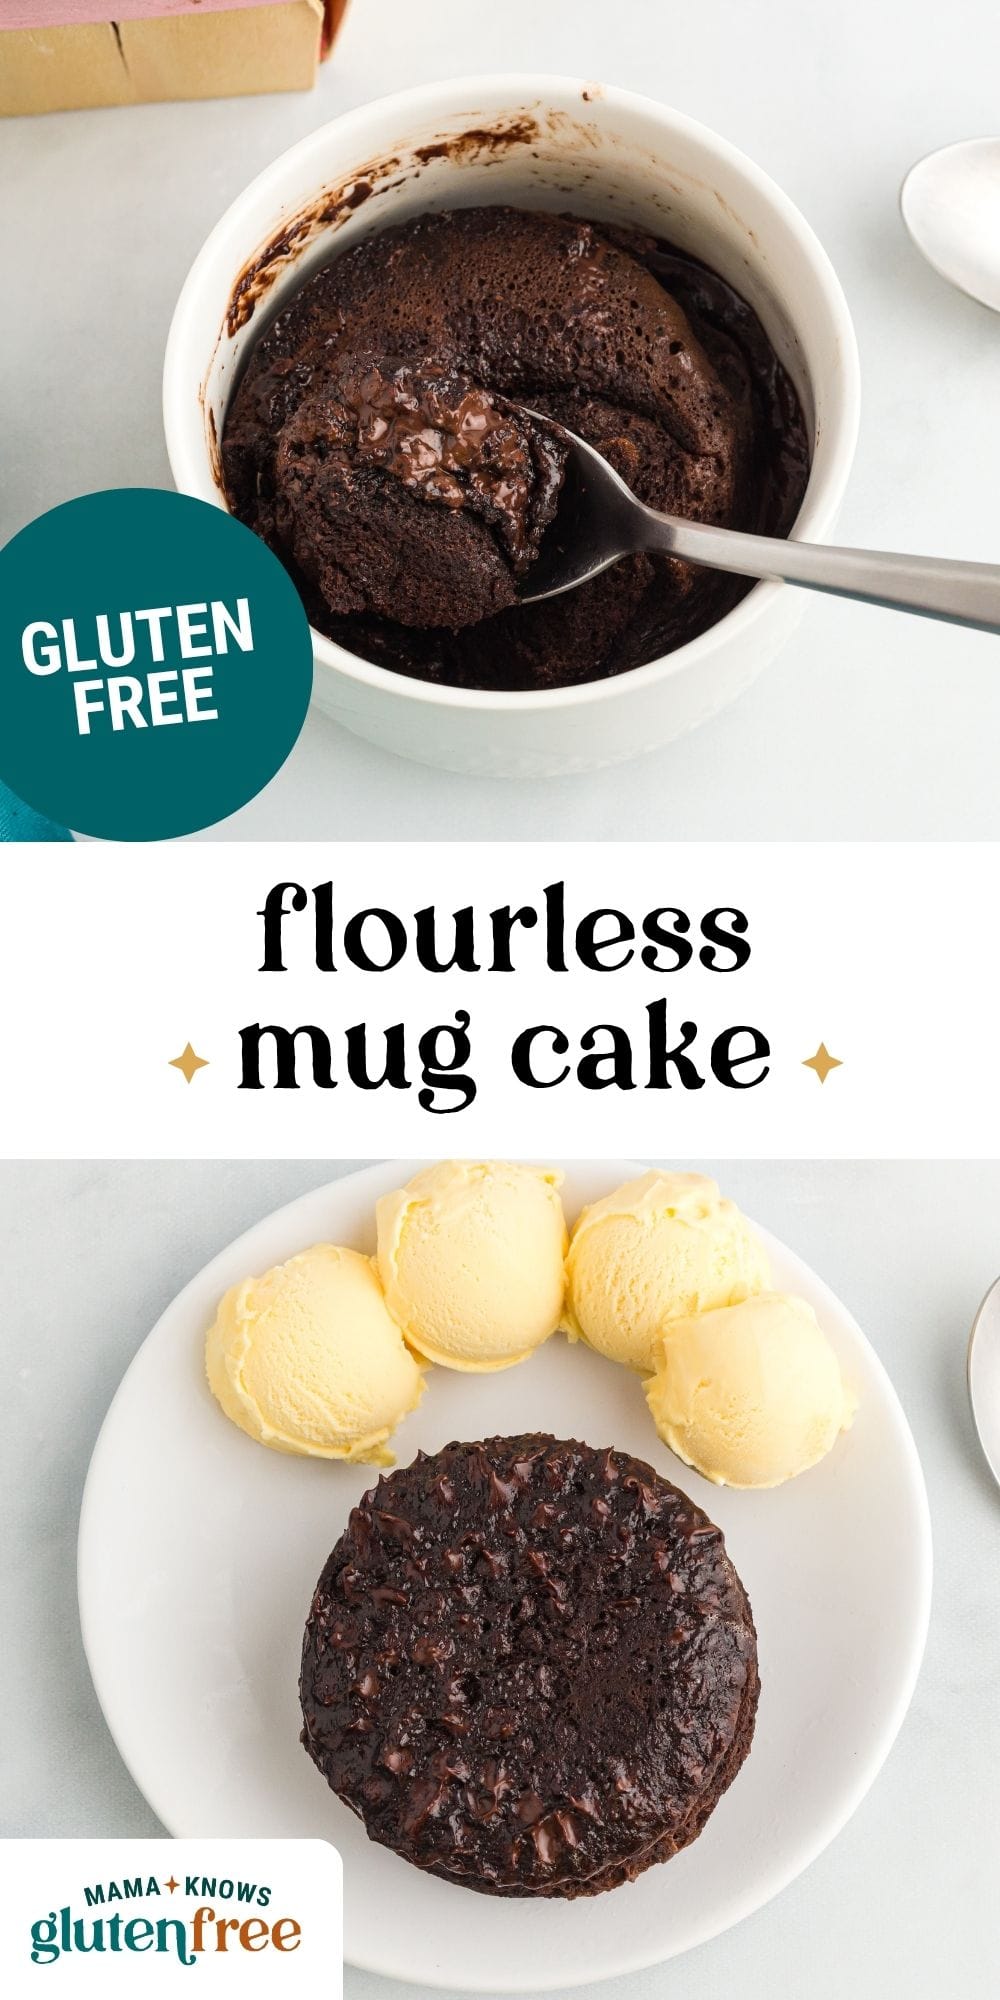
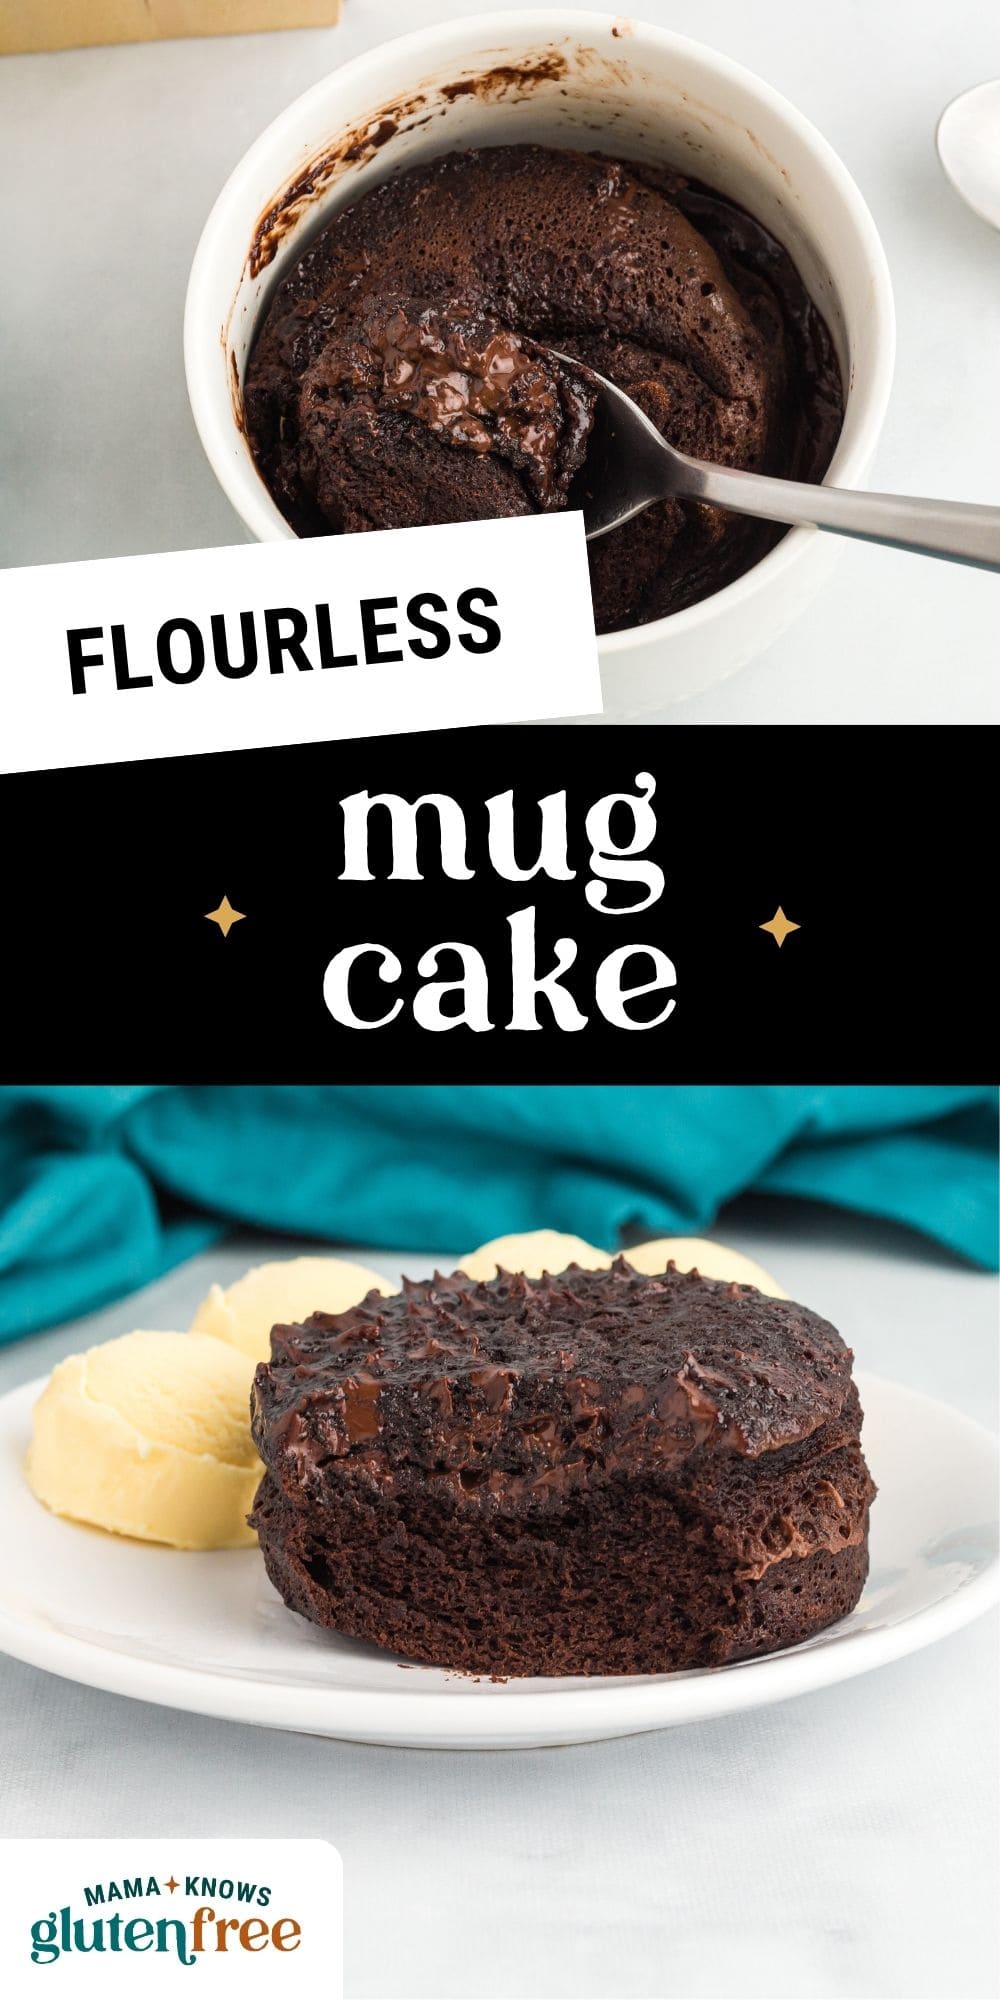
This flourless mug cake is for those moments when you want something chocolatey but don’t want to make an entire dessert. You only need an egg, chocolate chips, cocoa powder, sugar, oil, and a little baking powder. Everything gets whisked together in one bowl, transferred to a mug, and microwaved for just one minute. From start to finish, this warm, fudgy cake takes about 3 minutes to make. The result is much more like a molten brownie than the dry, spongy mug cakes you may have tried before. It’s rich, deeply chocolatey, and ready in less time than it takes to preheat the oven. I love making this when I want a little something sweet or when a chocolate craving calls for exactly one serving.
Why This Cake Doesn’t Need Any Flour
A lot of mug cake recipes swap regular flour for a gluten-free blend and call it done, like we do in our gluten-free chocolate mug cake recipe. This one skips flour entirely, so there’s no blend to get right and no gritty texture to worry about. The egg is what gives the cake its structure here, the same way it does in flourless chocolate cake, just scaled down to one serving. The chocolate chips melt into the batter as it cooks, which adds richness and helps bind everything together. Cocoa powder brings the deep chocolate flavor and a little body, the oil keeps the crumb moist instead of rubbery, and the small amount of baking powder is what gives it enough lift to actually feel like cake instead of chocolate pudding in a mug.
I’ve made this more times than I can count, and one of the biggest things I’ve learned is that the microwave time matters more than you might think. You want to whisk the batter thoroughly so there are no streaks of egg, but resist the urge to cook it longer. One minute gives you a set top with a soft, almost molten middle. Even another 15 seconds can start taking it from fudgy to dry, and a small mug cake doesn’t have much room for error.
The 10-oz. Mug Rule
This is the detail you really don’t want to skip. The batter rises quite a bit as it cooks, sometimes reaching two or three times its original height, before settling back down. If you use a mug or ramekin that’s smaller than 10 ounces, there’s a good chance that rise will send batter right over the edge and into your microwave.
Take a minute to check your mug before making the cake. Most everyday coffee mugs hold around 10-12 ounces, but smaller or narrower mugs can hold considerably less. If you’re unsure, fill the mug with water and pour it into a liquid measuring cup to check. A wider, shallower mug or ceramic ramekin is also a good choice because the batter spreads out more, which helps it cook more evenly than it would in a tall, narrow mug.
Flourless Baking Tips
- Take it out at the 1-minute mark, even if the top still looks slightly glossy. This is the most important trick for getting a fudgy mug cake instead of a dry, chewy one. The center should look just a little underdone when you remove it from the microwave. The residual heat continues cooking the cake for a few moments, giving you that soft center. If you keep microwaving until it looks completely done, you’ll likely end up with a much drier cake.
- Whisk the egg on its own first. Adding the egg directly to all of the other ingredients can sometimes leave a bit of egg white stuck at the bottom of the bowl. That little pocket cooks up rubbery and gives you an uneven texture. Whisking the egg until smooth before adding the remaining ingredients takes just a few extra seconds and makes a big difference.
-
Whisk all ingredients together in a medium-sized bowl until well combined.
-
Spray a 10-oz. (or larger) microwave-safe mug or 10-oz. (or larger) ceramic ramekin lightly with non-stick baking spray.
-
Use a silicone spatula to pour the cake batter into the prepared mug or ramekin.
-
Microwave on high for 1 minute.
-
Serve while hot.
- Pull the mug out at exactly 1 minute, even if the center still looks slightly underdone. It will continue cooking from the residual heat, and those extra few seconds can make the difference between fudgy and dry.
- Use a mug or ramekin that holds at least 10 oz. The batter rises quite a bit while cooking, so anything smaller can overflow.
- Microwave power varies. If yours is below 1000 watts, you may need another 10-15 seconds. For a higher-wattage microwave, start checking a little sooner.
- Check all ingredients for gluten, including cocoa powder, baking powder, and chocolate chips. Read the labels for any cross-contamination warnings.
- This recipe is best eaten right away and doesn’t have the same texture once stored. It’s designed to be made and enjoyed within a few minutes.
Serving: 1servingCalories: 435kcalCarbohydrates: 34gProtein: 10gFat: 31gSaturated Fat: 11gPolyunsaturated Fat: 9gMonounsaturated Fat: 9gTrans Fat: 0.1gCholesterol: 188mgSodium: 182mgPotassium: 392mgFiber: 6gSugar: 23gVitamin A: 285IUCalcium: 118mgIron: 4mg
Nutrition information is automatically calculated, so should only be used as an approximation.
How to Make Flourless Mug Cake Step-by-Step
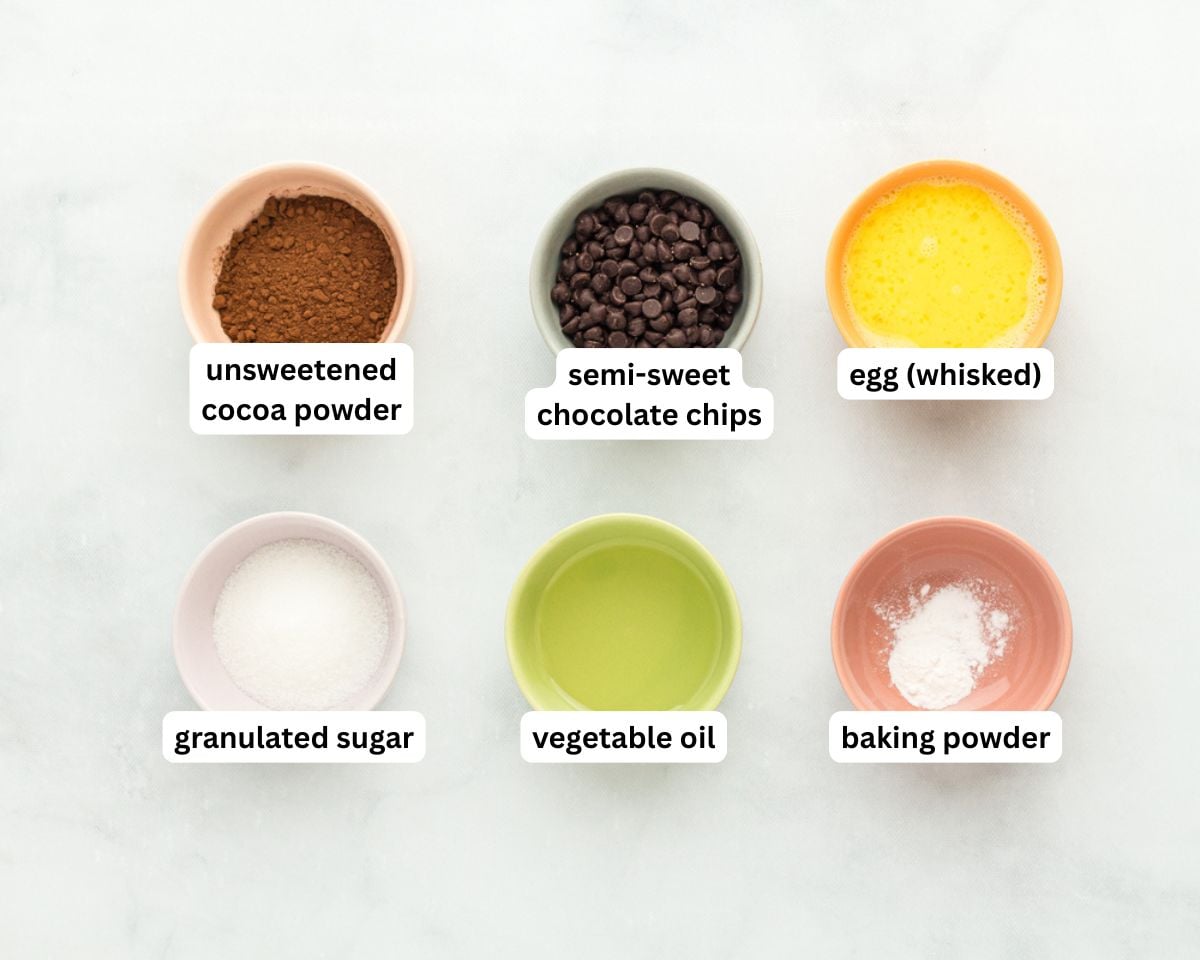
Gather the ingredients: Gather all the ingredients together. Lightly coat a 10-oz or larger microwave-safe mug or ceramic ramekin with non-stick baking spray. This helps the cake release more easily once it’s cooked, so don’t skip it.
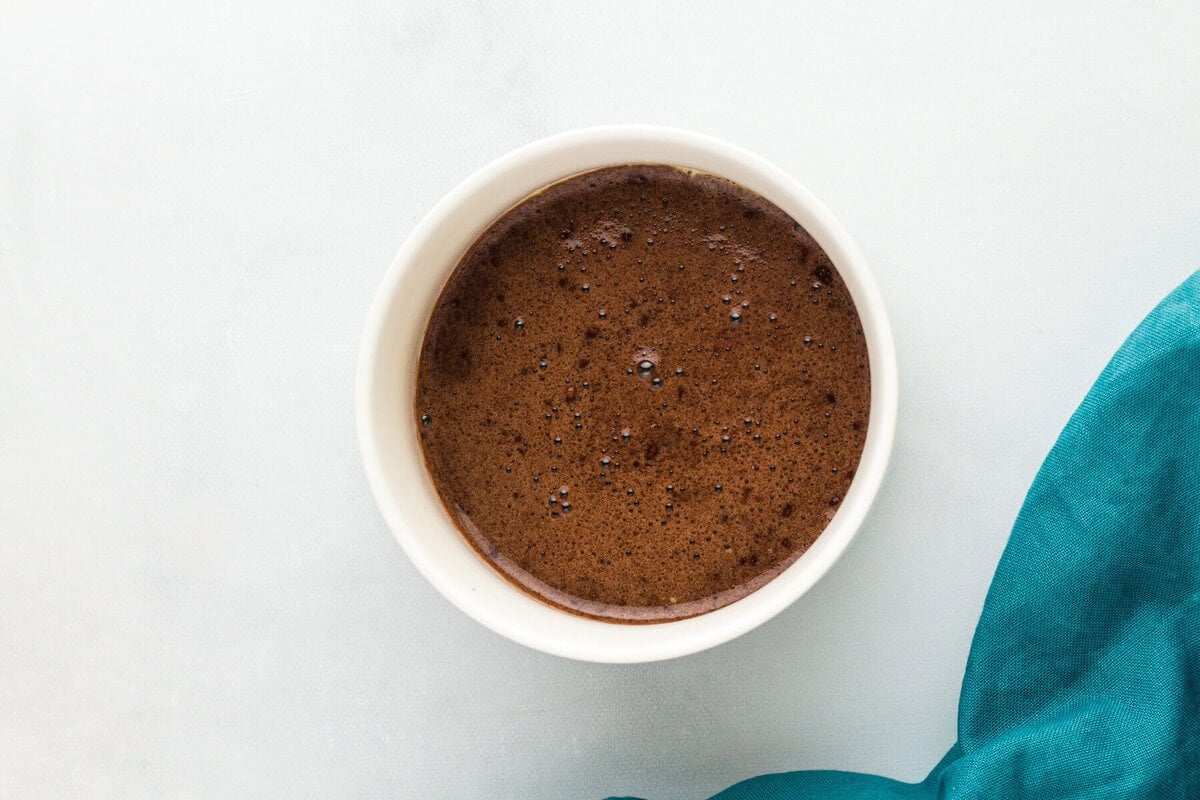
Whisk everything together: In a medium bowl, whisk 1 large egg until smooth. Add 2 tbsp (30g) semi-sweet chocolate chips, 2 tbsp (10g) unsweetened cocoa powder, 1 tbsp (15g) granulated sugar, 1 tbsp (15ml) vegetable oil, and ¼ tsp (1g) baking powder. Whisk until everything is evenly combined and the batter is smooth, thick, and glossy, like brownie batter. Make sure there are no dry pockets of cocoa powder hiding at the bottom of the bowl. Scrape the batter into your prepared mug using a silicone spatula. Gently tap the mug against the counter once or twice to level out the batter.
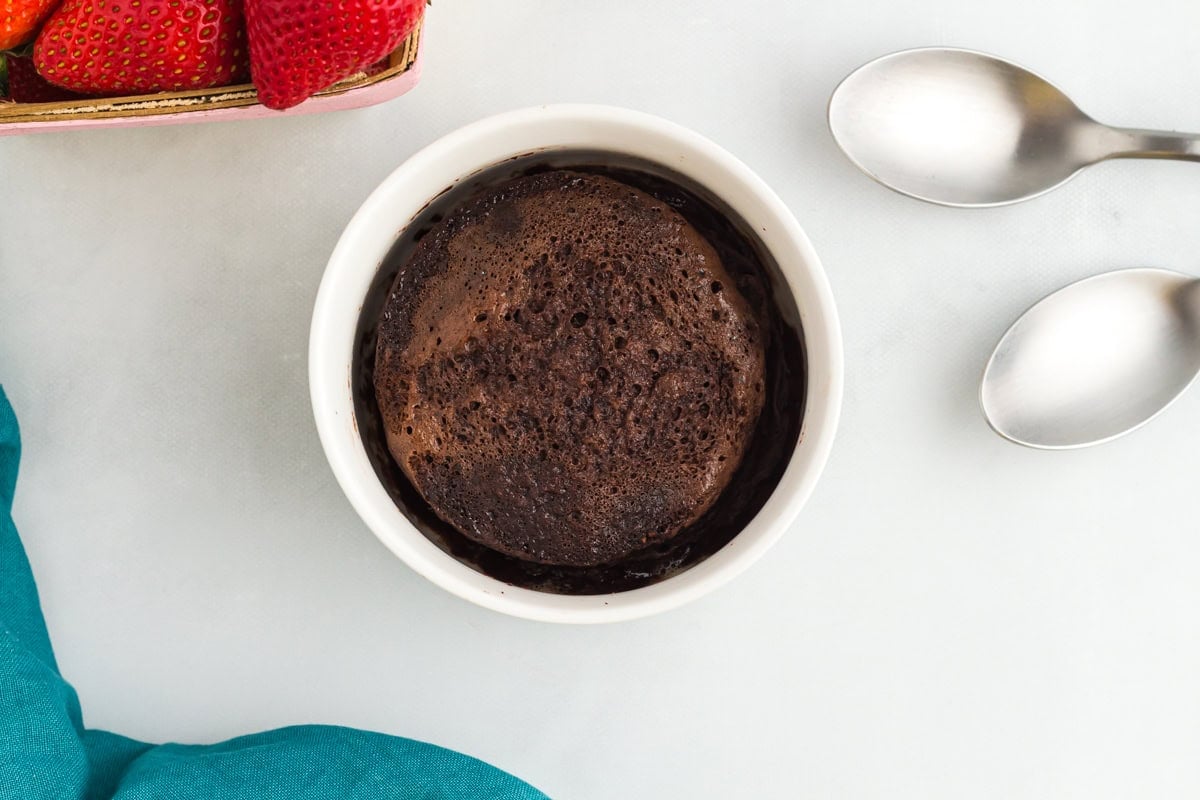
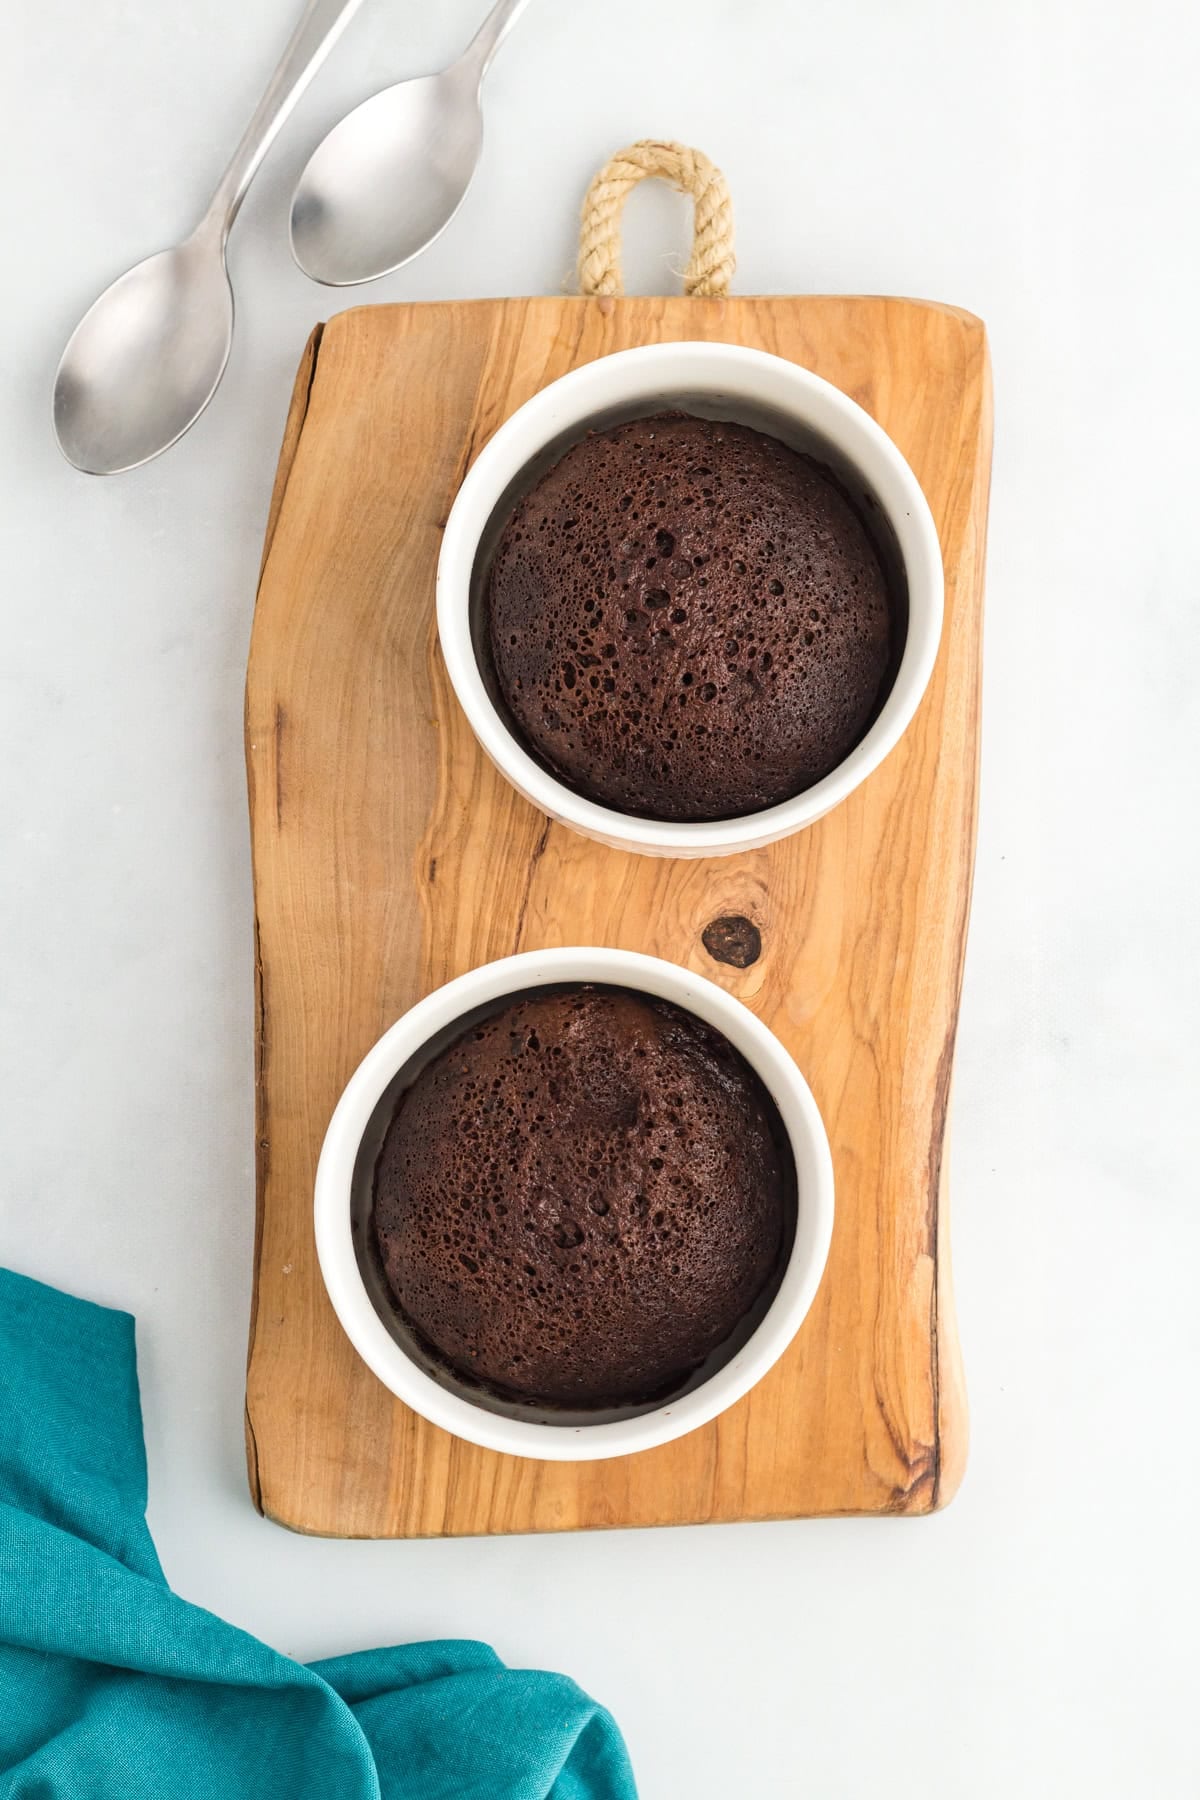
Microwave on high for 1 minute: Keep an eye on the cake while it cooks if you can. The batter will rise substantially, sometimes almost reaching the top of the mug, before settling as it finishes cooking. The surface should look set, with the center possibly still having a slight sheen. It should not look wet or liquid.
Serve immediately: This cake is at its best while it’s warm and the middle is still soft. Give it about a minute to cool so it’s comfortable to eat, then grab a spoon and dig in.
Serving Suggestions
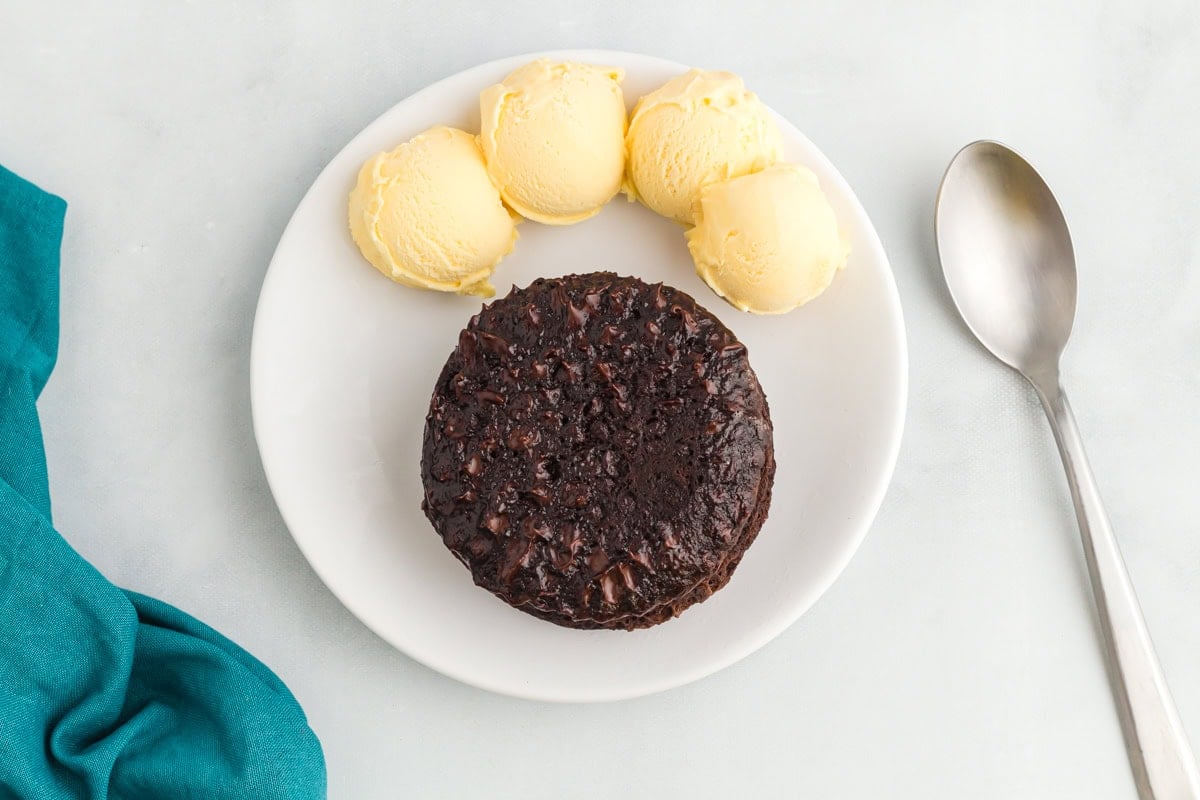
You really don’t need anything on this cake. Eating it warm straight from the mug with a spoon is my favorite way to enjoy it, especially when that soft chocolate center is still warm.
If you want to make it a little more special, here are a few of my favorite ways to serve it:
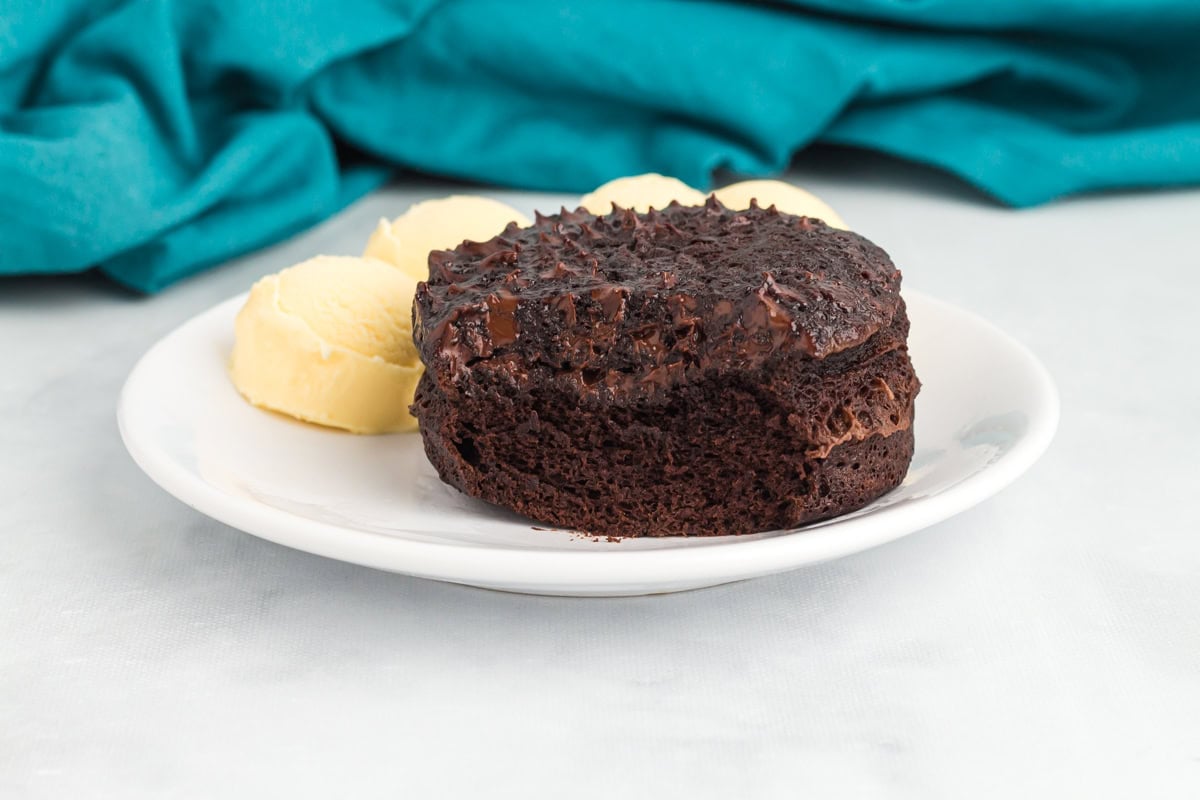
- With a scoop of vanilla ice cream on top. The contrast between cold, melty ice cream and warm chocolate cake is hard to beat. It also makes this quick little mug cake feel much more like a proper dessert. For a dairy-free option, almond milk ice cream is an easy no-churn choice, or browse our dairy-free ice cream recipes for more ideas.
- With whipped cream and fresh raspberries. A spoonful of whipped cream and a handful of tart berries add a nice contrast to the rich chocolate. The raspberries are especially good if you want something to cut through the richness.
- Alongside a cup of coffee for an evening treat. This is such a good weeknight combination when you want dessert without committing to a whole batch. If you’re already making coffee, Gluten-free cinnamon coffee cake would also be delicious to serve alongside it. For something extra cozy and chocolatey, swap the coffee for dairy-free hot chocolate.
Storage & Freezing Instructions
This cake is definitely best right after it’s made. If you don’t finish it, you can refrigerate it for up to a day, but expect the texture to become denser and somewhat rubbery once chilled.
Freezer
I don’t recommend freezing the finished cake because the texture doesn’t recover very well after thawing. Instead, you can prepare a dry mix ahead of time. Combine the cocoa powder, sugar, and baking powder in a small freezer bag or jar and keep it in the pantry or freezer for up to 3 months. When you’re ready to make your cake, simply add the egg, chocolate chips, and oil.
Reheating
To warm leftover cake from the refrigerator, microwave it for 10-15 seconds. This softens it and warms the center, although it won’t be quite as tender as when freshly made.
More Flourless Recipes
- Flourless Brownies: The same no-flour idea in a full-size batch, perfect when you’re making dessert for a crowd instead of just yourself.
- Flourless Chocolate Cake: A richer, full-size version that’s perfect when you’re making dessert for a dinner party or special occasion.
- Flourless Banana Bread: A fruity flourless option for using up ripe bananas when you’re in the mood for something other than chocolate.
- Flourless Chocolate Cookies: Another simple way to satisfy a chocolate craving without flour, with cookies you can make ahead and take anywhere.